

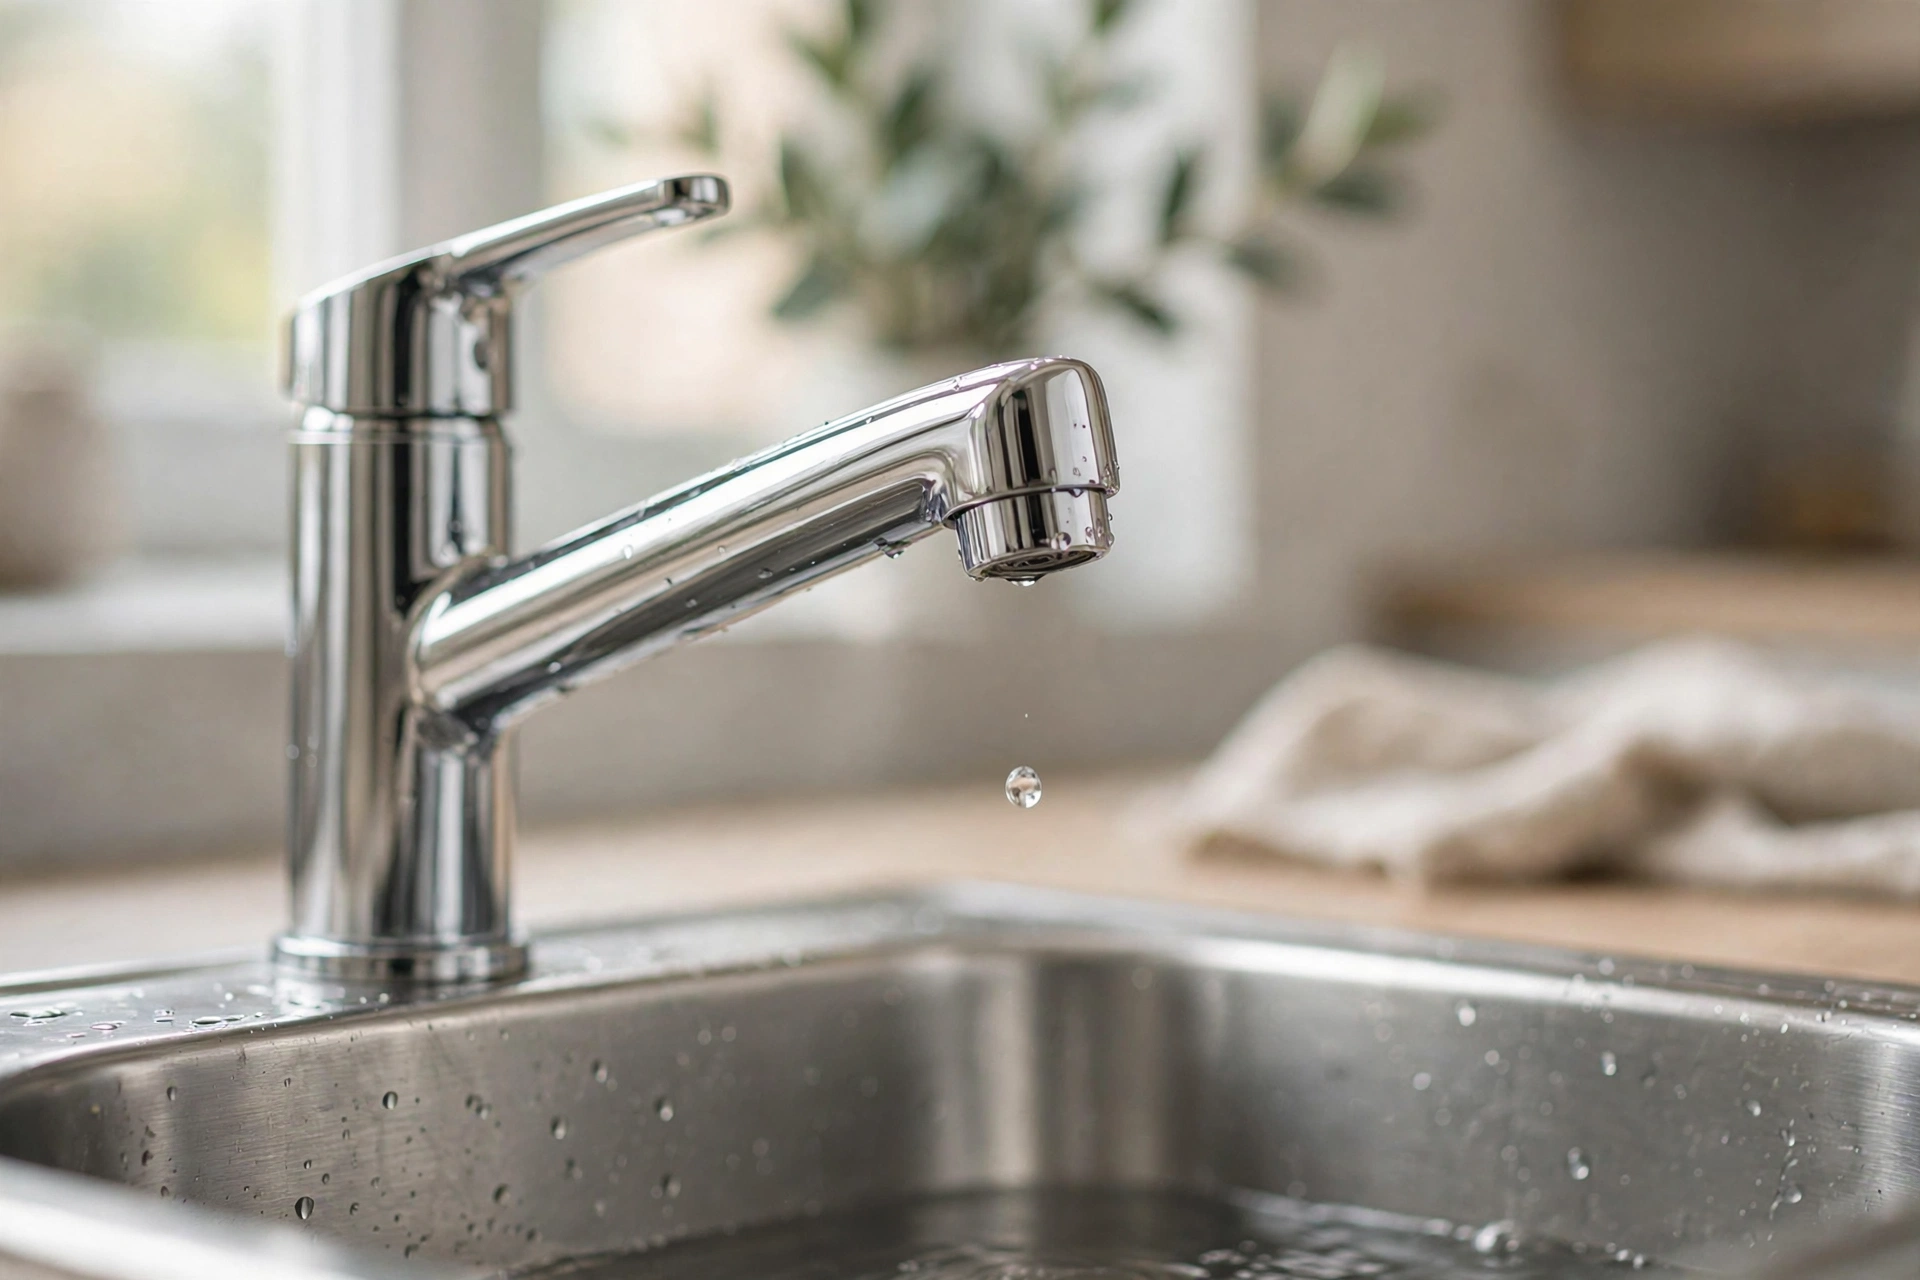
It’s 2 a.m., and the drip from your kitchen sink somehow sounds louder than the television. You’ve tried pushing the handle harder, wiggling it past the “off” spot, even ignoring it for a week. None of that works — worn seals don’t fix themselves.
Here’s the good news: if your kitchen faucet has one handle, the fix is almost always the same thing — a worn-out cartridge or tired O-rings. You don’t need plumbing experience or expensive tools. Give yourself 30 to 45 minutes, and you can walk that drip back to silence.
One rule before we start: shut off the water first. It’s the first step, it’s non-negotiable, and it’s what separates a calm Saturday-morning repair from a very wet kitchen.
Table of Contents
- How a Single-Handle Faucet Actually Works
- Diagnose First: Where Exactly Is It Leaking?
- Tools and Parts You’ll Need
- Step-by-Step: Replacing the Cartridge
- When to Replace the Whole Faucet Instead
- Common Mistakes to Avoid
- Frequently Asked Questions
- Wrapping Up
How a Single-Handle Faucet Actually Works
To fix a faucet, it helps to know what’s inside it. Nothing exotic — just a few moving parts doing a simple job.
A single-handle faucet does three things with one lever: turns water on, sets the flow strength, and mixes hot and cold. The part that makes it possible is the cartridge — a small cylinder (usually plastic or brass) inside the faucet body.
Inside the cartridge are seals — often ceramic discs or rubber seats — that open and close the water pathways as you move the handle. Lift the handle and the pathways open; swing it left or right and it blends more hot or more cold. Push the handle back to off, and the seals press together to stop the flow.
Those seals rub against each other thousands of times a year, constantly sitting in mineral-heavy water. Eventually they wear down, get nicked, or crust over with deposits. Once a seal can’t seat fully, a little water sneaks through — and that’s your drip.
This is different from old two-handle faucets, which used rubber washers that get squeezed shut. Cartridges don’t squeeze; they slide. So you can’t tighten your way out of a cartridge-faucet drip — the part is worn, and the part needs replacing.
Diagnose First: Where Exactly Is It Leaking?
Different leaks mean different problems, and ten minutes of diagnosing saves you from buying the wrong part. Turn the handle firmly off, dry everything with a towel, and watch for a few minutes. Where does the water show up?
| Where the leak appears | What’s most likely wrong | What fixes it |
|---|---|---|
| Drips from the spout with the handle off | Worn cartridge seals | Replace the cartridge |
| Water pooling around the base of the faucet, on the counter or sink deck | Worn O-rings or body seals | Replace the O-rings (they often come with the cartridge) |
| Water seeping out from under the handle itself | Loose bonnet nut, or a worn cartridge | Tighten the bonnet nut; if it still leaks, replace the cartridge |
| Dripping under the sink, on the supply lines or cabinet floor | Loose fitting or a worn supply line | Snug the fittings; replace the line if it’s cracked or corroded |
The most common case is the first one — a drip from the spout after shutoff. That means worn cartridge seals, and everything below walks you through replacing them.
A quick note while you’re down there: that little drip is costing you real water. The USGS Water Science School estimates that a faucet dripping just once per second can waste roughly 3,000 gallons in a year. And if it’s the hot side dripping, you’re paying to heat water you’re not using — a leaky hot-water faucet works against everything you’re doing to keep your electricity bill down. (A running toilet can waste even more, so if you’ve got both, tackle the toilet next.)
Tools and Parts You’ll Need
You don’t need a plumber’s truck for this. Here’s the short list:
- Adjustable wrench — for the bonnet nut that holds the cartridge in
- Allen key (hex wrench) set — most handles hide a set screw, usually 1/8″ or 3/32″
- Phillips and flathead screwdrivers — some handles use a screw under a decorative cap instead
- Old towel and a small bucket — to catch the water left in the lines and the faucet body
- Sink stopper or a rag — to plug the drain. The set screw is small, round, and perfectly shaped to vanish down a drain
- Replacement cartridge — the star of the show (see below on finding the right one)
- New O-rings — usually included with the cartridge, but check the package
- Silicone plumber’s grease — a pea-sized dab on the O-rings keeps them sealing smoothly and makes the next repair, years from now, much easier
- Your phone — take a photo at every step of disassembly. When you’re staring at four parts and can’t remember the order, you’ll be glad you did
Finding the right replacement cartridge
Cartridges are brand- and model-specific, and a close-but-wrong one either won’t fit or won’t stop the drip. Before you head to the store, look for a brand name on the faucet — the handle base, the back of the spout, or a tag on the supply tubes under the sink. Most manufacturers have parts diagrams on their websites with exact cartridge numbers.
Can’t find a brand? Remove the old cartridge first (steps below) and bring it to the hardware store. Plumbing staff match cartridges by sight every day.
Cartridges typically run around $10 to $25 depending on the brand — that’s an estimate, not a quote. A tube of plumber’s grease costs a few dollars and lasts for years of small jobs.

Step-by-Step: Replacing the Cartridge
Set aside 30 to 45 minutes, lay a towel in the sink to protect it, and let’s go.
Step 1 — Shut off the water, then prove it’s off.
Under the sink you’ll find two small valves on the supply lines — one hot, one cold. Turn both clockwise until they stop. Then flip the faucet handle on: if nothing comes out, you’re good. If water still flows, the valve may be faulty — stop here and check the FAQ on missing or broken shutoffs. Do not skip this step. Removing a cartridge from a pressurized faucet will soak your kitchen in seconds.
Step 2 — Plug the drain.
Drop in the stopper or stuff a rag in the drain. Tiny screws bounce exactly once, then disappear forever.
Step 3 — Remove the handle.
Look for a small set screw on the back of the handle, sometimes hidden under a cap you can pop off with a flathead. Loosen it with the Allen key (you usually don’t need to remove it fully) and lift the handle straight off. Take a photo.

Step 4 — Remove the bonnet nut.
Under the handle you’ll see a large ring or nut holding the cartridge down — that’s the bonnet nut. Loosen it counterclockwise with your adjustable wrench. (Some faucets use a retaining clip instead; those pull straight out with pliers.) Set it on your towel in the order things came off.
Step 5 — Pull out the old cartridge.
Grip it with pliers (gently — you’re using it as a shopping reference) and lift it straight out. Note how it sits: orientation matters, because one side is hot and the other is cold. This is what your photos are for.
Step 6 — Inspect and clean.
Look at the old cartridge’s O-rings — cracked, flattened, or crusted with minerals? That’s your drip, right there. While it’s out, wipe the inside of the faucet body with a rag or vinegar-dampened cloth and clear out any grit. A clean seat gives the new cartridge its best shot at a perfect seal.
Step 7 — Install the new cartridge and O-rings.
Smear a thin film of silicone plumber’s grease on the new O-rings, then slide the cartridge in with the exact same orientation as the old one. It should drop in without force. If it won’t go, it’s rotated wrong — turn it and try again.
Step 8 — Reassemble.
Put the bonnet nut or clip back on and tighten it firmly — snug, not gorilla-tight. Over-tightening cracks plastic parts and crushes the new seals. Slide the handle back on and tighten the set screw.
Step 9 — Turn the water back on slowly.
Open the valves gradually — a sudden blast can disturb the new seals. Run the faucet for 30 seconds to flush debris, then shut it off and check: spout dry? Nothing seeping from the handle or base? Check under the sink with a flashlight too. All dry means you’re done.
When to Replace the Whole Faucet Instead
Sometimes a cartridge swap isn’t the right call. Replace the whole faucet when:
- The faucet body is cracked or badly corroded. New seals can’t fix a damaged housing.
- You can’t find a replacement cartridge. If the brand is discontinued or unmarked and the store can’t match it, you’ll spend more in time and return trips than a new faucet costs.
- It’s leaking in multiple places. A spout drip plus a wobbly base plus a failing sprayer hose means the unit is at the end of its life.
- It’s 15+ years old and one repair leads to another. There’s no shame in starting fresh.
As a rough rule of thumb, if the cartridge and other parts start costing more than about half the price of a new faucet — new kitchen faucets typically run around $75 to $200 or more — replacement is the smarter move. And if you’re already giving the kitchen some love, a new faucet pairs nicely with other easy upgrades like painting your kitchen cabinets without sanding.
Common Mistakes to Avoid
- Forgetting to shut off the water. The mistake that turns a 40-minute job into a kitchen flood. Shut it off, then test that it’s off.
- Not plugging the drain. That set screw is smaller than you think. Plug the drain before touching anything.
- Buying the wrong cartridge. Identify the brand first, or bring the old cartridge to the store. Guessing means extra trips.
- Over-tightening everything. The bonnet nut and fittings need to be snug, not crushed. Over-tightening cracks plastic housings and squeezes O-rings out of shape — causing the leak you’re trying to fix.
- Installing the cartridge backwards. Then hot comes out of the cold side. Match the old one’s orientation and check your photos.
- Skipping the cleanup inside the faucet body. Grit left in the housing chews up new seals fast. Wipe it out while it’s empty.
- Not taking photos. You won’t remember the order of washers and clips. Nobody does.
Frequently Asked Questions
How much water does a dripping faucet actually waste?
More than you’d guess. The USGS Water Science School estimates that a faucet dripping once per second can waste roughly 3,000 gallons over a year — a steady drain on your water bill, and on your energy bill if the drip is on the hot side.
What’s the difference between a cartridge and a washer?
Two different ways to shut off water. Old two-handle faucets use rubber washers: turning the handle screws the washer down onto a seat, squeezing the flow off. Single-handle faucets use cartridges: moving the handle slides seals or ceramic discs inside the cartridge to open and close the water paths. One handle means you need a cartridge, not a washer — they’re not interchangeable.
How long does this repair take?
Plan for 30 to 45 minutes your first time, including identifying the cartridge and a possible store trip. Once you’ve done it, it’s a 15-minute job. The disassembly itself is quick — most of the time goes to diagnosis and finding the right part.
What if I can’t find a shutoff valve under my sink?
Some older homes don’t have valves on every supply line. Look again first — they’re sometimes tucked far back against the wall. If they’re truly absent, shut off the main water valve to the whole house (usually near the water meter or where the main line enters) while you do the repair. If you rent, ask your landlord or building maintenance — they’ll know where the shutoffs are. And if the valves exist but won’t turn or won’t fully stop the water, flag that for a plumber before you start.
Do I need a plumber for this?
Not for a standard cartridge swap — this is one of the most beginner-friendly plumbing repairs there is, and This Old House lists cartridge replacement among faucet repairs well within DIY reach. Call a plumber if the shutoff valves don’t work, the supply lines are corroded or damaged, the faucet body is cracked, or the leak persists after a correct cartridge install.
How do I find the right replacement cartridge?
Start with the brand name — check the handle base, the back of the spout, or a tag under the sink. Manufacturer websites usually have parts diagrams with exact cartridge numbers. No visible brand? Remove the old cartridge and bring it to the hardware store; staff match them by sight every day. And check the manufacturer’s warranty page before you buy — some major brands cover parts for the original owner, so the replacement might be free.
Wrapping Up
A leaky single-handle faucet looks like a bigger problem than it is. Nine times out of ten it’s a worn cartridge or a tired O-ring, and both are fixed the same way: shut off the water, pull the handle, swap the part, reassemble. No special skills, no expensive tools, about half an hour of your Saturday.
While you’re at it, make this part of your routine: a quick check of faucets, shutoff valves, and supply lines each season catches small problems before they become drips — your fall home maintenance checklist is a good place to build that habit. And if a screw does take the plunge despite your best efforts, a slow drain doesn’t need harsh chemicals — there are chemical-free ways to unclog a bathroom sink too.
Fix the drip this weekend. Your water bill — and your sleep — will thank you.

Welcome to Homeblesh! I'm a professional content writer with over five years of experience creating well-researched, practical, and reader-focused content for clients on Upwork and Fiverr. Now, I've dedicated my expertise to building Homeblesh, where I share helpful guides, honest recommendations, and actionable tips based on careful research and industry knowledge. My goal is to provide accurate, trustworthy information to help you make informed decisions while delivering clear, useful, and easy-to-understand content.
- Muhammad Imran

- Muhammad Imran

- Muhammad Imran

- Muhammad Imran


