

Walk into most tired-looking bathrooms and you’ll notice something: the tile itself is usually fine. It’s the grout doing all the damage. Cracked, stained, missing chunks — old grout can make a perfectly good tile job look twenty years past its prime.
The good news: you don’t have to rip out the tile to fix it. Learning how to regrout bathroom tile is a weekend project that punches above its weight — a few hours of work, basic tools, and your shower or backsplash looks genuinely new again.
Here’s the whole job, with the specifics beginners actually need: how deep to dig out old grout, what consistency the new grout should be, and when you can finally use the shower again.
Table of Contents
- When to Regrout vs. When to Repair or Re-Tile
- Tools and Materials You’ll Need
- Choosing Your Grout
- How to Regrout Bathroom Tile, Step by Step
- Common Mistakes to Avoid
- Pro Tips for a Cleaner Finish
- Frequently Asked Questions
- The Bottom Line
When to Regrout vs. When to Repair or Re-Tile
Regrouting is the right call when the tile is solid but the grout has seen better days:
- Grout that’s cracked, crumbling, or missing in places
- Stains that won’t scrub out
- Pink or orange grout lines (often a sign of mold or mildew under the surface)
- Hollow-sounding joints where the grout has lost its bond
But regrouting isn’t a fix for everything. If tiles are loose, cracked, or shift when you press them, new grout won’t save the installation — the tile bed underneath has failed. And if the wall behind the tile feels soft or smells musty, you may have water damage that needs fixing first. Press the tiles firmly: solid tiles with bad grout mean regrout; wobbly tiles mean it’s time to call a pro.
One honest note: regrouting is cosmetic and protective, not structural. New grout seals joints against moisture and refreshes the room’s look, but it won’t fix a leaking shower pan.
Tools and Materials You’ll Need
You probably own half of this already. The specialty items — the grout saw and grout float — are cheap and worth every penny.
Tools:
- Grout saw or grout-removal tool (manual, handheld)
- Oscillating multi-tool with a grout-removal blade (optional, but much faster on big areas)
- Shop vacuum or handheld vacuum
- Rubber grout float
- Large bucket for mixing
- Bucket for clean rinse water
- Tile sponge (the big rectangular kind with rounded edges)
- Clean, dry cloths or cheesecloth
- Painter’s tape
- Utility knife
- Margin trowel or putty knife for mixing
Materials:
- Grout in your chosen color and type (see the comparison table below)
- Grout sealer (for cement-based grout; skip if you’re using epoxy)
- Painter’s plastic or drop cloths
Safety gear:
- Dust mask (N95 or similar) — removing old grout makes a fine, irritating dust
- Safety glasses or goggles — chips of old grout love to fly
- Gloves — grout mix is alkaline and dries out skin fast
Using a power tool for grout removal? Add hearing protection. Oscillating multi-tools aren’t quiet.
While you’re in the bathroom anyway, scan for other small annoyances — a running toilet or a slow sink drain are easy to fix in the same afternoon. See our guide on how to fix a running toilet, and a slow bathroom sink drain is a quick job that doesn’t need chemicals.
Choosing Your Grout
Picking the wrong grout type is the fastest way to a disappointing result. For a bathroom, you have three realistic options.
Sanded grout
The workhorse. Fine sand adds strength and keeps it from shrinking and cracking in wider joints — use it for joints 1/8 inch or wider, the typical bathroom floor and most shower walls. Skip it on narrow joints (the sand won’t pack in) and on soft, polished stone like marble, which it can scratch.
Unsanded grout
Smoother and stickier, with no sand aggregate. Made for narrow joints — 1/8 inch and under — like the tight grout lines on many bathroom wall tiles. It shrinks more as it cures, so it’s not right for wide joints.
Epoxy grout
The premium option. Two-part resin instead of cement, so it’s waterproof, stain-proof, and never needs a sealer. It’s fussier to mix and apply, sets faster, and costs more — but in a shower, it’s the closest thing to a “set it and forget it” grout.
| Sanded Grout | Unsanded Grout | Epoxy Grout | |
|---|---|---|---|
| Recommended joint width | 1/8″ to 1/2″ | Up to 1/8″ | 1/16″ to 1/2″ |
| Pros | Strong, resists cracking and shrinking; most affordable; widely available | Smooth finish; ideal for tight joints; won’t scratch polished stone | Waterproof; stain-resistant; no sealer needed; longest-lasting |
| Cons | Can scratch polished stone; too coarse for narrow joints | Shrinks in wide joints; less durable in high-traffic areas | Harder to mix and apply; shorter working time; most expensive |
| Difficulty for beginners | Easy | Easy | Moderate — follow the instructions exactly |
| Typical price per bag/kit* | Around $15–$25 for a 10-lb bag | Around $15–$25 for a 10-lb bag | Around $40–$60 per kit |
*Prices are estimates and vary by brand, color, and retailer — check your local home center for current pricing.
Measure your joints with a ruler before you shop — don’t guess. For most standard bathrooms, sanded grout is the safe default on floors and wide-joint walls, unsanded on tight-joint wall tile.
How to Regrout Bathroom Tile, Step by Step
Plan on a full day for a typical shower or tub surround, plus drying time. A backsplash or a section of floor can be a half-day job. Work in sections if the area is large — fresh grout waits for no one.
Step 1: Remove the Old Grout
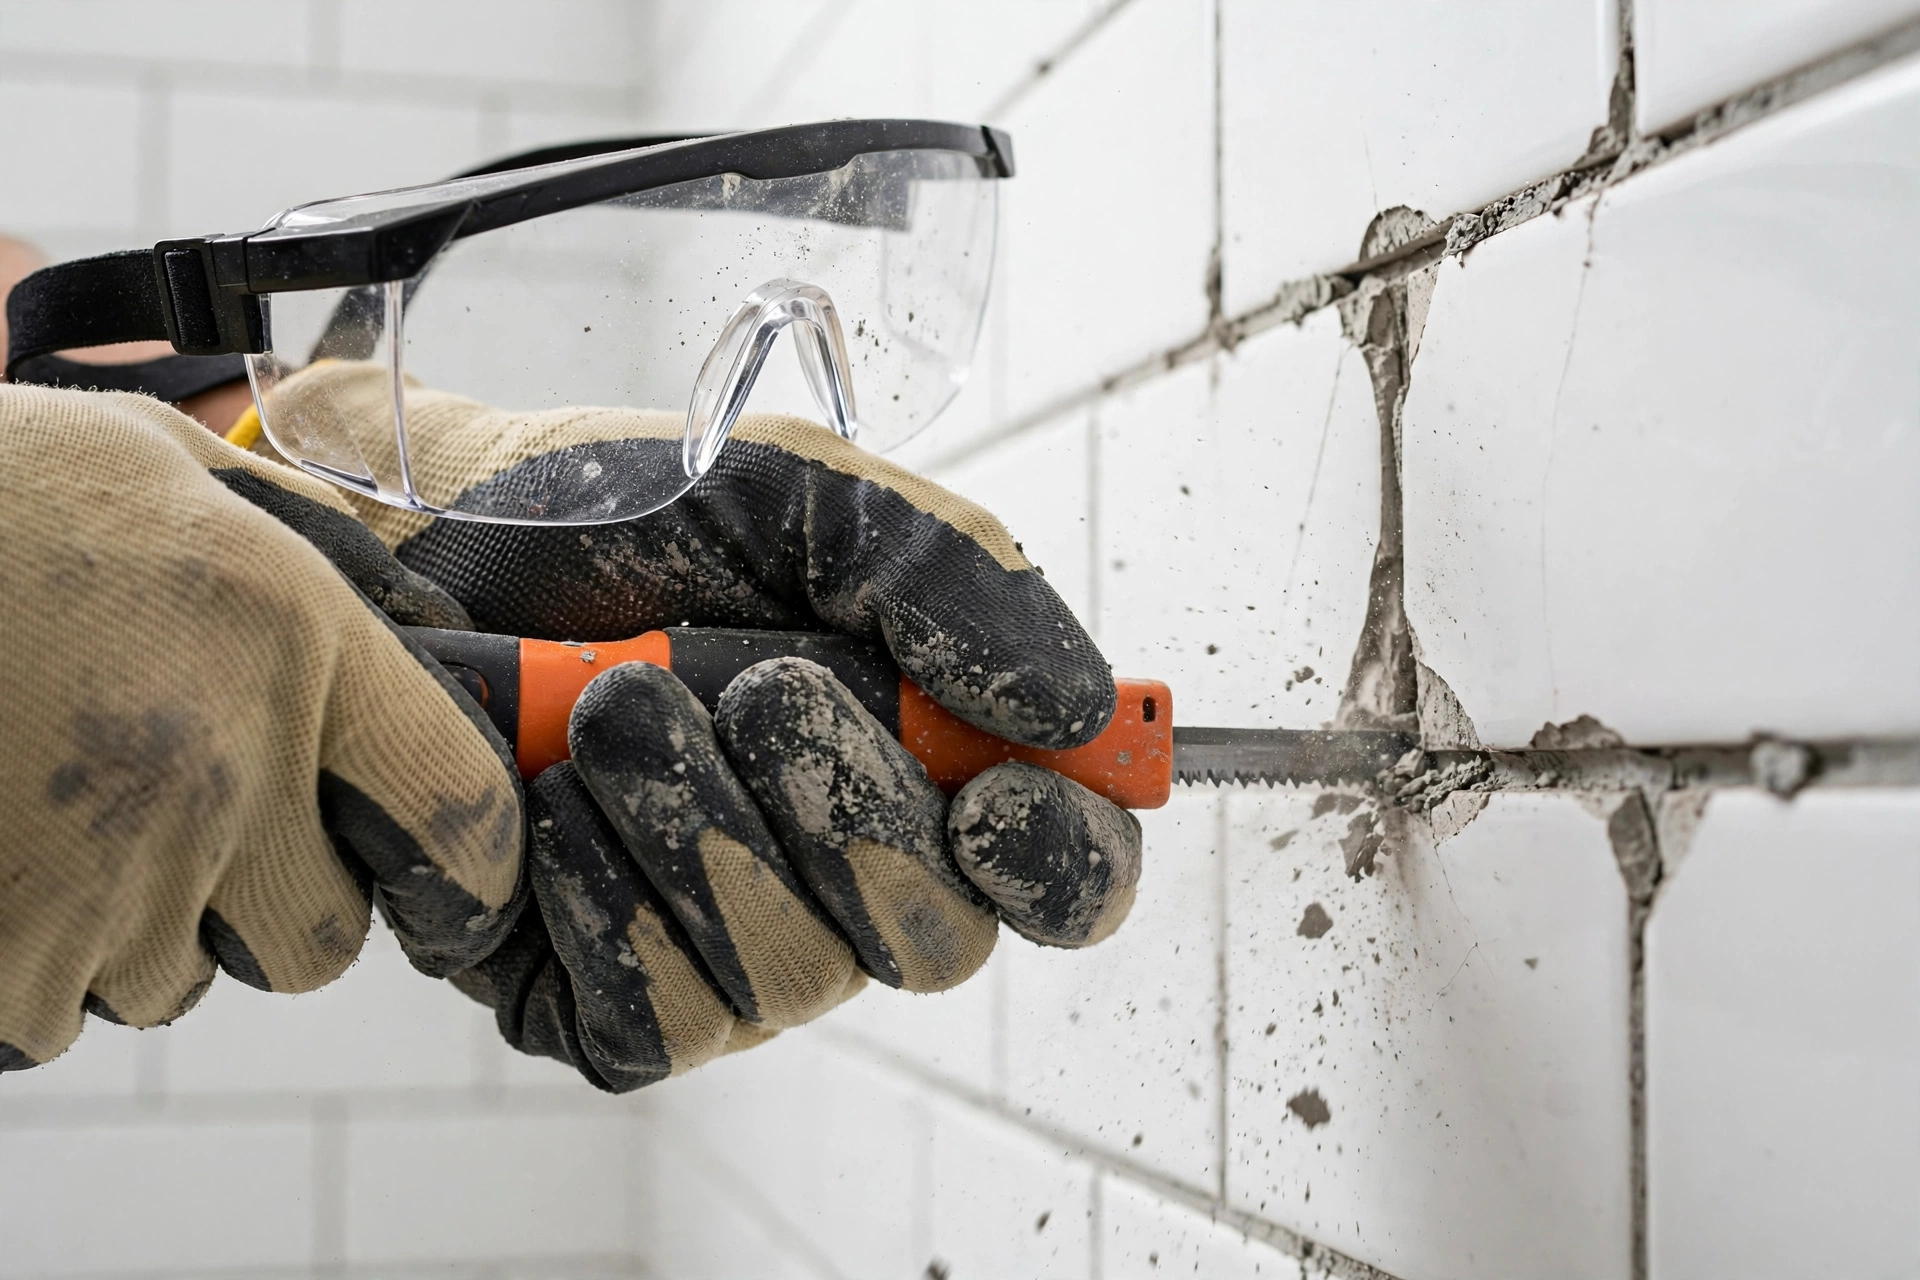
Put on your dust mask and safety glasses first. Then scrape out the old grout with a grout saw, working it back and forth along each joint with steady pressure. Aim to remove grout to a depth of about 1/8 inch — enough for the new grout to grab onto. You don’t need to dig all the way to the backer board.
A few pointers:
- A manual grout saw handles small areas fine. For a whole shower, an oscillating multi-tool with a grout-removal blade saves your arms — but keep it moving and don’t lean on it, or you’ll chip tile edges.
- Go slow around corners and edges, where tiles nick most easily.
- If a tile feels loose as you scrape, stop. It isn’t bonded properly, and regrouting around it is just decorating a problem.
Step 2: Clean Out the Joints
Vacuum every joint to pull out grout dust and loose crumbs, then wipe the tile faces with a damp sponge. You want the joints clean and slightly damp — not dripping — when the new grout goes in. Dry joints can suck moisture out of fresh grout and weaken the bond.
Tape off edges, fixtures, or adjacent surfaces you don’t want grout on (caulk lines, shower glass tracks, the tub rim). Painter’s tape is cheap insurance.
Step 3: Mix the Grout
Mix small batches — only what you can use in 20 to 30 minutes. Grout that’s going off in the bucket is grout that’s going to fail.
Add water to the bucket first, then the powder a little at a time, stirring with a margin trowel. You’re after a peanut-butter consistency: thick, smooth, holding its shape — not soupy, not crumbly. Let it sit 5 to 10 minutes (this is called “slaking”), then re-stir before you start. Slaking lets the chemicals fully hydrate, and skipping it can weaken the grout.
For epoxy grout, follow the manufacturer’s two-part mixing ratio exactly. Don’t eyeball it.
Step 4: Apply the Grout
Load the float with grout and press it into the joints, holding the float at roughly 45 degrees to the tile face. Use firm, diagonal strokes across the joints — diagonal so the float rides over the joints instead of digging into them. Really push it in; half-filled joints crack first.
Work in sections of about 3 to 4 square feet at a time. After filling a section, hold the float almost flat (about 90 degrees to the tile) and drag it diagonally across the tile to scrape off the bulk of the excess.

Step 5: Sponge Off the Excess
Wait 15 to 30 minutes after applying — the grout should be firm to the touch but not fully hard. Then wipe diagonally across the joints with a tile sponge wrung out damp, not dripping, using light pressure. Rinse the sponge often and wring it well every time; dirty, sloppy sponges make weak, discolored grout lines.
This is where beginners go wrong most often. Too early and you pull grout out of the joints. Too late and it’s a bear to clean. The 15–30 minute window is a guideline — hot, dry bathrooms set faster, so test by touching a joint in an inconspicuous spot.

Step 6: Buff Away the Haze
After sponging, a thin cloudy film of haze will remain on the tile faces. Let it dry until the haze is clearly visible (usually another 30 minutes or so), then buff it off with a clean, dry cloth or cheesecloth in light circular motions. For stubborn haze, a second pass with a barely damp sponge followed by a dry buff usually does it. If haze is still there the next day, a grout haze remover from the home center will take care of it.
Step 7: Let It Cure, Then Seal
Cement-based grout needs 48 to 72 hours of curing before it meets a sealer or full water exposure — keep the area dry and ventilated. Then apply grout sealer per the product instructions, usually with an applicator bottle or foam brush, wiping sealer off the tile faces as you go. Let it dry for the time stated on the label before using the shower. (Epoxy grout never needs sealing.)
If grout upkeep is part of a bigger seasonal push, add “check and touch up grout” to your fall home maintenance checklist — catching small cracks early is a lot cheaper than a full regrout later.
Common Mistakes to Avoid
- Mixing grout too wet or too dry. Too wet, and it shrinks, cracks, and washes out. Too dry, and it won’t bond or pack in. Peanut butter — thick, smooth, holds a peak — is the target.
- Sponging too early. If the grout still smears, wait longer. Wiping wet grout drags it out of the joints and leaves them low and weak.
- Skipping the sealer (on cement grout). Unsealed cement grout soaks up water, soap, and everything else running down the wall. Sealing keeps your hard work looking good for years instead of months.
- Using sanded grout in narrow joints. It can’t pack into joints under 1/8 inch, so it ends up weak and pitted. Measure first, buy the right type.
- Mixing more than you can use. Once grout stiffens in the bucket, throw it out and mix fresh — adding water to revive it just makes weak grout.
- Letting haze sit for days. Haze that’s easy to buff off today becomes a scraping job by next week. Deal with it the same day.
Pro Tips for a Cleaner Finish
- Tape off the transition lines. Where tile meets the tub, a window, or a different material, the joint should be caulk — not grout. Mask those spots so you don’t grout over a joint that needs to flex.
- Keep two buckets. One for mixing, one for clean rinse water. Swap the rinse water the moment it gets murky; dirty water streaks the tile and weakens the finish.
- Use a grout bag for corners. For tight inside corners, piping grout from a grout bag (like a pastry bag) beats fighting the float.
- Do a color test first. Grout dries lighter than it looks wet. Smear a little on cardboard, let it dry fully, and compare it against your tile before committing.
- Ventilate the room. Open a window or run the bath fan while the grout cures. Good airflow helps grout cure evenly and keeps dust down.
Frequently Asked Questions
How long does regrouting take?
For a typical shower or tub surround, plan a full day: a few hours removing old grout, an hour or two applying new grout, and the rest for cleanup and haze removal. A backsplash can take half a day. Then add 48 to 72 hours of cure time before the shower goes back into service.
Can I just grout over the old grout?
Not recommended. New grout needs a clean, rough surface to bond to, and a thin skim over old grout usually cracks and flakes off within months. Removing the old grout to about 1/8-inch depth is what makes the job last.
How deep should I remove the old grout?
About 1/8 inch. That’s enough for the new grout to lock in mechanically without risking damage to the waterproofing or backer board behind the tile. If the old grout is already crumbling deeper, clear out the loose material and stop when you hit solid grout.
Sanded or unsanded grout — which do I need?
Measure your joints. 1/8 inch or wider: sanded grout. Narrower than 1/8 inch: unsanded grout. Right at 1/8 inch, either works — unsanded is the safer pick for wall tile, sanded for floors.
When and how do I seal the new grout?
For cement-based grout, wait until it cures — typically 48 to 72 hours — then apply sealer per the product’s instructions, usually with an applicator bottle or foam brush. Wipe excess sealer off the tile faces. Epoxy grout never needs sealing.
How long before I can use the shower?
Give cement-based grout a full 48 to 72 hours of curing before running water and steam. Wait the full cure time, then seal before regular use. Epoxy grouts cure faster — follow the manufacturer’s stated cure time on the package.
The Bottom Line
Regrouting bathroom tile sounds intimidating but turns out to be mostly about patience: remove old grout to about 1/8 inch, mix to peanut-butter consistency, pack it in at 45 degrees, sponge on time, and seal after the cure. Get those steps right and the bathroom looks years newer — for the cost of a bag of grout and a Saturday.

Welcome to Homeblesh! I'm a professional content writer with over five years of experience creating well-researched, practical, and reader-focused content for clients on Upwork and Fiverr. Now, I've dedicated my expertise to building Homeblesh, where I share helpful guides, honest recommendations, and actionable tips based on careful research and industry knowledge. My goal is to provide accurate, trustworthy information to help you make informed decisions while delivering clear, useful, and easy-to-understand content.
- Muhammad Imran

- Muhammad Imran

- Muhammad Imran

- Muhammad Imran


