

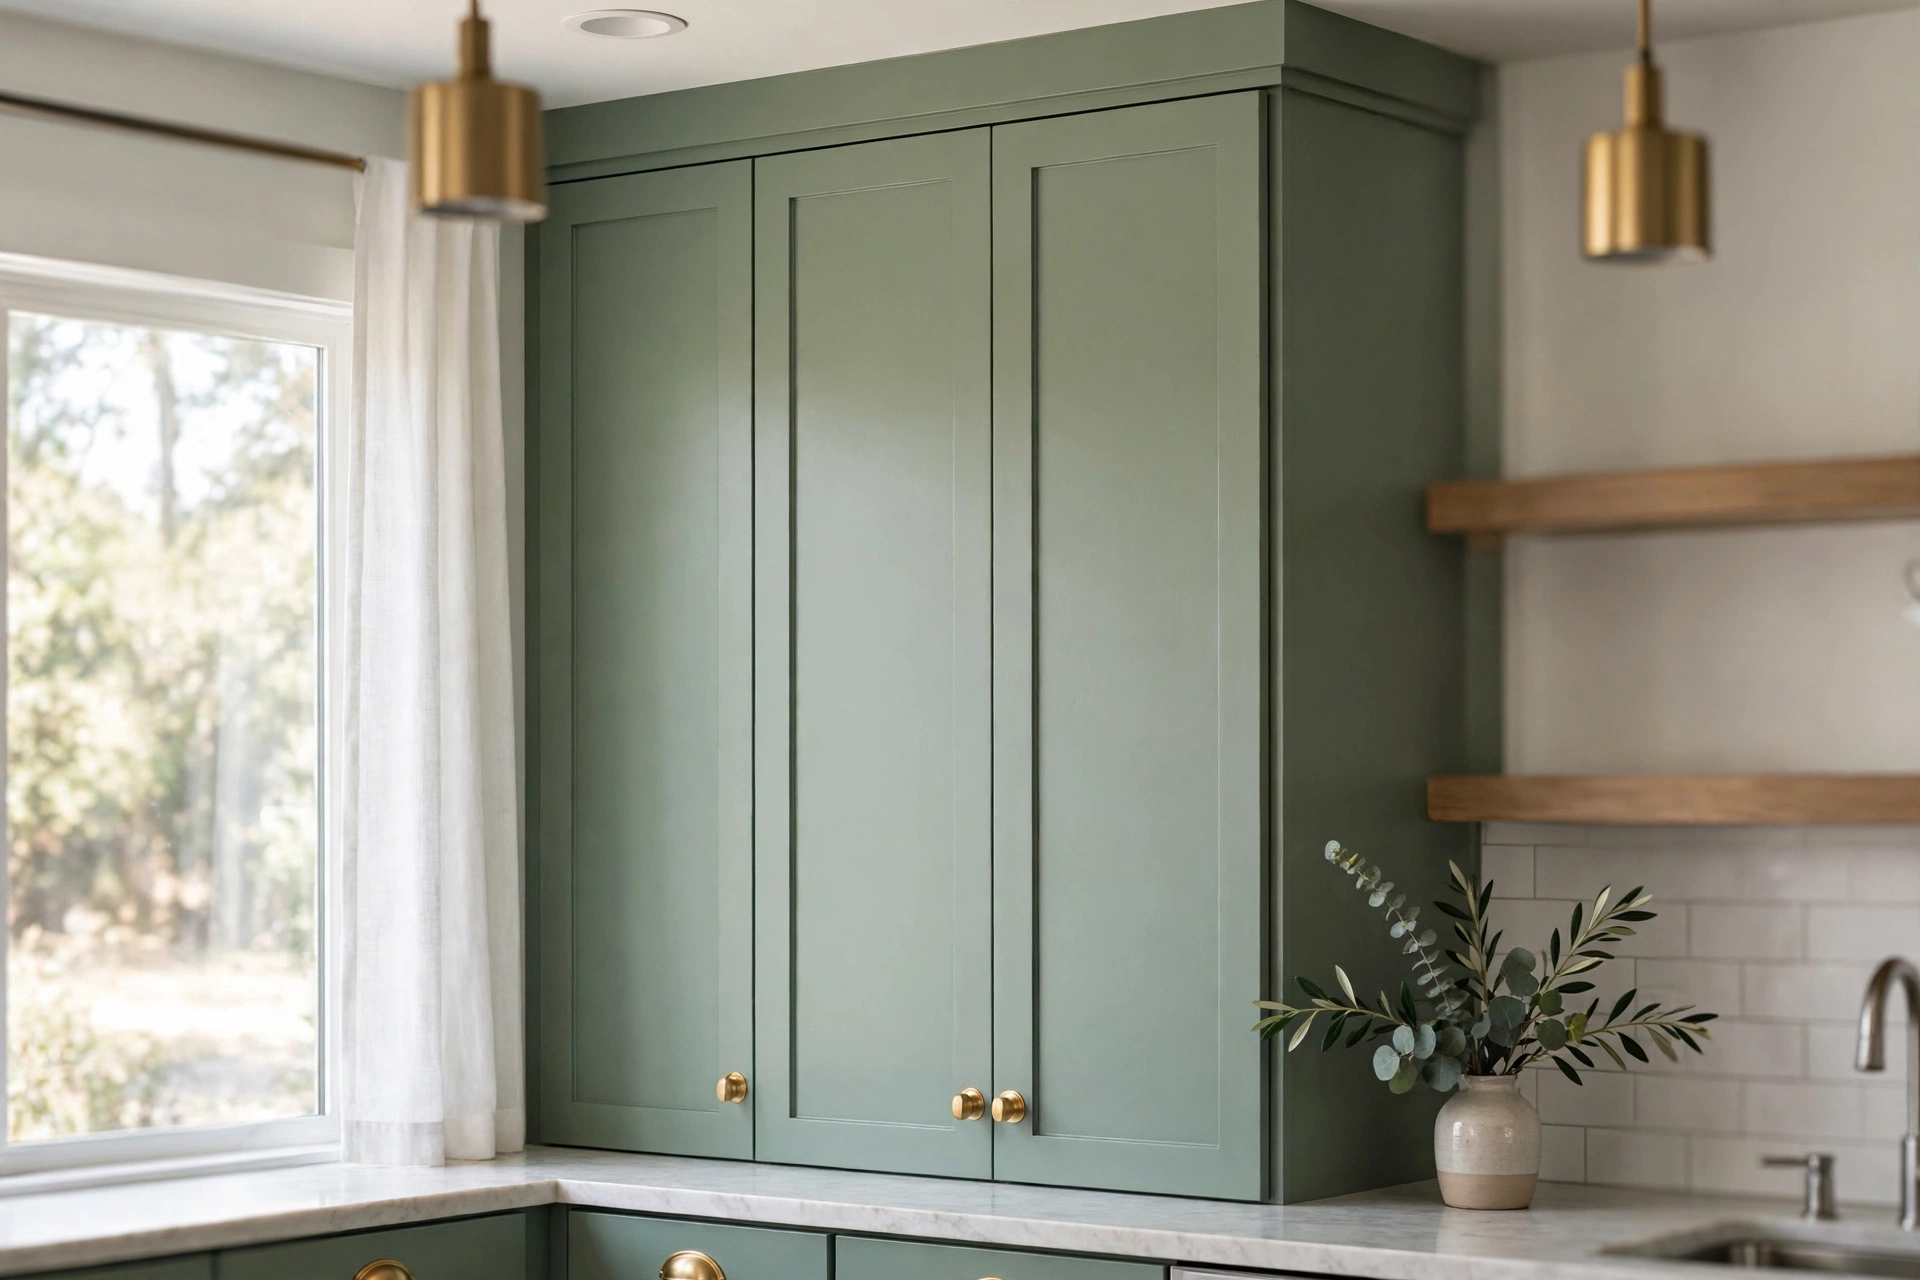
How to Paint Kitchen Cabinets Without Sanding (and Have It Last)
Sanding kitchen cabinets is the worst part of painting them. The dust gets everywhere, it takes days, and on detailed cabinet doors it is nearly impossible to do evenly. So the promise of skipping it entirely is understandably appealing.
Here is the honest version: you can skip sanding and still get a durable finish, but only if you replace sanding with the right preparation instead of with nothing. Degrease thoroughly, dull the existing finish with a liquid deglosser, and use a bonding primer — and the paint will grip. Skip those steps and the paint will peel, usually within months. This guide shows you the full no-sanding method, which paints actually hold up, and where the limits are.
Table of Contents
- Can You Really Skip Sanding?
- What “No-Sanding” Actually Means
- What You’ll Need (and What It Costs)
- Step-by-Step: Painting Cabinets Without Sanding
- Choosing the Right Paint
- The Durability Question
- Mistakes That Ruin No-Sanding Paint Jobs
- Frequently Asked Questions
Can You Really Skip Sanding?
Yes — with conditions. Paint fails on cabinets for one reason: poor adhesion. Sanding creates adhesion mechanically, by scratching the surface so paint has something to grip. A chemical deglosser (also called liquid sandpaper) creates adhesion chemically, by softening and dulling the existing finish. A bonding primer adds a third layer of insurance, formulated specifically to stick to slick surfaces.
That combination works well on cabinets whose existing finish is sound: glossy but intact paint, varnish, or factory finishes with no peeling. It does not work on everything. Be realistic about these cases:
- Peeling or flaking finish: the new paint can only grip as well as the old paint grips the wood. Scrape and sand the failing areas — there is no chemical shortcut for a finish that is already letting go.
- Heavy grease buildup that won’t clean off: around the stove especially. If degreasing doesn’t cut it, the surface isn’t ready.
- Laminate or thermofoil cabinets: liquid deglossers don’t bite into plastic surfaces reliably. Lightly scuff with fine-grit sandpaper and use a bonding primer made for slick surfaces. The sanding here is minimal — a quick once-over, not a full strip.
- Wax or furniture polish buildup: wax repels paint. It must be removed with a wax remover or mineral spirits first.
When the existing finish is solid, though, the no-sanding route is legitimate — and professional painters use deglossers and bonding primers for exactly this purpose.

What “No-Sanding” Actually Means
Skipping sandpaper doesn’t mean skipping prep. It means trading one kind of prep for another. Here’s what each replacement step does:
Degreasing replaces the cleaning power of sanding. Kitchens coat cabinets in a fine film of cooking oil, especially near the stove and on pulls. Paint applied over grease will not bond, sanded or not. A dedicated degreaser (or TSP substitute) cuts through what soap misses. This step is non-negotiable.
Liquid deglosser replaces the scratch pattern. Applied with a cloth or pad per the label directions, it chemically dulls the glossy surface so primer and paint can grip. It reaches carved details and crevices that sandpaper can’t, and it produces no dust. Ventilate well — these are strong solvents — and wear gloves.
Bonding primer replaces the mechanical tooth. Standard primers are designed for porous surfaces. Bonding primers are formulated to adhere to glossy, hard, or previously finished surfaces. Even with a deglosser, primer is what guarantees the paint stays put. As one deglosser guide puts it: deglossing improves adhesion, but it does nothing to block stains or seal the surface — a primer still earns its coat.
What You’ll Need (and What It Costs)
For an average kitchen (roughly 20–30 cabinet doors and drawer fronts):
- Degreaser (TSP substitute or dedicated cabinet degreaser) — $8–$12
- Liquid deglosser / liquid sandpaper — $9–$15 per quart; one quart usually covers an average kitchen
- Bonding primer (1 gallon) — $25–$40
- Cabinet enamel paint (1 gallon) — $40–$70 depending on brand and line
- 2½-inch angled brush and 4-inch foam rollers — $15–$25
- Painter’s tape, drop cloths, wood filler, 220-grit sandpaper (for spot repairs only) — $15–$20
- Screwdriver or drill for hardware removal, plus labeled bags for screws
Typical total: $110–$180. Compare that to professional cabinet painting, which commonly runs $3,000–$7,000 for an average kitchen, or full cabinet replacement at many times that. If your kitchen refresh extends to the walls behind the cabinets, a kitchen backsplash install pairs naturally with freshly painted cabinets.

Step-by-Step: Painting Cabinets Without Sanding
1. Remove doors, drawers, and all hardware. Take everything off — hinges, knobs, pulls. Number each door and its corresponding cabinet box with painter’s tape (e.g., “U3” for upper cabinet 3) so reassembly is painless. Put screws in labeled bags.
2. Degrease everything, twice. Apply degreaser with a scouring pad, working especially hard around the stove, above the range hood, and on areas around pulls where hand oils accumulate. Rinse with clean water and let dry completely. If the rinse water still feels slick, do it again. Paint’s worst enemy is the grease you can’t see.
3. Repair damage. Fill dents, holes from old hardware, and chips with wood filler. Let it dry, then smooth just the filled spots with 220-grit sandpaper. This is spot repair, not cabinet-wide sanding — you’re fixing defects, not dulling the finish.
4. Apply the liquid deglosser. Following the product label exactly, wipe or brush the deglosser over all surfaces to be painted. Keep the room ventilated and wear chemical-resistant gloves. Let it flash off for the time specified on the label — typically 10–30 minutes. The surface should look uniformly dull.
5. Tape off what stays. Protect walls, countertops, appliances, and the interior of cabinet boxes with painter’s tape and drop cloths or rosin paper.
6. Apply bonding primer. Using the angled brush for edges and details and the foam roller for flat areas, apply one thin, even coat of bonding primer. Work with the grain on wood. Don’t over-brush — bonding primers set quickly. Let it dry per the label (usually 1–2 hours). If you’re covering a dark color with a light one, or painting over oak or mahogany, consider a stain-blocking bonding primer to prevent tannin bleed-through.
7. Paint in thin coats. Apply your cabinet enamel in thin, even coats — two to three coats is typical. Thin coats level better, dry harder, and resist drips. Use the brush for corners, grooves, and edges; the foam roller for flat door and drawer faces. Allow each coat to dry fully per the label before recoating (often 4–6 hours for waterborne enamels).
8. Let it cure — this is the step people skip. Paint feels dry in hours but reaches full hardness over days to weeks, depending on the product. Waterborne alkyd enamels can take 2–4 weeks to fully cure. Treat the cabinets gently during this period: no slamming, no harsh cleaners, no shelf liner pressed hard against fresh paint.
9. Reattach hardware and rehang. Once cured enough to handle (check your paint’s label — usually 24–48 hours minimum), reattach hardware and rehang doors using your numbering system. This is also the natural moment to upgrade to new knobs or pulls, which makes the whole kitchen feel new for very little money.
Choosing the Right Paint
The paint matters more than the no-sanding method. Cabinets take daily abuse — grease, moisture, slamming, cleaning — and the wrong product will look tired within a year regardless of prep.
| Paint type | Durability | Best for | Watch out for |
|---|---|---|---|
| Waterborne alkyd enamel | Excellent | Most kitchens; white/light cabinets; hardest DIY finish | Longer dry and cure times; premium price |
| Acrylic cabinet enamel | Very good | DIYers wanting faster recoat and easier application | Slightly less hard than waterborne alkyd |
| Oil-based alkyd | Excellent hardness | Dark cabinets where yellowing won’t show | High VOCs, slow dry, yellows over time on whites |
| All-in-one paint (primer + paint) | Good | Budget refreshes, low-use kitchens | Less proven long-term than separate primer + enamel |
| Chalk-style paint | Poor unless topcoated | Furniture and decorative pieces | Not durable enough for kitchen cabinets without a heavy-duty topcoat |
The practical recommendation: a waterborne alkyd enamel (examples include Benjamin Moore Advance and Sherwin-Williams Emerald Urethane Trim Enamel) over a dedicated bonding primer. It delivers near-oil hardness with water cleanup and low odor. If budget is tight, a quality acrylic cabinet enamel from a major brand is a solid runner-up.
Two rules that matter more than brand: never use regular wall paint on cabinets — it isn’t formulated for the abrasion and moisture, and it will fail. And choose satin or semi-gloss sheen — flat paint shows every fingerprint and can’t be scrubbed.
The Durability Question
Let’s be direct: a properly prepped no-sanding paint job is durable, but it has a ceiling. On a sound existing finish with thorough degreasing, deglossing, bonding primer, and quality enamel, you can reasonably expect several years of good-looking service in a normal kitchen. It will not match a factory finish or a professional spray job with full sanding — those remain the gold standard.
What shortens the life of a no-sanding job:
- Skipping or rushing the degreasing step (the number one cause of early peeling)
- Painting over a failing finish instead of addressing it
- Using wall paint or skipping primer
- Putting cabinets back into hard service before the paint cures
What extends it: gentle cleaning with mild soap (no abrasive pads), prompt wipe-ups of cooking grease, and touching up chips early before moisture gets underneath. Think of it the way you’d think about upcycling any piece in your home — the finish lasts when the prep was honest and the maintenance is light but consistent.
Mistakes That Ruin No-Sanding Paint Jobs
- Painting over grease. If you take one thing from this guide: the degreasing step is the whole game. When in doubt, clean it again.
- Applying the deglosser like paint. It’s a surface treatment, not a coating. Follow the label’s dwell time and don’t let it pool or dry in thick patches.
- Skipping primer because the paint says “paint + primer.” All-in-one products are convenient, but on slick cabinet surfaces a dedicated bonding primer is the safer bet. Primer is cheap insurance.
- Thick coats. They drip, they sag, and they cure soft. Three thin coats always beat two thick ones.
- Rehanging too soon. The paint feels dry but hasn’t cured. Give it the time the label asks for — your patience here is worth more than any product choice.
- Forgetting the backs of doors. Paint all sides, including edges and the backs of doors and drawer fronts. Unpainted edges absorb moisture and look unfinished every time a door opens.
If this project gives you the DIY bug, the same prep-first mindset applies to plenty of weekend work — a DIY floating shelf for open kitchen storage, or reclaimed wood projects that add character around your refreshed cabinets.
Frequently Asked Questions
Do I need to sand at all when painting kitchen cabinets? Not necessarily. On a sound, intact existing finish, thorough degreasing plus a liquid deglosser plus a bonding primer replaces sanding’s job. You will still want fine sandpaper for spot repairs (filling dents and holes), and for laminate surfaces a light scuff-sand helps the primer grip.
What is liquid sandpaper, exactly? It’s a chemical deglosser that dulls glossy finishes so paint can adhere — a wipe-on alternative to the scratch pattern sandpaper creates. It produces no dust and reaches details sandpaper can’t. Ventilate well and follow the label.
How long does no-sanding cabinet paint last? With proper prep and quality enamel, several years in a typical kitchen. It won’t match a factory finish, but it dramatically outlasts a rushed job. Cure time and gentle early care matter as much as product choice.
Can I paint laminate cabinets without sanding? It’s riskier. Deglossers don’t bite into plastic surfaces reliably. Lightly scuff laminate with fine-grit sandpaper and use a bonding primer formulated for slick surfaces — minimal sanding, but don’t skip it entirely here.
Should I spray or brush cabinets? Spraying gives the smoothest finish but requires equipment, masking, and practice. A quality angled brush plus foam mini-rollers gives excellent results for most DIYers with far less setup and overspray risk.
Is it cheaper to paint cabinets or replace them? Painting is dramatically cheaper — typically $110–$180 in materials versus thousands for professional painting or replacement. If the cabinet boxes are structurally sound and the layout works, painting is one of the highest-ROI updates in a kitchen.
Conclusion
Painting kitchen cabinets without sanding is not a hack or a shortcut — it’s a different preparation method, and it works when you respect what each step is doing. Degrease like you mean it. Dull the gloss chemically. Prime with a product made for slick surfaces. Paint thin, cure patiently, and choose an enamel built for the abuse kitchens dish out.
Done this way, the result looks intentional and lasts for years, at roughly the cost of a nice dinner out. Done carelessly — painted over grease, no primer, thick coats — it peels, and the “time saved” by skipping sanding gets spent twice over on a redo.
The broader lesson applies to every DIY finish in your home: preparation is the project. The paint is just the visible part. Get the invisible part right, and the visible part takes care of itself.
Sources and further reading:
The Kitchn — The $9 Secret to Perfectly Painted Kitchen Cabinets (liquid sandpaper/deglosser explained)
Sensible Digs — 5 Best Liquid Sander Deglossers of 2026 (deglosser FAQs: priming still needed, laminate caveats)
Home and Forever — What Type of Paint to Use on Kitchen Cabinets (paint-type comparison: waterborne alkyd enamel, acrylic, oil, chalk)
Apartment Therapy — Best DIY Paint for Kitchen Cabinet Makeovers (long-term durability notes on cabinet enamels)

Welcome to Homeblesh! I'm a professional content writer with over five years of experience creating well-researched, practical, and reader-focused content for clients on Upwork and Fiverr. Now, I've dedicated my expertise to building Homeblesh, where I share helpful guides, honest recommendations, and actionable tips based on careful research and industry knowledge. My goal is to provide accurate, trustworthy information to help you make informed decisions while delivering clear, useful, and easy-to-understand content.
- Muhammad Imran

- Muhammad Imran

- Muhammad Imran

- Muhammad Imran


