

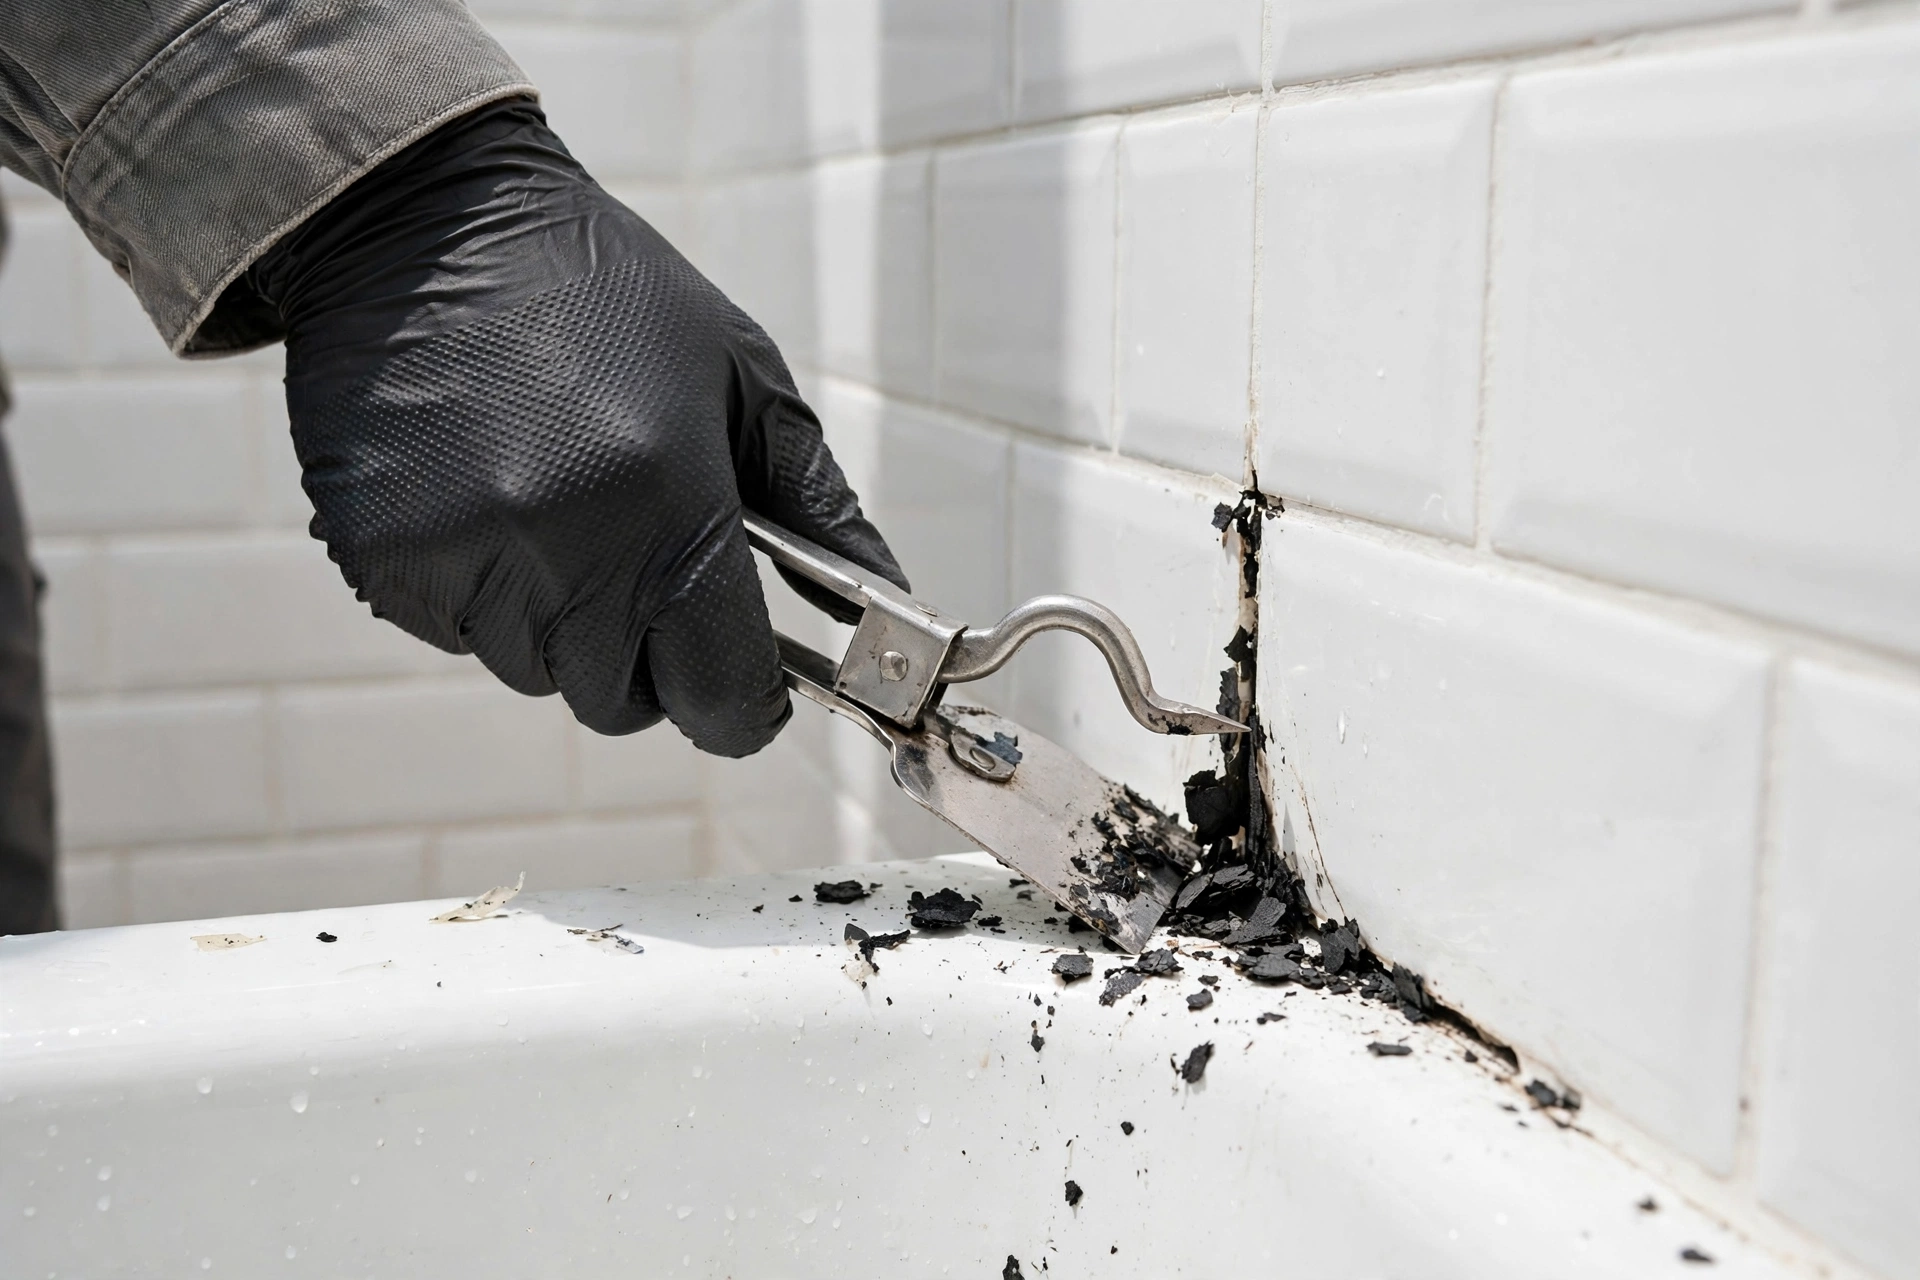
There’s a special kind of embarrassment that comes with a guest bathroom. The tiles look fine, the fixtures shine, and then someone leans over the tub and spots it: a grimy, peeling line of caulk, speckled with black mold, pulling away from the wall. Suddenly the whole bathroom looks tired.
Re-caulking a bathtub is one of the most satisfying weekend DIY projects you’ll ever tackle: under $30 in materials, about two hours of work, and a crisp new caulk line that makes the whole tub look professionally installed.
The catch is that the details matter. Skip the old caulk removal and the new bead will peel within months; rush the cure and shower steam will ruin your work before it hardens. This guide walks you through how to caulk a bathtub the way a professional would: prep done right, the right caulk for the job, and a smooth finish that lasts for years.
Table of Contents
- Why You Need to Re-Caulk Your Tub
- Tools and Materials You’ll Need
- Choosing the Right Caulk
- Step-by-Step: How to Caulk a Bathtub
- Step 1: Remove ALL the Old Caulk
- Step 2: Clean and Dry the Joint Thoroughly
- Step 3: Tape Both Sides of the Joint
- Step 4: Cut the Nozzle and Load the Caulk Gun
- Step 5: Apply One Steady Bead
- Step 6: Smooth and Tool the Bead
- Step 7: Pull the Tape While the Caulk Is Wet
- Step 8: Let It Cure Before You Use the Tub
- Common Mistakes to Avoid
- Frequently Asked Questions
- The Bottom Line
Why You Need to Re-Caulk Your Tub
Caulk isn’t decoration — it’s waterproofing. The joint where your bathtub meets the tile wall flexes every time the tub fills with water and shifts under weight. Over time, caulk cracks, shrinks, and pulls away. Here’s what happens when you ignore it:
Mold and mildew take hold. Once the seal breaks, moisture gets into tiny gaps and feeds mold. That black speckle on the caulk line isn’t just ugly — once mold grows under the caulk, you can’t scrub it off. The only fix is starting over.
Water gets behind the tub. This is the expensive one. Water seeping through failed caulk can rot the wood framing behind your tile and damage drywall or backer board — a hidden problem you won’t see until tiles loosen or the floor softens. A $15 tube of caulk is cheap insurance.
It just looks bad. Let’s be honest — dingy caulk drags the whole bathroom down. Fresh caulk is one of the highest-return cosmetic fixes in a bathroom, right up there with a fresh bead of paint or new grout.
How do you know it’s time? Run your finger along the caulk line — if it’s cracked, pulling away from the tub or tile, soft, or moldy beyond what a bleach scrub fixes, it’s done. Most tub caulk lasts five to ten years, depending on the product and how well the bathroom is ventilated. If your tub joint is due, add it to your seasonal home checklist — it’s the kind of small job that fits perfectly into a fall home maintenance checklist routine.
Tools and Materials You’ll Need
You probably own half of this already.
Must-haves:
- Caulk gun — a basic dripless caulk gun (typically around $10–$15) beats the cheapest skeleton-frame models; the trigger release stops oozing when you let go.
- Kitchen-and-bath caulk — one 10-ounce tube covers a standard tub.
- Caulk remover tool or utility knife — a plastic or metal caulk remover tool (typically around $5–$8) with a triangular blade is safer for tile than a razor. A retractable utility knife works too — just keep the blade shallow.
- Rubbing alcohol (isopropyl alcohol) — for cleaning the joint after scraping. Non-negotiable.
- Painter’s tape — 3/4- or 1-inch blue tape, the secret to straight, clean caulk lines.
- Rags and paper towels — you’ll go through a few.
- Small dish of soapy water — for smoothing silicone with your finger.
Nice to have:
- Caulk smoothing tool — a little silicone-profiled tool (typically around $5) that shapes the bead into a perfect concave line. A damp finger works fine, but the tool gives more consistent results.
- Plastic putty knife — for scraping softened caulk without scratching acrylic tubs.
- Caulk softener/remover gel — if the old caulk is stubbornly stuck. Apply, wait as directed, then scrape.
Total cost if you’re starting from scratch: typically around $25–$40.
Choosing the Right Caulk
This is where most people go wrong — grabbing whatever tube says “caulk” on the shelf. Your bathtub needs a caulk labeled kitchen and bath, with mold and mildew inhibitors, designed for constant moisture. Here’s how the three main types compare:
| Feature | 100% Silicone | Siliconized Latex / Acrylic | Hybrid / Polymer (e.g., MS polymer) |
|---|---|---|---|
| Best for | Tub and tile joints — the pro standard | Quick jobs, areas with light moisture | Everything, including tough joints |
| Flexibility | Excellent — stretches as the tub moves | Moderate — can crack with tub flex | Excellent |
| Water resistance | Best of the three | Good when cured, but breaks down faster in constant moisture | Very good |
| Mold/mildew resistance | Best when labeled kitchen-and-bath | Decent, but tends to mold sooner | Good |
| Paintability | No — paint won’t stick to cured silicone | Yes — paints beautifully | Usually yes, check the label |
| Cleanup | Mineral spirits before it cures; mechanical scraping after | Soap and water before it cures | Soap and water or mineral spirits, varies by product |
| Typical cure time | 24–48 hours | About 24 hours | 24–72 hours |
| Typical price per 10 oz tube | Around $8–$12 (estimate) | Around $4–$7 (estimate) | Around $10–$15 (estimate) |
The bottom line on caulk type: For a bathtub, 100% silicone kitchen-and-bath caulk is the professional’s choice. It stays flexible as the tub moves, resists water best, and carries the strongest mold inhibitors. The downsides — harder to work with, can’t be painted — don’t matter for a tub joint.
This Old House consistently recommends silicone for wet-area joints like tubs and showers, noting that its flexibility and waterproofing outperform latex in areas that stay damp.
Step-by-Step: How to Caulk a Bathtub
Plan for about 90 minutes of active work, plus 24–48 hours of cure time where nobody uses the tub. Pick a weekend day when the bathroom can stay empty.
Step 1: Remove ALL the Old Caulk
This is the most important step, and the one people skip. Never apply new caulk over old caulk. The new bead can’t bond to a surface coated in old, moldy silicone — it will peel away within months.
Run your caulk remover tool or utility knife along both edges of the old bead — first the tub side, then the tile side — and pull the strip out in one piece if you can. For stubborn bits, a caulk softener gel makes scraping much easier. Get aggressive: dig into the joint until only clean tub and tile surfaces remain. On acrylic or fiberglass tubs, use plastic tools rather than metal to avoid scratches.
Don’t forget the joint where the tub meets the floor on the apron side — it matters too.
Step 2: Clean and Dry the Joint Thoroughly
Caulk bonds only to clean, dry surfaces. Here’s the sequence:
- Wipe the joint out with a damp rag to remove loose debris and dust.
- If there was mold under the old caulk, scrub the joint with a 1:10 bleach-to-water solution, rinse well, and let it dry.
- Wipe the entire joint down with rubbing alcohol on a rag. This removes soap film, body oils, and any residue from the caulk softener — all of which prevent bonding.
- Let the joint dry completely. This is critical and often rushed. Give it at least 2–3 hours of air drying, or point a fan at it. Caulk applied over damp surfaces will fail. If you removed caulk in the morning, do the re-caulking in the afternoon.
Step 3: Tape Both Sides of the Joint
Run painter’s tape along both sides of the joint — one strip on the tub, one on the tile — leaving a consistent 1/4-inch gap over the seam. It protects your surfaces and forces a clean, straight line even if your bead wobbles a little.
Press the tape edges down firmly so caulk can’t seep underneath. At corners, overlap the tape pieces slightly. Take your time — neat tape lines are half the battle.
Step 4: Cut the Nozzle and Load the Caulk Gun
Open the tube and cut the nozzle tip at a 45-degree angle. Cut small — you can always cut more, but you can’t cut less. The opening should be roughly the width of the joint you’re filling, usually about 1/4 inch. A smaller opening gives you a tighter bead and more control; beginners should err on the smaller side.
Load the tube into the caulk gun, pierce the inner seal with the poker (most guns have one built into the handle), and squeeze a test bead onto cardboard. You want a smooth, consistent flow.
Step 5: Apply One Steady Bead
Start at one corner and work your way around the tub in one continuous motion. Hold the gun at 45 degrees with the nozzle flat against the joint, and squeeze steadily while moving at an even pace — roughly 1 inch per second. The nozzle should be pushing caulk into the joint ahead of it, not dragging behind.
If you need to stop and reposition, that’s fine, but try to minimize stops: each pause leaves a blob you’ll have to smooth out.
Fill the joint fully — the caulk must contact both the tub and tile surfaces, or it’ll fail.

Step 6: Smooth and Tool the Bead
Now shape the bead before it starts to skin over (silicone skins in 10–30 minutes, so don’t dawdle). You have two options:
- The pro method: Dip your finger in soapy water and run it along the bead in one smooth, continuous stroke, pressing lightly to concave the caulk into the joint. Keep a damp rag nearby to wipe your finger between passes.
- The tool method: Use a caulk smoothing tool or a damp sponge edge to shape the bead. This gives a very uniform profile.
The goal is a smooth, slightly concave bead with no gaps or ridges. Work in one direction, one pass per section — going back and forth lifts the caulk.
Step 7: Pull the Tape While the Caulk Is Wet
Pull the painter’s tape immediately, while the caulk is still wet, pulling slowly at a low angle away from the joint. If you wait until it sets, the tape will tear through the bead.
Once the tape is off, leave the bead alone. Don’t touch it, don’t smooth it again, don’t “fix” a spot. Every touch after this point makes it worse.
Step 8: Let It Cure Before You Use the Tub
Wait 24–48 hours before running water in the tub or shower. Check the tube’s label for the exact cure time — 100% silicone typically needs a full 24 hours minimum, 48 to be safe. Keep the bathroom ventilated and the room warm; cold, humid air slows curing.
I know it’s inconvenient. But showering on uncured caulk is the single fastest way to waste two hours of good work — water breaks the bond before it forms, and steam causes the caulk to bubble and separate.
Common Mistakes to Avoid
The errors I see in almost every bad caulk job:
- Caulking over old caulk. New caulk can’t bond to old caulk, especially old silicone. It peels off in strips within months. Remove everything first, every time.
- Using the wrong caulk. General-purpose or paintable latex caulk in a tub will crack, mold, and fail fast — it must say kitchen and bath on the tube. Doing a bigger bathroom refresh? Pair this with how to fix a running toilet and how to unclog a bathroom sink drain without chemicals.
- Laying too thick a bead. More caulk isn’t more waterproof — a thick bead takes longer to cure, skins over on top while staying soft underneath, and looks lumpy. Match the bead to the joint size, about 1/4 inch for most tubs.
- Caulking a damp joint. Even slightly damp surfaces prevent silicone from bonding. The alcohol wipe and full dry time aren’t optional.
- Showering before it cures. Water on uncured caulk ruins the bond. Plan the project for a day when nobody needs that shower for 48 hours.
- Cutting the nozzle too wide. A wide opening floods the joint and makes a mess on your tile. Start small — you can always open it up.
- Smoothing with a dry finger. Dry skin drags and tears silicone. Wet it with soapy water, or use a proper smoothing tool.
Frequently Asked Questions
How long before I can use the tub or shower?
At least 24 hours for 100% silicone; 48 is safer, especially in a cool or humid bathroom. Check the tube’s label, then plan the project so the tub sits untouched for two full days.
Should I use silicone or latex caulk for a bathtub?
Use 100% silicone kitchen-and-bath caulk — more flexible, more water-resistant, and more mold-resistant than latex. Latex is easier to work with and paintable, but it breaks down faster in constant moisture; save it for baseboards and window trim.
What’s the best way to remove old caulk?
A dedicated caulk remover tool with a triangular blade, plus a caulk softener gel for stubborn spots. Score both edges of the old bead, peel it out, then scrape the joint clean. Finish with a bleach scrub if there was mold, a rubbing-alcohol wipe, and full dry time. Avoid metal razor blades on acrylic or fiberglass tubs — they’ll scratch.
Why does my caulk keep getting moldy?
Usually one of three things: the caulk isn’t rated for kitchen-and-bath use, the bathroom isn’t ventilated enough (run the exhaust fan during and 20 minutes after every shower), or the bead cracked and moisture got underneath. If mold keeps returning in the same spot, check for a leak behind the tub.
How often should I re-caulk a bathtub?
Most tub caulk lasts five to ten years. Inspect the joint once a year — if you see cracks, gaps, discoloration that won’t scrub off, or sections pulling away from the wall, it’s time. Re-caulking on schedule is far cheaper than repairing water damage from a failed seal.
Can I caulk over old caulk in a pinch?
It’ll look fine for a few weeks, then peel — the new layer can’t bond to old silicone. If you’re staging a house or hosting guests tomorrow, a thin skim coat over a clean, intact old bead might buy time, but plan to do it properly soon after.
The Bottom Line

Caulking a bathtub isn’t glamorous, but few DIY projects offer this much payoff for so little money and effort. Under $30 and an afternoon of work buys a crisp, professional-looking tub — plus a waterproof seal that protects your walls and subfloor for years.
The whole job comes down to three rules: remove the old caulk completely, keep everything clean and dry, and don’t rush the cure. Get those right and even a first-timer’s caulk job will look pro.

Welcome to Homeblesh! I'm a professional content writer with over five years of experience creating well-researched, practical, and reader-focused content for clients on Upwork and Fiverr. Now, I've dedicated my expertise to building Homeblesh, where I share helpful guides, honest recommendations, and actionable tips based on careful research and industry knowledge. My goal is to provide accurate, trustworthy information to help you make informed decisions while delivering clear, useful, and easy-to-understand content.
- Muhammad Imran

- Muhammad Imran

- Muhammad Imran

- Muhammad Imran


