

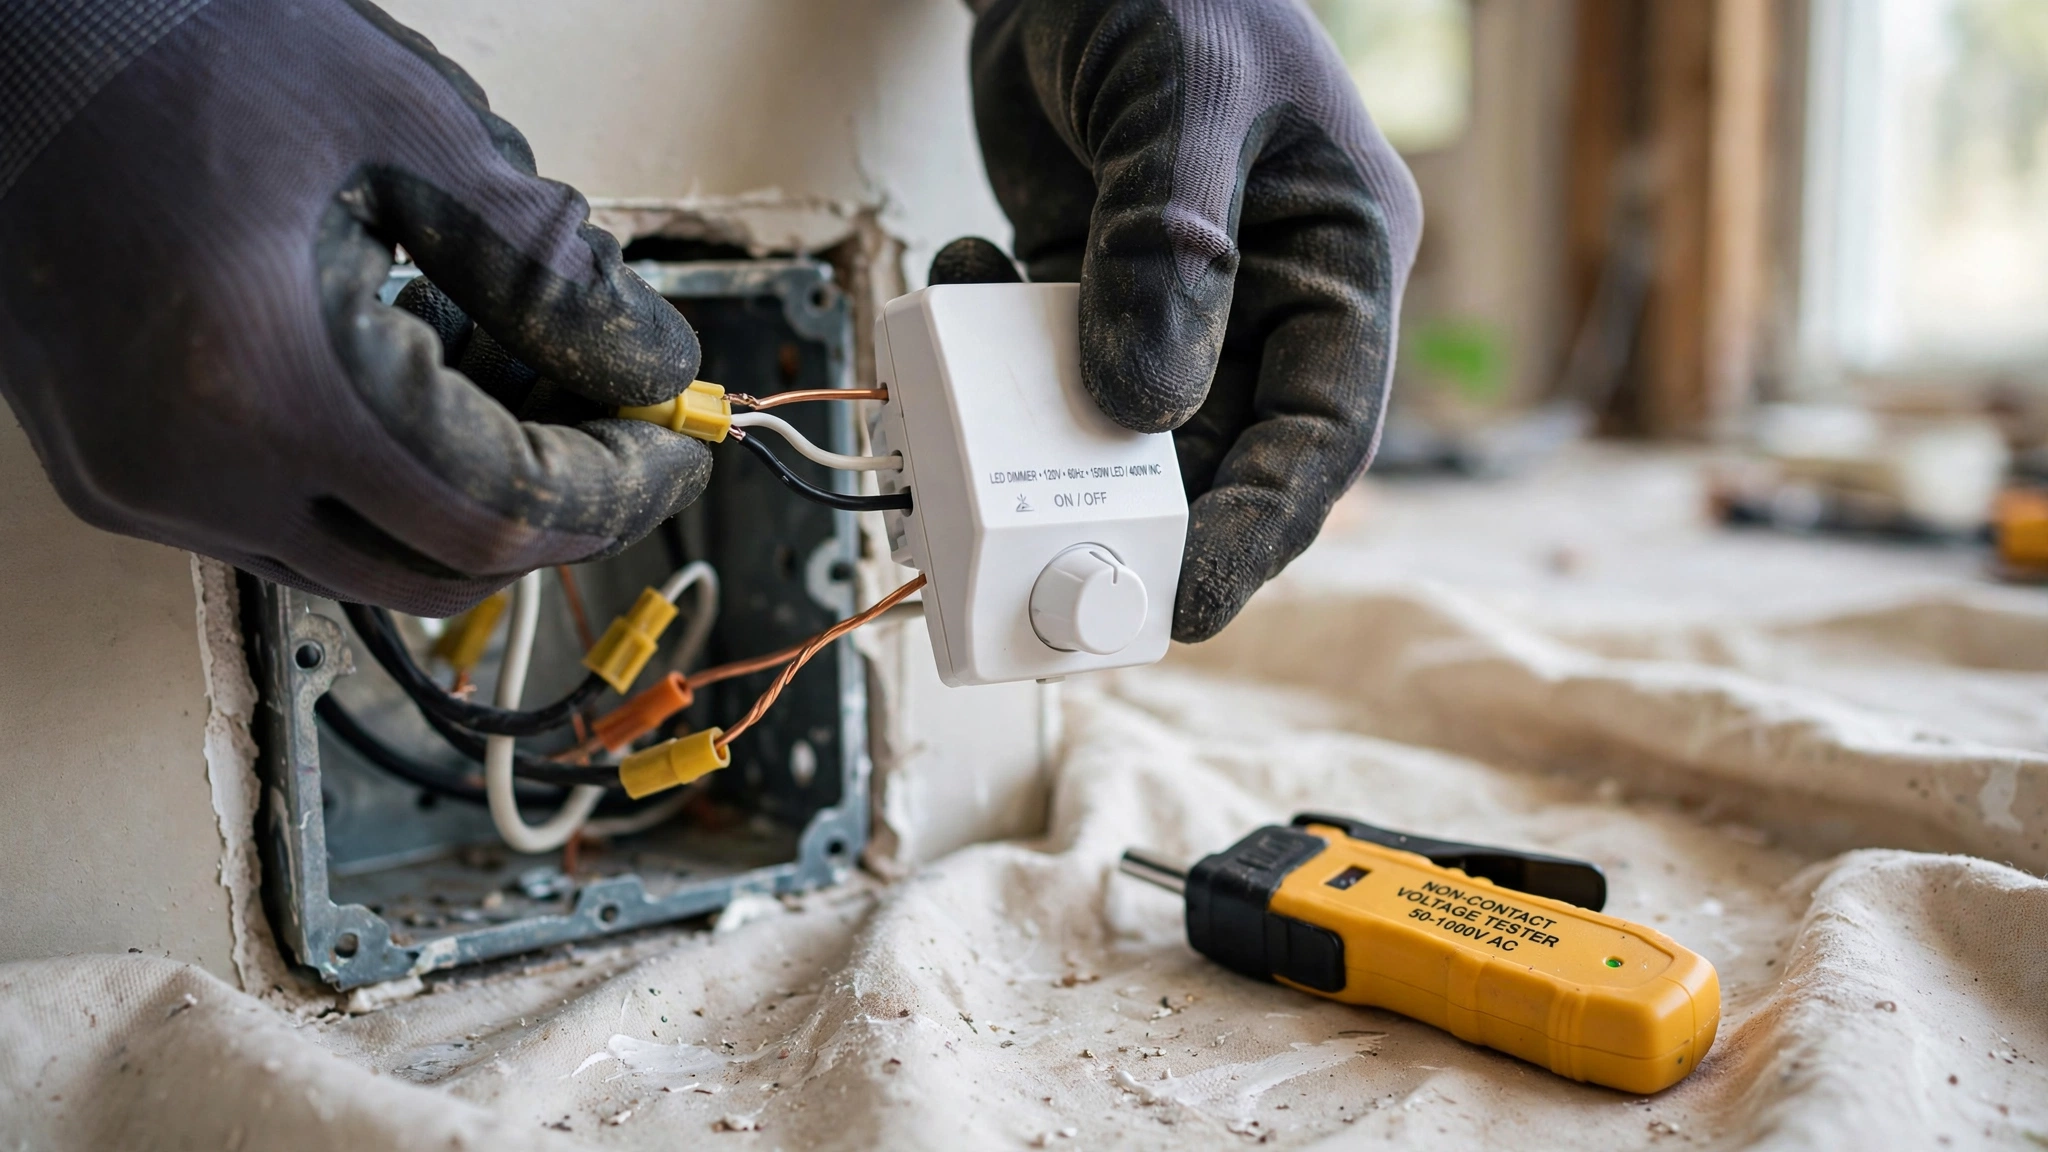
There’s nothing quite like the feeling of sliding a dimmer down as the evening winds down. Bright enough to find a lost remote one moment; wrapped in a soft, warm glow the next. A dimmer switch is one of the cheapest, quickest upgrades you can make to a room — most cost less than a pizza, and the whole job takes under an hour.
The good news? If you can change a light bulb and use a screwdriver, you can handle this. I’ll walk you through the whole thing step by step. But one thing first: electricity doesn’t forgive carelessness. Follow the safety section before you touch anything, and if anything feels off, call a licensed electrician. Knowing your limits is part of being a good DIYer.
Table of Contents
Safety First: Read This Before You Touch Anything
Don’t skip this. Wiring a dimmer is genuinely simple, but it involves live wires inside your walls, and mistakes here can cause shocks or fires. Every step below assumes you’ve done these four things:
- Turn off the breaker. Not the light switch — the actual circuit breaker in your panel. Flip it off, then tape a note over it so nobody in the house flips it back on while you’re working.
- Verify the power is actually off. Use a non-contact voltage tester at the switch box. Test it on a known live outlet first so you know the tester works, then confirm there’s no voltage at the switch before you unscrew anything. A cheap tester costs a few dollars and is the single most important tool in this project.
- Know your house’s wiring. Most homes in the US are wired with standard 120V circuits. If you have aluminum wiring (common in homes built in the 1960s and 70s), older cloth-wrapped wiring, or a switch box that’s crammed impossibly full, stop and call a licensed electrician.
- When in doubt, hire it out. A dimmer install is typically a quick, inexpensive job for an electrician. If you’re unsure about anything — wiring colors, a box with no ground wire, anything that doesn’t match what you see here — get a pro. That’s not failure. That’s smart.
What You’ll Need: Tools and Materials
Tools:
- Flathead and Phillips screwdrivers
- Non-contact voltage tester (non-negotiable)
- Wire strippers
- Needle-nose pliers
- Flashlight or headlamp (your lights are off, remember)
- Wire nuts (often included with the dimmer)
Materials:
- A new dimmer switch — single-pole or 3-way, matched to your setup and bulbs (more on this below)
- A new wall plate, if you want a fresh look (many dimmers come with one)
- Electrical tape (optional, for extra confidence around wire nuts)
The dimmer itself is the main purchase. A basic single-pole LED-compatible dimmer typically runs around $15–$30, while a 3-way or smart dimmer typically runs around $25–$60. Those are ballpark retail figures, not exact prices — but the point stands: this is a small-budget project.
Single-Pole vs. 3-Way Dimmers: Know What You’re Working With
Before you buy anything, you need to know which kind of switch you’re replacing. Buy the wrong dimmer and it simply won’t work.
Single-pole switch: One switch controls one light (or set of lights). This is the common bedroom or bathroom setup. The replacement is a single-pole dimmer — straightforward.
3-way switch: Two switches control the same light, like the top and bottom of a staircase. A 3-way setup needs a 3-way dimmer, and in most cases only ONE of the two switches gets replaced with the dimmer — the other stays as a regular 3-way switch. Check your dimmer’s instructions for the exact arrangement.
Not sure which you have? Flip the light on, then try any other switch that might control the same light. If two switches control one fixture, it’s a 3-way. Ten-second check.
Multi-location (4-way) setups: Three or more switches controlling one light add a 4-way switch into the mix. The wiring is busier here — if the box looks intimidating, call an electrician.
A Quick Comparison
| Feature | Single-Pole Dimmer | 3-Way Dimmer |
|---|---|---|
| Controls | One switch for one light | One of two switches for one light |
| Wiring | Two insulated wires + ground | Three insulated wires + ground |
| Typical use | Bedrooms, bathrooms, single-entry rooms | Hallways, staircases, large rooms |
| Price range (typical) | Around $15–$30 | Around $25–$40 |
| Difficulty | Beginner | Beginner to intermediate |
The LED Compatibility Question
Old-school dimmers designed for incandescent bulbs cut power in a way that works fine for glowing filaments but confuses LED electronics. The result: flickering, buzzing, lights that won’t dim fully, or bulbs that shut off at low settings. The fix is simple — buy a dimmer specifically rated for LED bulbs.
Here’s your compatibility checklist:
- Use dimmable LED bulbs. Not all LEDs are dimmable. Check the packaging — it will say “dimmable” clearly. Non-dimmable LEDs on a dimmer can flicker, buzz, or fail early. This is the most common mistake in the book.
- Buy an LED-rated dimmer. Look for “LED compatible” or “C-L” on the package. These are designed for the low wattage of LEDs.
- Check the manufacturer’s compatibility list. Brands like Lutron publish lists of LED bulbs they’ve tested with their dimmers. If your exact bulb is on the list, you’re golden. This takes two minutes on your phone in the store.
- Watch the wattage range. LED dimmers have a minimum and maximum wattage. LEDs draw very little power, so a dimmer with a high minimum load might not “see” a single 9-watt LED bulb properly. If you’re dimming one small LED, make sure the dimmer’s minimum wattage is lower than your bulb’s wattage.
- Smart bulbs are a special case. If you use smart bulbs with their own app, usually do NOT put them on a dimmer. Smart bulbs dim themselves — a dimmer choking their power supply causes flickering and dropouts. Leave them on a regular switch and dim through the app.
Dimming also reduces energy use, and pairing a dimmer with efficient LEDs is a straightforward way to trim lighting costs. For the bigger picture, my guide on how to reduce your electricity bill at home covers the other easy wins.
Step-by-Step: How to Install a Dimmer Switch
Breaker off, tester verified, dimmer and bulbs confirmed compatible. Here’s a single-pole installation — the most common kind; the 3-way steps are nearly identical except for one extra wire.
Step 1: Remove the old switch plate and switch
Unscrew the wall plate, then the two mounting screws holding the switch to the box. Gently pull the switch out — don’t yank; you need to see how the wires connect.
Step 2: Take a photo of the wiring
Snap a clear picture of the switch with all wires attached, noting which wire goes to which screw. If anything goes sideways, this photo is your roadmap back.
A standard single-pole setup will look like this:
- Two insulated wires (usually black) connected to the two side screws — one brings power in, the other sends it to the light.
- A bare copper or green wire — the ground, connected to the green screw.
Older switches may also have wires pushed into holes in the back instead of wrapped around screws. Take note of that too.
Step 3: Disconnect the old switch
Loosen the screws and remove the wires, or release the backstab connections. Straighten the wire ends gently with your pliers. If the copper looks nicked, trim it back and strip a fresh ¾-inch with your wire strippers.
Step 4: Connect the dimmer
Most modern dimmers come with short wire leads instead of screw terminals, which actually makes this easier. Match the dimmer’s wires to the box wires with wire nuts:
- Dimmer’s black (or “hot”) lead → the incoming hot wire from the box
- Dimmer’s other black/red lead → the wire going to the light fixture
- Dimmer’s green or bare copper lead → the ground wire from the box
Twist each wire nut on firmly — give it a gentle tug to make sure it holds. If your box has no ground wire (older homes sometimes don’t), the dimmer’s instructions will tell you what to do, but this is one of those moments where calling an electrician is the wise move.
For a 3-way dimmer, you’ll see an extra traveler wire (typically red). Match each wire to the dimmer’s wiring diagram one by one — your Step 2 photo is worth its weight in gold here.
Step 5: Tuck the wires and mount the dimmer
Carefully fold the wires back into the box — dimmers are bulkier than regular switches, so don’t force anything. Screw the dimmer into the box, attach the new wall plate, and step back.
Step 6: Restore power
Go flip the breaker back on. This is the satisfying part.

Testing Your New Dimmer
Don’t just flick it on and declare victory — run through the full range:
- Turn it on. The light should come on smoothly, no delay, no pop.
- Slide it all the way down. The light should dim gradually to a low glow. If it cuts out abruptly, the bulbs or dimmer may need an adjustment (see troubleshooting).
- Listen. A faint hum from the dimmer is normal; loud buzzing is not.
- Watch for flicker. Hold several brightness levels for 30 seconds each. Flickering at low levels is the classic dimmer/bulb mismatch symptom.
- Check the 3-way companion (if applicable). Flip the other switch — the light should work normally from both locations.
Everything smooth? Congratulations — you just did real electrical work.
Troubleshooting: Flickering, Buzzing, and Other Common Issues
Most dimmer problems trace back to a handful of causes:
| Problem | Most Likely Cause | Fix |
|---|---|---|
| Lights flicker, especially at low brightness | Non-dimmable LEDs, or dimmer not LED-rated | Swap to dimmable LEDs and an LED-rated dimmer |
| Audible buzzing from bulb or switch | Bulb/dimmer mismatch, or loose connection | Try a different dimmable bulb; check wire nuts |
| Lights won’t dim below ~30% | Dimmer’s low-end trim set too high | Adjust the dimmer’s low-end trim (see below) |
| Lights shut off at low settings | Minimum load not met, or incompatible bulb | Check wattage range; try a bulb from the compatibility list |
| Dimmer feels hot | Overloaded, or normal warmth? | Warm is normal; hot to the touch means turn off the breaker and call an electrician |
A note on low-end trim: Many modern dimmers have a small adjustment dial or programming mode that sets the lowest dimming level. If your lights drop out or flicker at the bottom of the slider, adjusting the low-end trim usually fixes it — your dimmer’s manual shows how. It takes about a minute and solves a surprising number of “my dimmer doesn’t work right” complaints.
When to stop troubleshooting and call a pro: If the breaker trips, you smell burning, the switch is hot to the touch, or the wiring doesn’t match anything described here — turn the breaker off and call a licensed electrician.
Pro Tips: Common Mistakes to Avoid
- Skipping the voltage test. Breakers get mislabeled. Test every time — it takes ten seconds.
- Using a standard dimmer with non-dimmable LEDs. Worth repeating: this is the number-one source of flicker, buzz, and premature bulb death. Match dimmable bulbs with an LED-rated dimmer.
- Overloading the box. Dimmers run warmer and are physically bigger than regular switches. If the box is already crammed, the dimmer may not fit safely. When in doubt, an electrician can swap in a deeper box.
- Ignoring the wattage math. Add up every bulb’s wattage on the circuit and make sure it’s within the dimmer’s rated range — both minimum and maximum. Six 9-watt LEDs is 54 watts total, fine for almost any dimmer. But a single 4-watt bulb might fall below a dimmer’s minimum.
- Not updating your home maintenance routine. Give the dimmer a glance during regular home checkups — warm is fine, hot is not, and buzzing that appears months later means something changed. I fold this into my fall home maintenance checklist — switches and outlets earn a quick look while I’m already going room to room.

Frequently Asked Questions
Do I need an electrician to install a dimmer switch?
Not necessarily. A single-pole dimmer swap is one of the most beginner-friendly electrical projects — turn off the breaker, verify with a voltage tester, and follow the wiring one wire at a time. Hire a licensed electrician if your home has aluminum wiring, no ground wire, a confusing multi-switch setup, or anything that doesn’t match the standard wiring here.
Can I install a dimmer switch myself if I’ve never done electrical work?
Yes, with the right precautions. It’s a common first electrical project because you’re swapping one device for another — no new wire to run. Read the safety section twice, buy a non-contact voltage tester, photograph the existing wiring before disconnecting anything, and stop if anything looks unfamiliar.
Why do my LED lights flicker with my new dimmer?
Almost always a compatibility issue: the bulbs aren’t dimmable, or the dimmer isn’t LED-rated. Swap to dimmable LED bulbs and an LED-compatible dimmer, check the manufacturer’s bulb compatibility list, and try adjusting the dimmer’s low-end trim setting.
Can I use a regular dimmer switch with LED bulbs?
Not a good idea. Standard dimmers designed for incandescent bulbs frequently cause LED flicker, buzzing, and limited dimming range. LED-rated dimmers are built for how LEDs draw power and cost only a few dollars more.
How much does it cost to install a dimmer switch?
DIY, the dimmer itself typically costs around $15–$30 for a basic single-pole LED dimmer, or around $25–$60 for a 3-way or smart dimmer, plus a few dollars for a voltage tester if you don’t own one. Hiring an electrician adds a service-call fee that varies widely by region — get a local quote if you’d rather have a pro.
Will a dimmer switch save electricity?
Yes — dimmed lights draw less power than full-brightness ones. The savings are modest per bulb but real across a whole house, especially paired with efficient LEDs.
The Bottom Line
Installing a dimmer switch is one of those rare projects that’s cheap, fast, genuinely useful, and a little bit thrilling the first time. The whole job is three things: kill the power and prove it, swap the wires one at a time, and match your dimmer to dimmable LED bulbs. Get those right and you’ll be sliding into that perfect evening glow within the hour — safely.
And once the living room’s dialed in, you’ll start eyeing every other switch in the house. That’s normal. That’s how it starts.
Sources / Further Reading
- This Old House — step-by-step dimmer installation guides and electrical safety basics
- ENERGY STAR — guidance on LED lighting, dimmability, and energy-efficient home lighting choices
- Lutron — manufacturer compatibility lists and wiring diagrams for LED dimmers

Welcome to Homeblesh! I'm a professional content writer with over five years of experience creating well-researched, practical, and reader-focused content for clients on Upwork and Fiverr. Now, I've dedicated my expertise to building Homeblesh, where I share helpful guides, honest recommendations, and actionable tips based on careful research and industry knowledge. My goal is to provide accurate, trustworthy information to help you make informed decisions while delivering clear, useful, and easy-to-understand content.
- Muhammad Imran

- Muhammad Imran

- Muhammad Imran

- Muhammad Imran


