

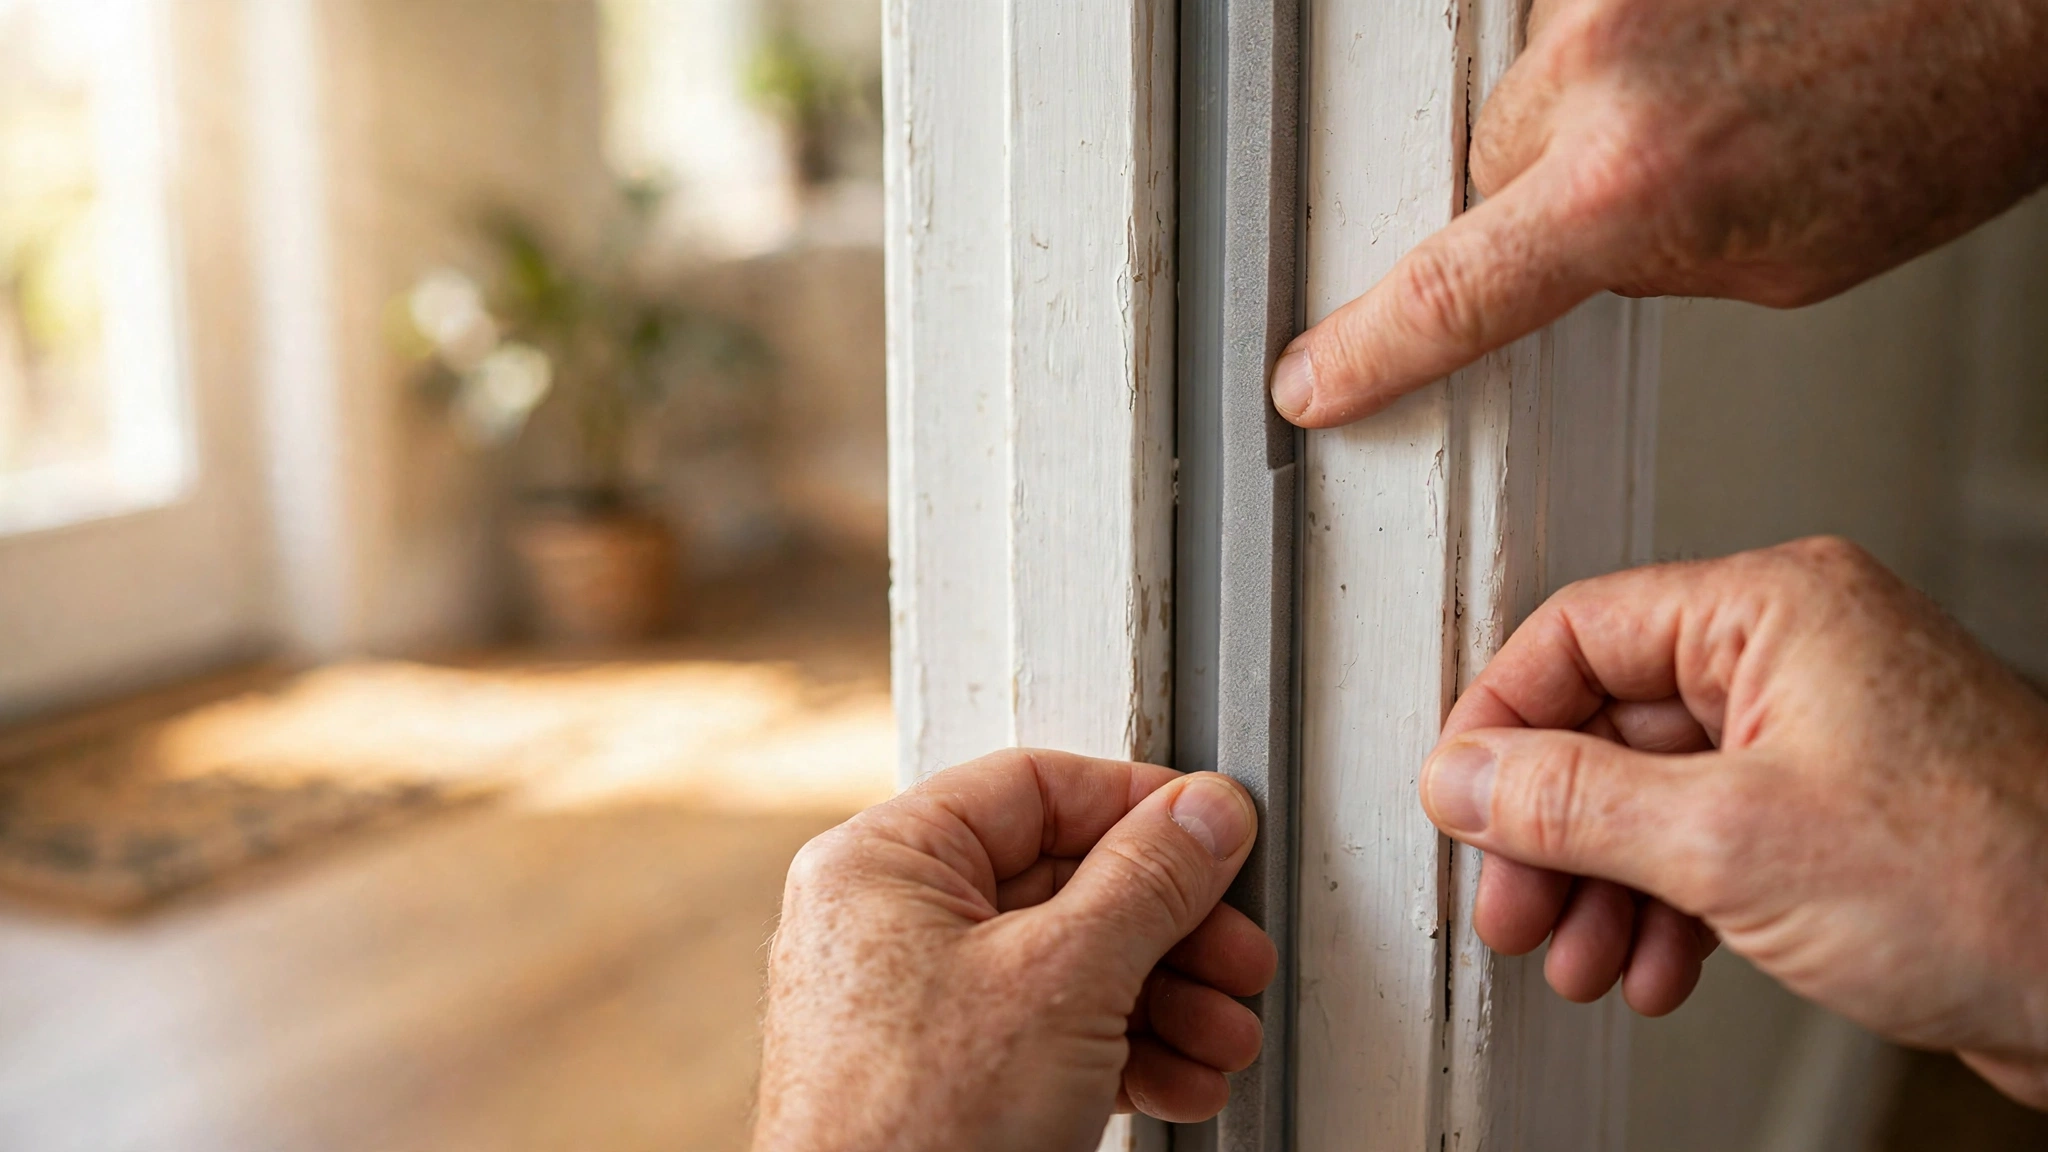
October finds the weak spots in a house. The first genuinely cold evening, you lock up and feel it — a thin ribbon of cold air sliding across the floor past your ankles. The heat is running, the windows are shut, and the house still can’t hold its warmth.
Nine times out of ten, the front door is the culprit. Wood expands and shrinks with the seasons, foam weatherstripping compresses flat after a few years, and the old sweep at the bottom wears down to almost nothing. Small gaps, but they add up to a steady leak of warm air all winter long.
The fix is one of the best-value DIY projects around: materials cost less than a dinner out, the work takes an afternoon, and the result is immediate — a door that closes with a satisfying thunk and an entryway that finally feels cozy. It’s one of the quickest wins on our fall home maintenance checklist, and October is ideal timing — cool enough to feel the drafts, mild enough for adhesives to bond.
Here’s the full walkthrough: finding drafts, choosing weatherstripping, and step-by-step installation for kerf-in seals, foam tape, V-strip, and door sweeps — plus threshold adjustments, mistakes to avoid, and answers to the usual questions.
Why Front Doors Leak Air
A front door sits in its frame with a small working gap — that’s normal. What’s not normal is a worn-out seal: weatherstripping gets squeezed every time the door shuts, baked by summer sun, frozen in winter, until it flattens, cracks, or pulls loose.
The bottom is usually the worst spot. Sweeps drag across the threshold thousands of times a year and wear down, and thresholds can loosen or settle, opening a gap you could slide a pencil under. On the hinge side, screws loosen over the years until the latch side no longer meets the frame squarely.
Your heating system doesn’t care how small the gaps are — it just runs longer to replace the escaping warm air. The U.S. Department of Energy lists weatherstripping among its recommended air-sealing techniques and notes that caulking and weatherstripping are simple upgrades that often pay for themselves in a year or less. That’s why sealing drafts is one of the easiest ways to reduce your electricity bill this winter: it fixes the leak instead of asking the furnace to work harder.
Step 1: Find the Drafts
Before buying anything, find out where the air is coming in. You might need weatherstripping on all three sides, or just a new sweep — no point guessing.

The hand test. On a cool, windy day, run the back of your hand slowly around the closed door’s edges — top, sides, bottom. It’s more temperature-sensitive than your palm, and you’ll feel a distinct cold stream wherever there’s a real gap.
The dollar-bill test. Close the door on a dollar bill and try to pull it through. If it slides out easily, the seal there is weak. Repeat on the latch side, hinge side, and top — the fastest way to tell whether old weatherstripping has compressed flat.
The flashlight test. At night, have someone outside aim a flashlight at the closed door’s edges while you stand inside with the lights off — any light leaking through marks an air gap too. (Skip on doors with glass panels.)
The incense test. Hold a lit incense stick near the door’s edges: if the smoke bends or wavers instead of rising straight, you’ve found moving air. The Department of Energy recommends this method for locating air leaks.
Also check alignment: close the door and look at the gap — it should be roughly even all around. If it’s wide at the top on one side and pinched on the other, the door is sagging on its hinges, and weatherstripping alone won’t fix it. Tighten the hinge screws first.
Step 2: Choose the Right Weatherstripping
The weatherstripping aisle looks overwhelming, but for a front door it comes down to five realistic choices — and you can mix them. Many doors end up with kerf-in seals on the sides and top plus a sweep on the bottom.
| Type | Best for | Typical cost per door | Lifespan (estimate) | Install difficulty |
|---|---|---|---|---|
| Self-adhesive foam tape | Small, even gaps; quick fixes | $5–$10 | 1–3 years | Easy |
| V-strip (tension seal) | Sides and top; uneven gaps | $8–$15 | 5–10 years | Easy–moderate |
| Kerf-in foam or vinyl | Frames with a pre-cut kerf slot | $10–$20 per kit | 5–10 years | Moderate |
| Tubular rubber/silicone | Larger gaps; longest-lasting seal | $12–$25 | 5–10+ years | Moderate |
| Door sweep | The gap under the door | $10–$25 | 2–5 years | Easy |
Cost and lifespan figures are typical ranges, not quotes — prices vary by brand and store.
Self-adhesive foam tape is peel-and-stick foam you press into the door frame. Cheap, fast, and forgiving — a good pick for small, even gaps. The trade-off is durability: it compresses permanently and the adhesive can fail in extreme heat, so expect to replace it every couple of years.
V-strip, or tension seal, is a strip of plastic or metal folded into a V. You fasten it into the jamb so the V springs open against the closed door. It seals with spring tension rather than compression, so it handles uneven gaps well and lasts far longer than foam — and it’s barely visible once installed.
Kerf-in weatherstripping is the factory-style solution. Many modern frames have a thin slot — the kerf — cut into the jamb, and the strip has a rigid fin that presses into it. If your frame has one, use it: it seals beautifully, lasts for years, and looks clean. Check the frame before buying anything else.
Tubular rubber or silicone is a hollow tube that compresses when the door closes — the premium pick for larger or irregular gaps. This Old House’s Tom Silva favors tubular silicone, noting it stays flexible as the door swells and shrinks with the seasons.
Door sweeps handle the bottom, which the other types can’t reach: a metal or plastic strip with a rubber or silicone fin that brushes the threshold when the door closes. If you only feel a draft at floor level, a sweep alone might be all you need.
One caution: skip plain felt strips on an exterior door. Felt is cheap and easy, but it picks up dirt and moisture and doesn’t compress enough for a reliable seal against real weather.
Tools and Materials You’ll Need
Gather everything before you start to avoid a mid-project hardware-store run.
- Tape measure
- Utility knife or sharp scissors
- Flat pry bar or putty knife (for removing old weatherstripping)
- Rag, all-purpose cleaner or rubbing alcohol
- Hacksaw (for cutting door sweeps and metal V-strip)
- Drill/driver and drill bits (for door sweeps)
- Staple gun or small nails (for V-strip)
- The weatherstripping itself, plus a door sweep if needed
Buy a few extra feet beyond your measurements — cheap insurance against a miscut.
Step 3: Remove the Old Weatherstripping
Don’t layer new weatherstripping over the old. It never seals right, and the door usually won’t close properly.
Pull kerf-in strips straight out of their slots. Peel adhesive foam off slowly — soften leftover residue with rubbing alcohol, then scrape it off. Pry nailed or stapled strips off gently so you don’t gouge the wood.
Then clean the jambs: adhesive-backed products need a clean, dry surface, and even kerf-in strips seat better in a clean slot. Wipe with a damp rag, go over adhesive areas with rubbing alcohol, and let everything dry. If you’re using foam tape, work on a day that’s at least 50°F — most adhesives bond poorly in real cold.
Step 4: Install the New Weatherstripping
Work one type at a time. Measure each side of the frame separately — don’t assume they match — and cut each piece before installing.
Kerf-in weatherstripping
Measure the hinge side, latch side, and head jamb separately and cut each strip to exact length. Press the fin into the slot at both ends first, then work toward the middle — midpoint, then quarter points — until seated. Pulling the strip along the slot stretches it, and stretched foam shrinks back and opens a gap at the end. Butt the side and top pieces together instead of mitering; a tight butt joint seals better.
Close the door and check: the strip should squash about a third of its thickness. If the door takes real force to latch, the profile is too thick — try a thinner strip on the hinge side.
Self-adhesive foam tape
Peel back a few inches of backing and press the tape along the jamb in short sections — don’t stretch it. Place it where the door actually makes contact when closed, not where it looks tidy: close the door on a scrap piece first and use the compression mark to find the right spot. Press firmly along the whole length; good initial pressure is what keeps the adhesive holding through winter.
V-strip (tension seal)
Mount it on the stop molding inside the jamb, open side of the V facing the door. Cut vinyl with scissors, metal with a hacksaw, and fasten with the included nails or staples every few inches. The V should just kiss the closed door — far enough to make contact, not so far the door crushes it flat. Close the door after each piece to check contact before moving on.
Door sweeps

Measure the door’s width and cut the sweep to length with a hacksaw — most mount to the interior face at the bottom. Hold it in position with the door closed: the fin should just brush the threshold, not jam against it. Mark the holes, drill pilot holes (essential on metal or fiberglass doors, which can crack), and drive the screws. Open and close the door a few times: it should move freely with slight resistance. If it drags, loosen the screws, nudge the sweep up a hair, and retighten.
Step 5: Adjust the Door Threshold
If the gap under the door is uneven or too large for a sweep, check the threshold. Many modern ones are adjustable — you’ll see a row of screws along the top. Turn them a quarter-turn at a time to raise the center section until the gap is even and small, about a credit card’s thickness. Recheck with the dollar-bill test. Don’t overdo it: the threshold should seal against the sweep without making the door hard to open.
If your threshold isn’t adjustable and the gap is large, fit a taller sweep or replace the threshold — it screws down to the sill and is a straightforward job for a mild weekend.
Common Mistakes to Avoid
Most failed weatherstripping jobs come down to the same handful of reasons:
Installing it too thick. The number one mistake. Overly fat weatherstripping makes the door hard to close, so people start slamming it — which destroys the new seal in a season. The strip should compress gently, not fight the door. When in doubt, go thinner, and use a thicker profile only where the gap is genuinely larger (usually the latch side and top).
Sealing a misaligned door. If it sags or doesn’t sit square, weatherstripping is a bandage on a broken arm. Tighten the hinge screws first — if the holes are stripped, drive longer screws into the framing behind the jamb.
Skipping the cleaning step. Foam tape applied over dust and old adhesive residue will peel off by January. Five minutes of cleaning feels fussy; do it anyway.
Mind the corners. Drafts love corners, where side and top strips meet — butt the joints tightly. If light shows through a corner, air does too.
Ignoring the exterior. Weatherstripping seals the moving door, but the stationary gap between the frame and the siding is a separate leak. On a windy day, check the exterior trim — if you feel air there, exterior caulk is the fix, not more weatherstripping.
Expecting one product to do everything. The sides and top need a compressible seal, the bottom needs a sweep, and the threshold may need adjusting. A complete job usually combines two or three products — that’s normal, not a sign you bought the wrong thing.
Frequently Asked Questions
How do I know if my front door needs new weatherstripping?
Close the door on a dollar bill at several points around the frame — if it pulls through easily, the seal is weak. Other signs: daylight around the edges, a draft on the back of your hand, or weatherstripping that looks flattened, cracked, or torn.
What is the best type of weatherstripping for a front door?
If your frame has a kerf slot, kerf-in foam or vinyl is the best all-around choice. For larger gaps, tubular silicone is the premium option — This Old House’s Tom Silva recommends it because it stays flexible as the door swells and shrinks. Foam tape works for a quick fix but needs replacing every couple of years. Pair any of them with a door sweep for the bottom.
How often should I replace door weatherstripping?
Inspect it every fall. Foam tape lasts 1–3 years; V-strip, kerf-in, and silicone generally last 5–10. Replace anything that stays compressed flat, is torn or cracked, pulls away from the frame, or fails the dollar-bill test — and check the sweep’s fin yearly, since it drags on the threshold.
Can I install weatherstripping in cold weather?
Yes — with one caveat. Kerf-in strips, V-strip, and sweeps install fine in any weather. Self-adhesive foam tape needs temperatures around 50°F or higher to bond, so save that one for a mild day.
Why won’t my door close after I installed weatherstripping?
The strip is too thick for the gap. Switch to a thinner profile — many doors need a thinner strip on the hinge side, where the gap is smallest, and a thicker one on the latch side and top. The door should latch without slamming.
Does weatherstripping work on metal and fiberglass doors?
Yes — the frame determines the weatherstripping type, not the door slab. Kerf-in, foam tape, and V-strip all work regardless of material, and magnetic weatherstripping suits steel doors. Just drill pilot holes before screwing a sweep into metal or fiberglass to avoid cracking the skin.
The Bottom Line
Weatherstripping a front door is that rare project that’s cheap, quick, and immediately noticeable. For the cost of a pizza and an afternoon’s work, you get a door that seals properly and a heating system that stops fighting a constant leak all winter.
Do it in October and you’ll feel the difference on the first cold night. Then keep the momentum going — walk the rest of the house with the same draft-hunting eye, and work through our fall home maintenance checklist to catch every other spot where winter tries to sneak in.

Welcome to Homeblesh! I'm a professional content writer with over five years of experience creating well-researched, practical, and reader-focused content for clients on Upwork and Fiverr. Now, I've dedicated my expertise to building Homeblesh, where I share helpful guides, honest recommendations, and actionable tips based on careful research and industry knowledge. My goal is to provide accurate, trustworthy information to help you make informed decisions while delivering clear, useful, and easy-to-understand content.
- Muhammad Imran

- Muhammad Imran

- Muhammad Imran

- Muhammad Imran


