

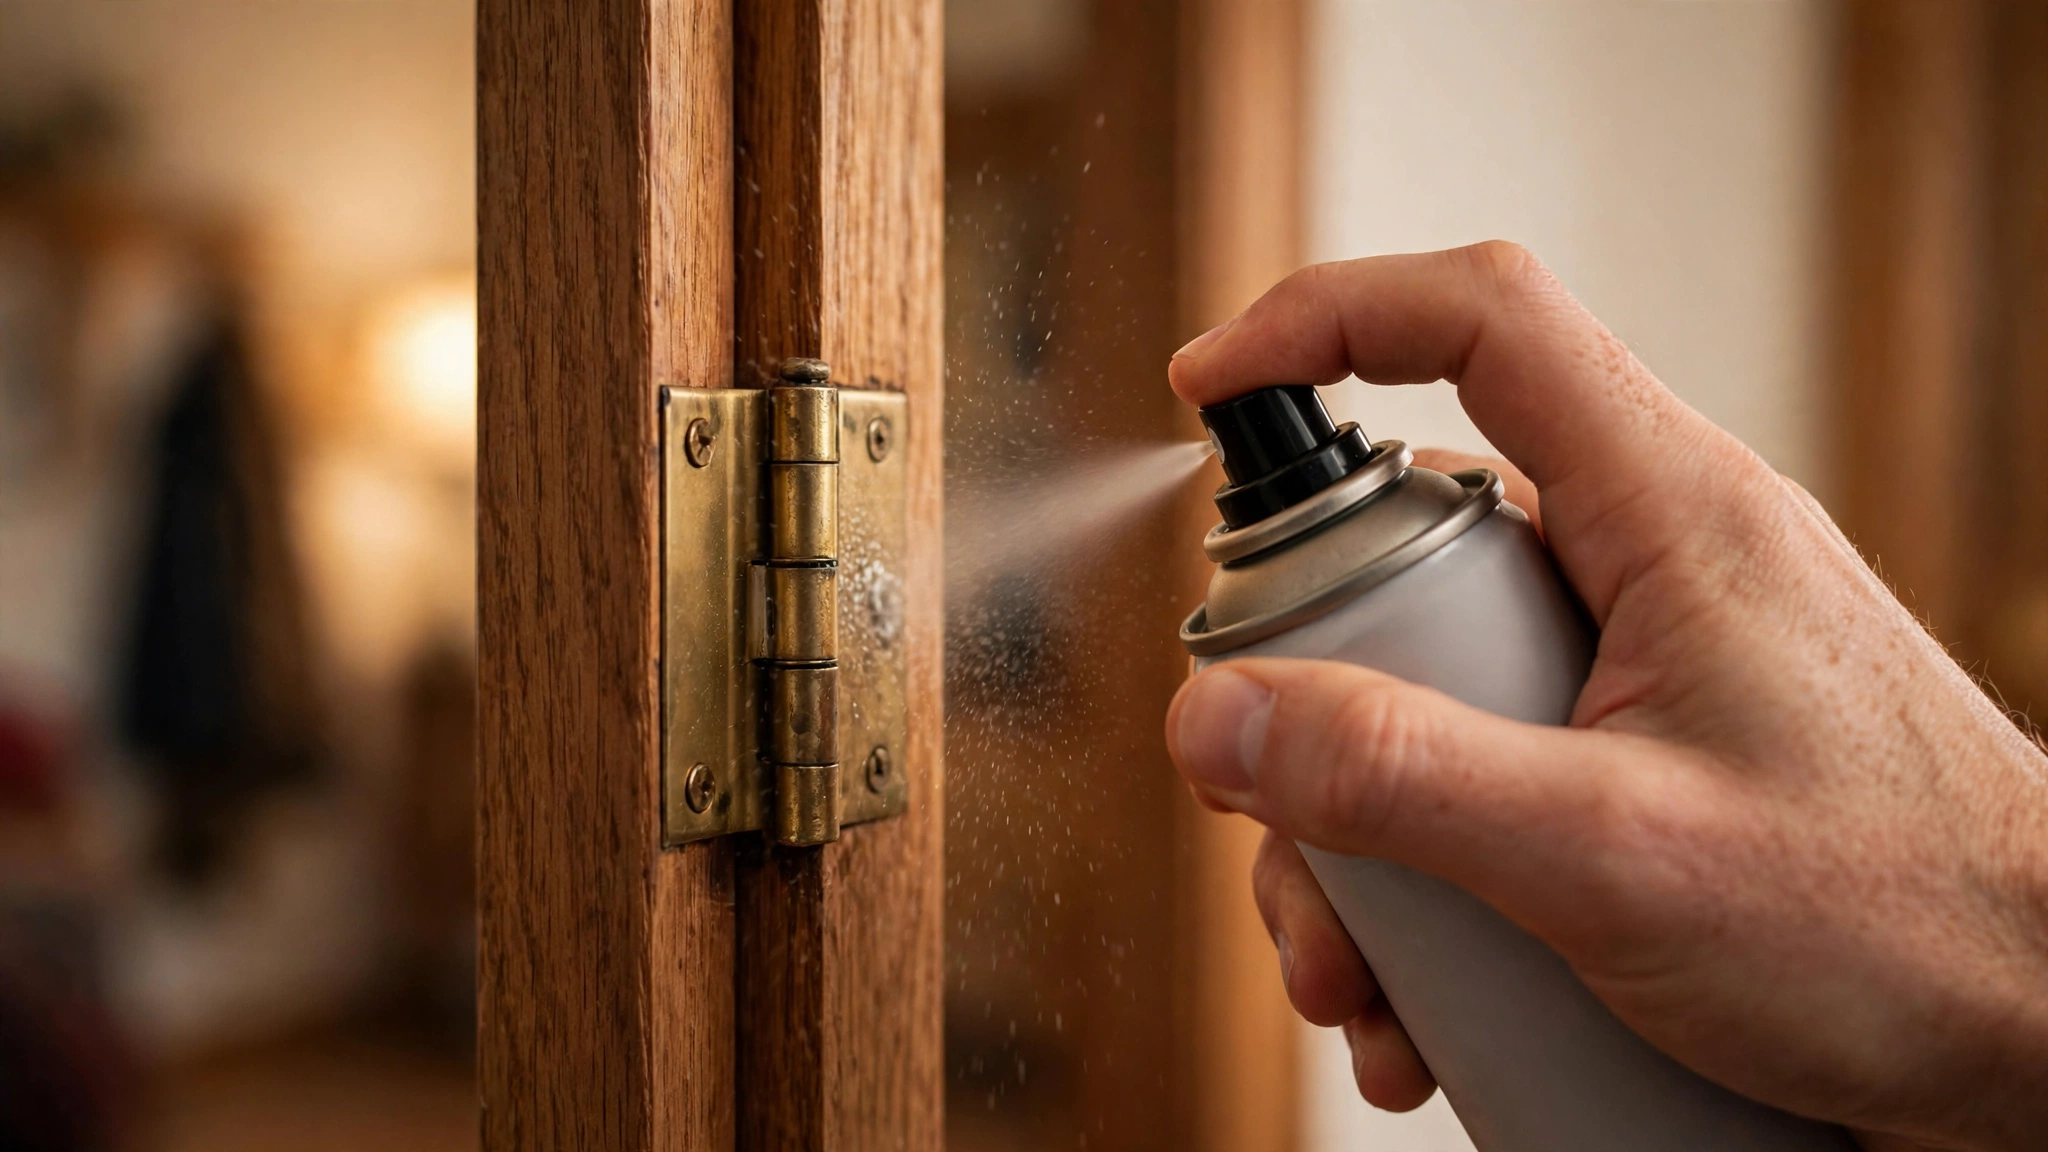
There’s nothing quite like the shame of a squeaky door. You tiptoe through the house at midnight, careful as a burglar, and then — screech. The bathroom door announces your every move like a referee’s whistle. The good news: fixing a squeaky door hinge is one of the easiest DIY wins in your entire house. No special skills, no power tools, and no call to a handyman. Most of the time, ten minutes and a little lubricant does it.
This guide walks you through why hinges squeak, which lubricant actually works best, and two methods to fix it: a 60-second quick fix without removing anything, and a full clean-and-lube that silences even the most stubborn hinges.
Why Door Hinges Squeak
A door hinge is beautifully simple: two metal leaves joined by a pin, and the door swings as the leaves rotate around that pin. The squeak happens when metal rubs against metal. But why does a hinge that was silent for years suddenly start complaining?
Dirt and dust buildup. Over time, household dust works its way into the hinge knuckle (the round barrel the pin sits in). Mixed with old, dried-out lubricant, it forms a gritty paste that grinds between the pin and the hinge. The result is friction — and friction makes noise.
Dried-out lubricant. Most hinges are lubricated during installation, but that lubricant doesn’t last forever. Heat, humidity, and simple time cause it to dry up or migrate out of the joint. Once the metal is unprotected, the squeaking starts.
Worn or bent pin. In heavy-use doors — the front door, the kids’ bedroom door — the pin can wear slightly or develop a subtle bend. A bent pin rubs against the inside of the hinge knuckle at an angle, and that uneven contact is a classic source of squeaking.
Misalignment. Houses settle and doors shift. If the hinge leaves are pulling against each other because the door has sagged, the pin sits under stress and the hinge groans every time the door moves.
The fix in nearly every case is the same: get the pin moving freely again with the right lubricant, clean out the gunk, and check for damage.
What You’ll Need
Here’s the short list — you probably own most of this already:
- A suitable lubricant — penetrating oil, white lithium grease, silicone spray, or powdered graphite (see the comparison below)
- A hammer and a nail set or a sturdy nail (for tapping out pins)
- An old rag or shop towel
- Fine steel wool or a wire brush (for cleaning a gunky pin)
- A door wedge or a thick book (to support the door if you remove a pin — important for heavy doors)
- Paper towels for drips
That’s it. No drill, no special hinge tool, nothing expensive.

Choosing the Right Lubricant
Not all lubricants are equal when it comes to hinges. Some are perfect; some are myths; and one very popular choice is actually a mistake. Here’s how the common options stack up:
| Lubricant | Pros | Cons | Best for |
|---|---|---|---|
| Penetrating oil (e.g., WD-40 Specialist, Liquid Wrench) | Flows into tight joints fast; dissolves grime; quick to apply | Tends to evaporate or drip away; shorter-lived fix | The quick 60-second fix when you need silence today |
| White lithium grease | Thick, long-lasting; resists moisture; stays where you put it | Messier to apply; needs the pin removed for best results | The full-fix method; exterior doors and high-use hinges |
| Silicone spray | Clean, non-staining; works on metal and painted surfaces | Doesn’t penetrate as deeply as oil; wears off faster than grease | Hinges near painted doors or light interior doors |
| Graphite powder | Dry, clean, long-lasting; won’t attract dust | Messy to handle (black dust); harder to work into a hinge without removing the pin | Interior hinges where you don’t want oily residue |
A note on regular WD-40 (the classic blue-and-yellow can): it’s primarily a water displacer and cleaner, not a long-term lubricant. It’ll silence a squeak today, but don’t expect it to last months — for a durable fix, reach for white lithium grease.
What about household oils like olive oil or coconut oil? Skip them. They go rancid, attract dust, and can stain wood. This comes up constantly, so it earns its own spot in the Common Mistakes section below.
Method 1: The Quick Fix (Without Removing the Pin)
If the squeak just started and the hinge looks intact, try this first. It genuinely takes about a minute per hinge.
- Close the door and lay a rag or paper towels on the floor under the hinge to catch drips.
- Locate the hinge knuckle — the barrel where the two leaves meet. You’ll see the pin’s head at the top.
- Apply lubricant at the top of the pin, right where it enters the knuckle. Use the straw nozzle on penetrating oil or silicone spray to get a precise shot. A few short bursts are better than a long soak.
- Work the door back and forth — open and close it slowly five or six times. This draws the lubricant down along the pin and into the joint.
- Wipe off the excess. If you skip this, oil drips down your door and onto the floor. Ask me how I know.
- Listen. If the squeak is gone or much quieter, you’re done. If it’s still there, the hinge probably needs the full treatment — move on to Method 2.
This fixes the majority of squeaky hinges. When it doesn’t, hardened grime on the pin is usually the reason — fresh oil alone can’t cut through it.
The same approach works on squeaky cabinet doors with exposed hinges. And if those cabinets are looking tired while you’re at it, take a look at how to paint kitchen cabinets without sanding — it’s a bigger project, but one that pairs well with a maintenance afternoon.
Method 2: The Full Fix (Remove, Clean, and Lubricate the Pin)
This is the proper job: take the pin out, clean everything, re-lubricate, and reinstall. Give it ten minutes per door. Do one hinge at a time so the door stays supported by the other hinges.
Safety first for heavy doors
On a standard interior door, removing one hinge pin is no big deal — the other hinges hold the door in place. But on heavy doors (solid wood, exterior, or fire-rated), wedge the door before you start: push a doorstop under the bottom of the door on the handle side, or have someone hold the door steady. Remove only one pin at a time — a heavy door can sag or shift unexpectedly when a hinge is disassembled.
Step by step

- Support the door (see above). Open the door so the hinges are accessible.
- Tap the pin upward. Place the tip of a nail set or a sturdy nail under the head of the hinge pin, and tap it gently upward with a hammer. The pin should start rising out of the knuckle. Once enough is exposed, grab it with your fingers or pliers and pull it straight up.
- Inspect the pin. Look for rust, black gunk, or a bend. Roll it on a flat surface — if it wobbles, it’s bent (see the straightening section below).
- Clean the pin. Wipe it down with a rag; for stubborn grime, rub with fine steel wool until the metal is shiny. Also swab out the hinge knuckle — wrap a small rag around a screwdriver and twist it through the barrel.
- Lubricate generously. This is where white lithium grease shines. Coat the pin thoroughly with grease, then slide it into the knuckle and pull it out a couple of times to spread the lubricant inside.
- Reinstall the pin. Drop it back into the knuckle, head up, and tap it gently down into place with the hammer.
- Open and close the door several times, then wipe up any squeeze-out around the hinge.
- Repeat for each hinge on the door — even the quiet ones, which are due for the same treatment eventually.
When you’ve done this properly, the hinge should swing silently for a long time — typically a year or more on interior doors.
Straightening a Bent Hinge Pin
If your pin wobbled when you rolled it on a flat surface, you’ve found the real culprit. A bent pin binds inside the knuckle, and no amount of lubricant will fix it permanently.
The fix is simple: lay the pin on a hard, flat surface — a concrete floor, a vise, or a workbench — and tap the bent section straight with a hammer. Roll it again to check, and repeat until it rolls true.
If the pin is severely bent, cracked, or heavily rusted, don’t bother straightening it. Replacement hinge pins cost very little at any hardware store — just bring the old one to match the size.
What to Do If It Still Squeaks
Cleaned, lubricated, straightened — and it still squeaks? Then the hinge itself may be the problem. Here’s how to think through it:
Replace the hinge. Hinges wear out. After years of service, the knuckle can develop grooves or the leaves can loosen. Replacement hinges are inexpensive and swapping one takes about fifteen minutes — just match the size and corner radius of your old hinge.
Check door alignment. If the door drags, sticks, or won’t latch, the squeak may be a symptom of a sagging door. Tighten the hinge screws — starting with the top hinge, which carries the most weight. If the screws spin without biting, the screw holes are stripped; drive a 3-inch screw into the framing behind the hinge, or pack the hole with wood glue and a golf tee, then re-drive the screw. A door that no longer sits square in its frame can also leave gaps that leak heated or cooled air — one of the small energy drains covered in our guide to reducing your electricity bill.
Common Mistakes to Avoid
- Using cooking or olive oil. It seems clever — oil is oil, right? No. Food oils go rancid, get sticky, and attract dust and insects. You’ll trade a squeak for a grinding, smelly mess within weeks. Use a real lubricant.
- Over-lubricating. More is not better. Flooding a hinge with oil just creates drips on your door and floor, and excess oil collects dust that turns back into the grime you were trying to remove. Apply, work the door, wipe the excess.
- Ignoring a bent pin. If the pin is bent, lubricant is a bandage. Pull the pin and check — it takes thirty seconds and tells you the whole story.
- Removing all the pins at once. On a door with three hinges, never pull every pin simultaneously. The door will fall, and it will be your fault. One hinge at a time, always.
- Forcing a stuck pin. If a pin won’t budge with gentle taps, don’t escalate to violence — you’ll dent the door or crack the hinge. A few drops of penetrating oil, a ten-minute wait, and a gentle twist with pliers will free almost any pin.
- Assuming the hinge is the problem when the door is. If lubricating changes nothing, stop lubricating and start investigating the door’s alignment and the hinge screws.
FAQs
Does WD-40 work on squeaky hinges?
It works as a quick fix, but it’s not ideal as a long-term solution. Classic WD-40 is mainly a water displacer and cleaner — it dissolves grime and quiets the hinge today, but it tends to evaporate, so the squeak often returns within weeks. For a fix that lasts, follow up with white lithium grease or use a silicone spray or penetrating oil designed for lubrication.
How long does the fix last?
It depends on the method and the lubricant. The quick spray fix typically buys you weeks to a few months. The full fix — pin removed, cleaned, and coated in white lithium grease — usually lasts a year or more on a typical interior door. Exterior doors and high-traffic doors (kids’ bedrooms, the front door) face more wear and weather, so expect to revisit them more often.
Is it safe to remove hinge pins on a heavy door?
Yes, as long as you support the door first. Wedge a doorstop under the bottom edge on the handle side, or have someone hold the door steady. Work on one hinge at a time so the others keep the door in place. Solid-core and exterior doors are heavy enough to sag or shift when a pin comes out, so don’t skip this step — it takes ten seconds and prevents pinched fingers and scuffed floors.
Graphite powder vs. oil — which is better?
Both work; they suit different situations. Graphite powder is dry, clean, and long-lasting, and it won’t attract dust — great for interior hinges if you don’t mind the black dust on your hands. Oils and greases penetrate better and are easier to apply without removing the pin. For the full fix with the pin out, white lithium grease is the most durable choice.
Can I fix a squeaky hinge without removing the door?
Absolutely — you never need to remove the door. The quick fix (Method 1) doesn’t even remove the pin. And for the full fix, you only remove one pin at a time while the door stays hung on the other hinges.
When should I replace the hinge instead of fixing it?
Replace the hinge when the pin is cracked or severely rusted, when the knuckle is visibly worn or grooved, or when the hinge leaves are loose in the frame and the screws won’t hold. Also consider replacement if a properly cleaned and lubricated hinge keeps squeaking — that’s the hinge telling you it’s worn out.
Conclusion
A squeaky hinge is one of those small household irritants that feels bigger than it is — until you fix it in ten minutes and wonder why you put up with it for a year. Try the quick spray fix first; if the squeak persists, pull the pin, clean it, and grease it. Check for a bent pin while you’re in there, and don’t reach for the olive oil.
And while you’re in maintenance mode, give the rest of your door hardware — knobs, latches, and strike plates — a quick look too. Making it part of a seasonal routine, like the checks in our fall home maintenance checklist, keeps small annoyances from turning into real repairs.

Welcome to Homeblesh! I'm a professional content writer with over five years of experience creating well-researched, practical, and reader-focused content for clients on Upwork and Fiverr. Now, I've dedicated my expertise to building Homeblesh, where I share helpful guides, honest recommendations, and actionable tips based on careful research and industry knowledge. My goal is to provide accurate, trustworthy information to help you make informed decisions while delivering clear, useful, and easy-to-understand content.
- Muhammad Imran

- Muhammad Imran

- Muhammad Imran

- Muhammad Imran


