

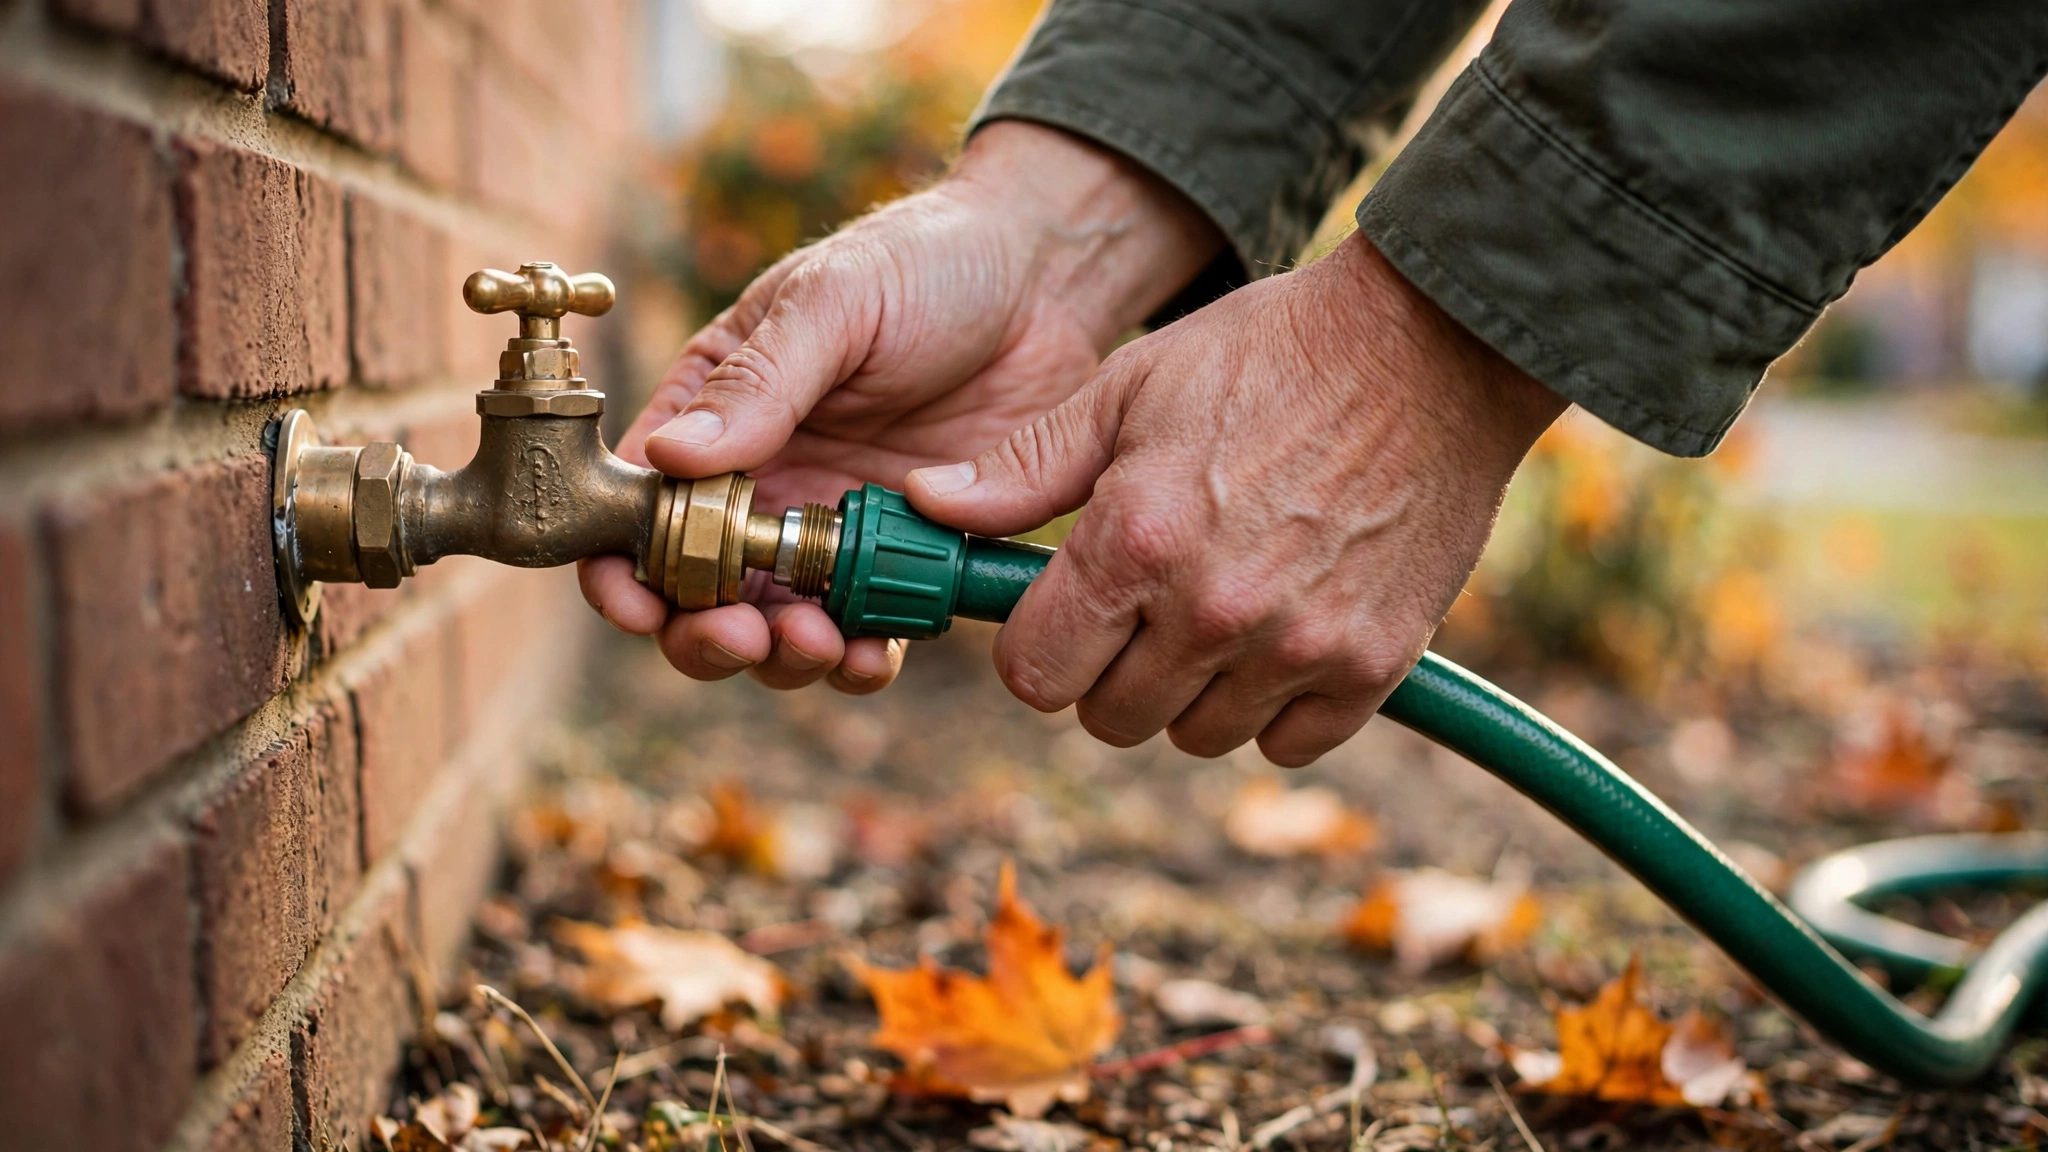
It happens quietly, and it happens every year. The first hard freeze hits overnight, and somewhere behind a brick wall or under a deck, water trapped inside an outdoor faucet turns to ice. Ice expands. Copper and brass don’t. By spring, that little spigot you forgot about in October is feeding a steady leak into your wall cavity — and you’re looking at a repair bill that could have been prevented in about twenty minutes.
Winterizing outdoor faucets is one of those jobs that feels optional right up until it isn’t. Burst outdoor pipes are among the most common and most expensive cold-weather plumbing failures in American homes. The good news: prevention is simple, cheap, and firmly in beginner-DIY territory. No special tools, no plumbing license, no crawling through anything unpleasant.
This guide walks you through the full process — identifying what kind of faucet you have, shutting off and draining the water line, and insulating everything properly — so you can close out October knowing your exterior plumbing is ready for whatever winter brings.
Table of Contents
- Why Outdoor Faucets Freeze (and Why It Matters)
- Know Your Faucet Type
- What You’ll Need
- Step 1: Disconnect and Drain Every Hose
- Step 2: Shut Off the Interior Water Supply
- Step 3: Drain the Faucet and Line
- Step 4: Insulate the Outdoor Faucet
- Step 5: Special Cases — Frost-Free Faucets and Yard Hydrants
- Don’t Forget the Sprinkler System
- Common Mistakes to Avoid
- Frequently Asked Questions
Why Outdoor Faucets Freeze (and Why It Matters)
Water is almost unique among liquids in that it expands when it freezes — by about 9 percent. Inside a pipe, that expansion has nowhere to go. Pressure builds fast, and the pipe fails at its weakest point. With outdoor faucets, the cruel part is that the break often happens inside the wall, several inches behind the faucet itself, where the pipe is hidden.
Here’s the sequence that ruins so many Octobers-turned-Aprils:
- A garden hose stays attached to the faucet into freezing weather.
- Water trapped in the hose and faucet can’t drain out.
- The first hard freeze (typically 28°F / −2°C or below for several hours) turns that trapped water to ice.
- Expanding ice splits the pipe or the faucet body — often inside the wall.
- Nobody notices until spring, when the water gets turned back on and leaks into the wall, basement, or crawl space.
A burst pipe repair typically runs a few hundred dollars for the plumbing alone — more if drywall, insulation, or flooring gets soaked. Compare that with the cost of winterizing: about twenty minutes of your time and, at most, a few dollars for a faucet cover. This is one of the highest-return maintenance tasks a homeowner can do, which is why it earned a spot on our fall home maintenance checklist.
When should you do it? Aim to winterize before your area’s first hard freeze. In much of the northern US, that’s sometime in October. If you’re unsure, check your local frost dates — and when in doubt, do it early. There’s no penalty for winterizing in September.
Know Your Faucet Type
Not all outdoor faucets are the same, and the right winterizing steps depend on which type you have. Go outside and look at yours before you start.
| Faucet type | What it looks like | Winterizing effort |
|---|---|---|
| Standard hose bib | Short faucet body; the shutoff valve sits right at the exterior wall | Moderate — needs interior shutoff + draining |
| Frost-free sillcock | Longer body (8–14 inches); the handle sits noticeably farther from the wall | Easier — valve seat sits deep inside the warm wall; still needs hose removal |
| Yard hydrant | Standalone post in the yard, usually with a lever handle | Easiest — self-draining by design; just remove attachments |
A standard hose bib is the classic older-home setup: a short brass faucet threaded through the wall, with the actual valve right at the outside. Water sits in the pipe all the way out to the exterior wall, which is exactly where it freezes first. These need the full treatment — interior shutoff, draining, and insulation.
A frost-free sillcock (also called a frost-proof faucet) is the modern standard in most homes built in the last few decades. The stem is long, and the valve that actually stops the water sits 8 to 14 inches inside the house, in the warm zone. When you close it, the water drains out of the exterior portion. They’re much more freeze-resistant — but they’re not freeze-proof. The single most important thing with a frost-free faucet is removing the hose. A connected hose traps water in the exterior section and defeats the entire design.
A yard hydrant is the freestanding post you see in rural properties and big gardens. These drain themselves below the frost line when closed. Just disconnect any hose or splitter and you’re done.
If you’re not sure which you have, measure from the wall to the handle. If the handle sticks out more than about 6 inches from the siding, it’s almost certainly a frost-free sillcock. If the valve is right at the wall surface, it’s a standard hose bib.
What You’ll Need
You probably own most of this already:
- Adjustable wrench or pliers — for stubborn hose connections
- Bucket or towel — to catch drainage water
- Insulated faucet covers — foam or hard-shell covers, typically a few dollars each at any hardware store; get one per outdoor faucet
- Foam pipe insulation (optional) — for any exposed pipe runs in unheated areas
- Flashlight — for finding the interior shutoff valve in a dim basement or crawl space
- Hose storage — a reel, hanger, or even just a coil in the garage
That’s it. No torch, no pipe cutter, no plumber’s bill.
Step 1: Disconnect and Drain Every Hose
Walk the entire exterior of your house and disconnect every single hose — from every faucet, including the one behind the garage you always forget. Also remove splitters, timers, and quick-connect fittings. Anything threaded onto the faucet traps water.
Drain each hose by stretching it out on a slope or coiling it and tipping it so water runs out. Then store hoses indoors or in a shed for winter. Hoses left outside full of water can split, and UV plus freeze cycles shorten their life significantly.
This step alone prevents most freeze damage. If you do nothing else in this guide, do this. A disconnected faucet can drain; a connected one can’t.
Step 2: Shut Off the Interior Water Supply
This step applies mainly to standard hose bibs. Frost-free sillcocks usually don’t have a separate interior shutoff — their valve is the shutoff.
Head inside to the basement, crawl space, or utility room and find the shutoff valve for each exterior faucet. It’s usually a small valve on the pipe run heading toward the outside wall, often within a few feet of where the pipe exits. Turn it clockwise to close it.
Can’t find one? Some older homes never had interior shutoffs installed for outdoor lines. If that’s your situation, skip to Step 4 (insulation becomes more important), and consider having a plumber add shutoff valves — it’s a modest job that makes every future winter easier. While you’re down there, make sure you know where your main water shutoff is too; if a pipe ever does burst, shutting off the water fast is what limits the damage.

Step 3: Drain the Faucet and Line
With the interior valve closed:
- Go back outside and open the faucet handle fully. Let any water in the line drain out.
- If your interior shutoff has a small drain cap (many do — a little cap on the side of the valve), place a bucket under it, open the cap, and let the line drain completely. Then close the cap.
- Leave the outdoor faucet handle open at about a 45-degree angle for winter. An open faucet can’t trap pressure if any residual water freezes.
For frost-free sillcocks, just open the faucet briefly to confirm it drains, then leave the handle slightly open. No interior shutoff to worry about.
Step 4: Insulate the Outdoor Faucet
Insulated faucet covers are the finishing touch. They come in two main styles:
- Foam covers — thick molded foam that slips over the faucet and cinches tight with a cord or strap. Cheap and effective.
- Hard-shell covers — rigid plastic shells with foam insulation inside. Slightly pricier, more durable, and they tend to seal better against the wall.
Either works. The key is a snug fit against the wall with no gaps — the cover traps a pocket of warmer air around the faucet. Slip it over the faucet, tighten it down, and make sure it sits flush against the siding or brick.
A cover alone won’t save a faucet that’s still full of water and connected to a hose, so think of insulation as the backup layer, not the primary defense. Drainage first, insulation second.
If you have exposed pipe runs in an unheated garage or crawl space feeding the faucet, wrap those with foam pipe insulation sleeves too. They cost very little, slide on in seconds, and protect the whole run — a trick worth borrowing from broader home energy-saving upgrades, since less heat loss anywhere helps everywhere.

Step 5: Special Cases — Frost-Free Faucets and Yard Hydrants
Frost-free sillcock owners: your winterizing is refreshingly short. Remove all hoses and attachments, open the faucet briefly to drain, and add a cover for extra protection. That’s the whole job. The most common failure mode is a hose left attached — don’t be that homeowner.
Yard hydrant owners: disconnect hoses and sprinklers, close the hydrant, and confirm it drains (you’ll usually hear it). No cover needed — the water drains below the frost line by design. If a hydrant keeps dripping after closing, the plunger washer may be worn; that’s a separate small repair worth doing before winter.
Vacation homes and unheated spaces: if a property sits empty through winter, consider shutting off the main water supply and draining the whole system, not just the outdoor faucets. An undetected leak in an empty house can run for months.
Don’t Forget the Sprinkler System
Outdoor faucets and irrigation systems freeze for the same reason, and sprinklers are even more vulnerable because of all that buried pipe. If you have an in-ground sprinkler system, it needs to be blown out with compressed air before the first hard freeze — this is one of the few winterizing jobs where calling a professional makes sense, since it requires an air compressor with enough volume to clear every zone.
Drip irrigation and soaker hoses are simpler: disconnect, drain, and store them. Smart irrigation controllers should be switched to rain/off mode or unplugged for the season.
Common Mistakes to Avoid
- Leaving one hose connected. It’s always the forgotten one — behind the garage, at the side spigot. Walk the full perimeter.
- Relying on a faucet cover alone. Covers insulate; they don’t drain. A cover on a water-filled faucet just delays freezing by a few hours.
- Closing the outdoor faucet tight for winter. Leave it slightly open so any residual water has room to expand.
- Forgetting splitters and timers. A Y-splitter left on the faucet traps water just as effectively as a hose.
- Winterizing too late. A single overnight hard freeze in October can do the damage. Watch the forecast, not the calendar.
- Ignoring the interior shutoff location. If you don’t know where your valves are before you need them, you’ll be hunting with a flashlight while water runs.
Frequently Asked Questions
When should I winterize my outdoor faucets?
Before your area’s first hard freeze — a night forecast at or below 28°F (−2°C). In northern states that’s often October; in milder climates it may be November or December. Earlier is always safe. A light frost (low 30s) rarely damages faucets, but a hard freeze can.
Do I need to winterize a frost-free faucet?
Mostly, yes — but the job is smaller. Frost-free faucets still need every hose and attachment removed. The hose is the failure point: it traps water in the faucet’s exterior section and defeats the frost-free design. Add an insulated cover for extra protection in very cold climates.
Can I just use a faucet cover without draining?
Not reliably. An insulated cover slows heat loss but won’t keep a water-filled faucet above freezing through a real cold snap. Covers are a supplement to draining and shutting off, not a replacement.
What temperature will burst an outdoor pipe?
There’s no single magic number, but risk rises sharply when temperatures stay at or below 28°F (−2°C) for several hours, especially with wind. Exposed pipes and north-facing faucets freeze first.
Should I leave outdoor faucets dripping in winter?
No — that’s advice for indoor faucets on vulnerable interior pipes during extreme cold snaps. Outdoor faucets should be shut off, drained, and covered, not left running.
What do I do in spring?
Reverse the process: remove the covers, close the outdoor faucet, reopen the interior shutoff valve slowly, and check for leaks at the faucet and inside along the pipe run. Reconnect hoses only after you’re confident everything held through winter — and check that first spring watering for drips inside the wall.
The Twenty-Minute Habit
Winterizing outdoor faucets is the definition of cheap insurance. Twenty minutes, a few dollars in covers, and a walk around the house — that’s the entire investment. The alternative is discovering a split pipe in April, cutting open drywall, and paying a plumber emergency rates for a problem that was entirely preventable.
Put it on the calendar for early October, right alongside the rest of your fall home maintenance — and pair it with weatherstripping your front door for a full October weatherization weekend. Future-you — the one with dry walls and an intact plumbing bill — says thanks.
Related: if winter prep has you thinking about the rest of your plumbing, our guides to fixing a running toilet and unclogging a bathroom sink drain without chemicals cover the indoor jobs worth tackling before the holidays.

Welcome to Homeblesh! I'm a professional content writer with over five years of experience creating well-researched, practical, and reader-focused content for clients on Upwork and Fiverr. Now, I've dedicated my expertise to building Homeblesh, where I share helpful guides, honest recommendations, and actionable tips based on careful research and industry knowledge. My goal is to provide accurate, trustworthy information to help you make informed decisions while delivering clear, useful, and easy-to-understand content.
- Muhammad Imran

- Muhammad Imran

- Muhammad Imran

- Muhammad Imran


