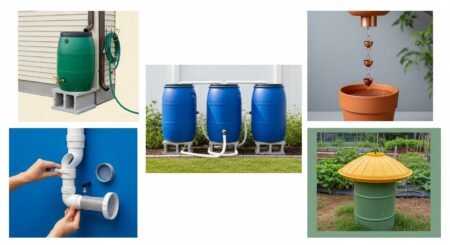
Every time it rains, your roof sheds hundreds of gallons of perfectly good water straight into the storm drain. A 1,000-square-foot roof collects roughly 600 gallons from a single inch of rain — water your garden would happily drink for free.
A rain barrel is one of the simplest sustainability upgrades a homeowner can make: a weekend project, typically under $150, no plumbing skills required. This guide walks you through the whole thing — choosing a barrel, installing the diverter, and keeping the system working for years.
Table of Contents
- Why Bother With a Rain Barrel?
- What You’ll Need
- Barrel Options Compared
- Choosing the Right Spot
- Step-by-Step Installation
- Using Your Harvested Water
- Maintenance Through the Seasons
- Common Mistakes
- FAQs
- Final Thoughts
Why Bother With a Rain Barrel?
Your plants prefer it. Rainwater is naturally soft and free of the chlorine and fluoride in municipal water. Gardeners consistently report healthier plants with rainwater — and seedlings are particularly fussy about treated tap water.
It cuts your water bill. Outdoor watering can be a huge share of summer water use. A full 55-gallon barrel covers a lot of container plants, and refills with every decent storm.
It reduces runoff. Stormwater rushing off roofs carries fertilizers and pollutants into waterways. The EPA’s WaterSense program encourages rainwater harvesting precisely because it eases pressure on storm drains and municipal supplies.
It’s satisfying. There’s something deeply pleasing about watering your tomatoes with water that fell on your own roof yesterday. Sustainability you can see.
One honest caveat: check your local rules first. Rainwater harvesting is legal and encouraged in most of the US, but a few western states have (or historically had) restrictions. A quick search for “[your state] rainwater harvesting laws” takes two minutes.
What You’ll Need
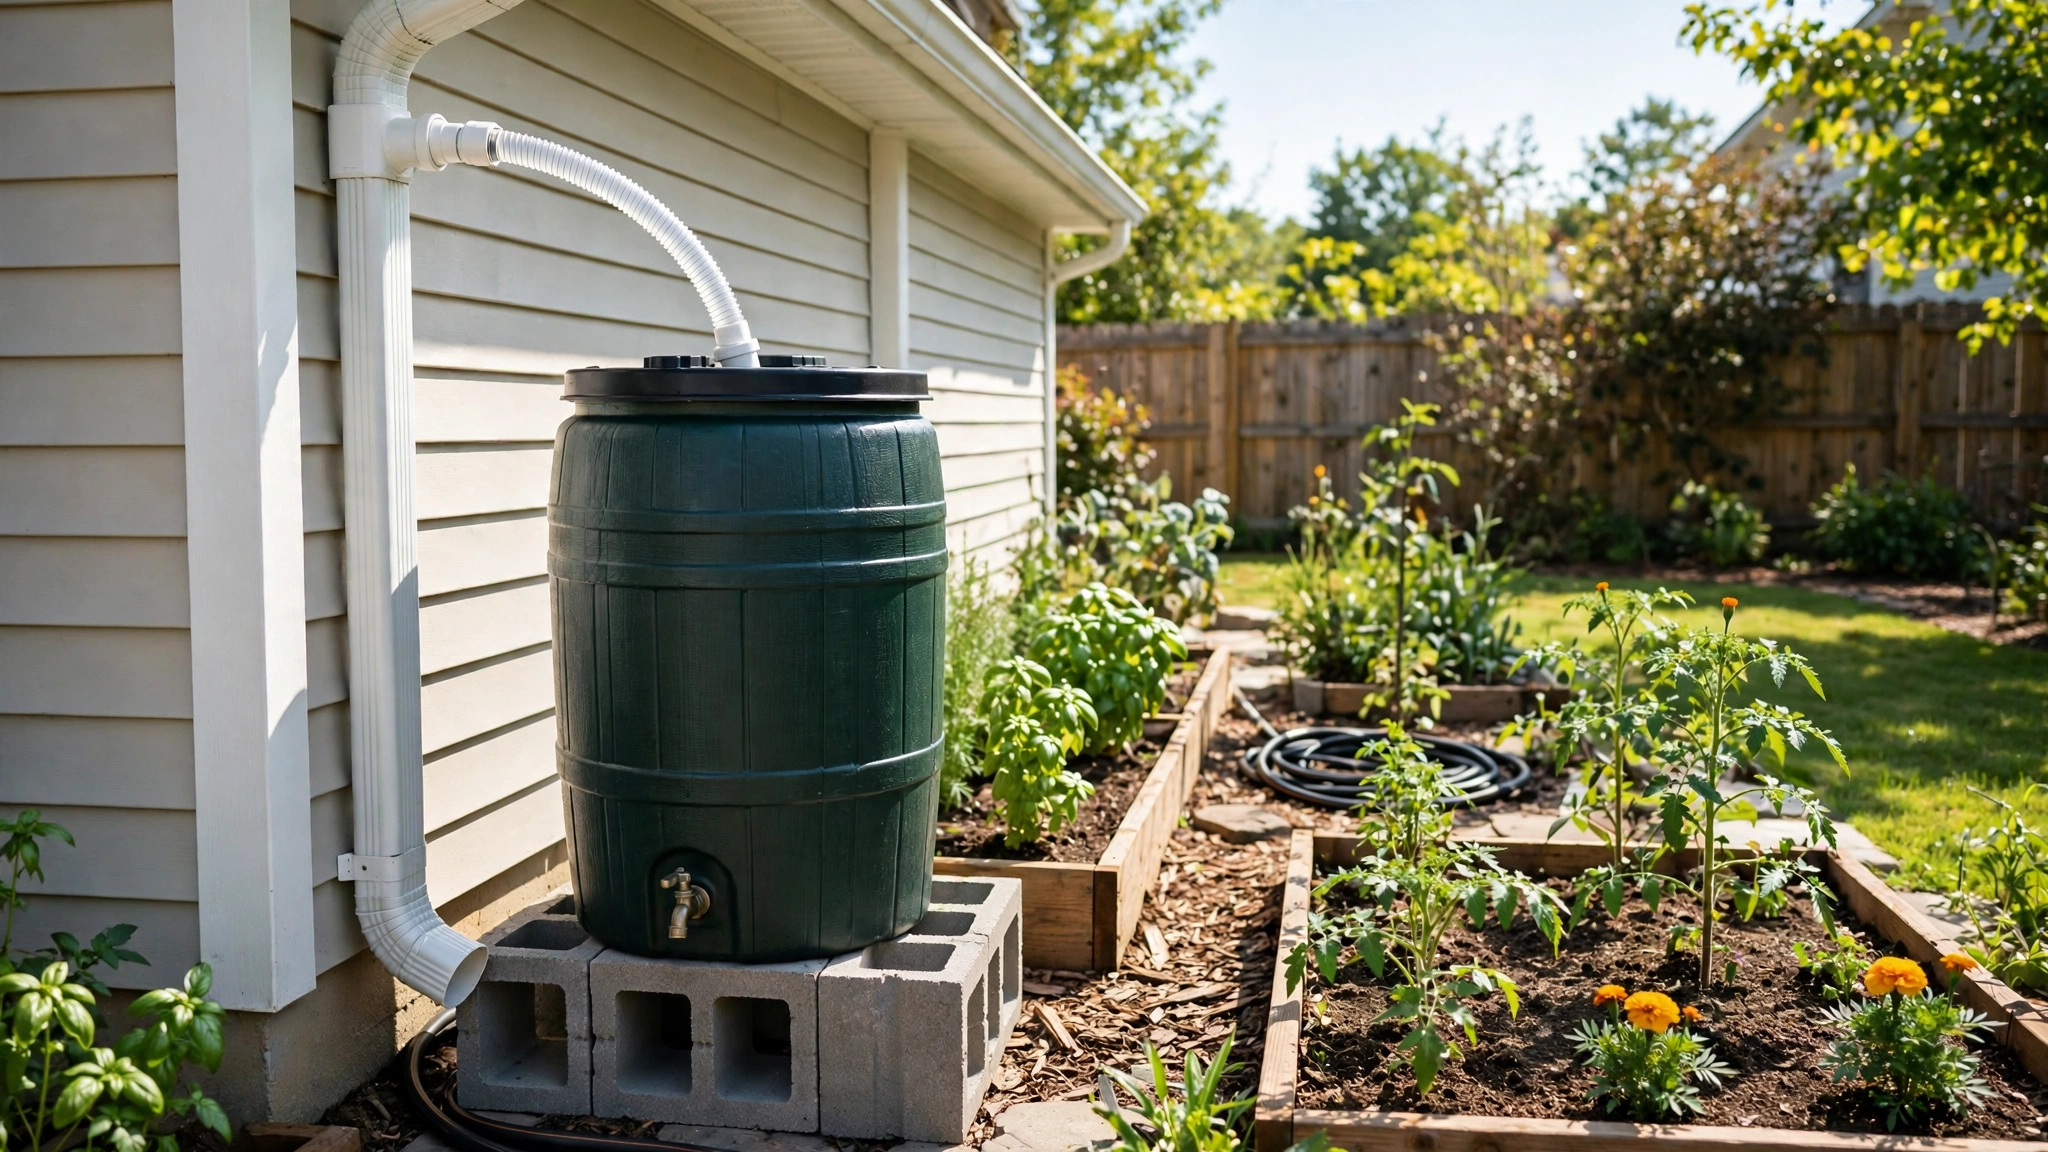
The barrel (55 gallons is the sweet spot). Food-grade plastic barrels are the standard — sturdy, UV-resistant, and cheap. Avoid barrels that held chemicals; food-grade ones that held syrup, pickles, or juice are ideal and often sold cheaply by local suppliers.
A downspout diverter kit. This is the key piece: it routes water from your downspout into the barrel and automatically sends overflow back down the spout when the barrel is full. Kits typically cost $25–$40 and include the diverter, hose, and seals.
A spigot. Most barrels need a threaded spigot installed near the bottom. Brass hose-bibb spigots (around $10–$15) last far longer than plastic ones.
A stand. Water flows by gravity, so the barrel needs height — 12–24 inches of elevation gives you enough pressure to fill a watering can or run a short soaker hose. Cinder blocks are the classic DIY stand: cheap, sturdy, level.
Overflow hose. For heavy storms, a dedicated overflow outlet near the top of the barrel with a hose directing water away from your foundation.
Mosquito screen. Fine mesh over every opening. Standing water breeds mosquitoes in days — this is non-negotiable.
Basic tools: drill with hole-saw or spade bits, jigsaw or hacksaw (for the downspout), level, Teflon tape, silicone sealant.
Total typical cost: $80–$150 depending on whether you buy a ready-made barrel or DIY one from a food-grade drum.
Barrel Options Compared
| Option | Typical Cost | Pros | Cons |
|---|---|---|---|
| Ready-made rain barrel (with spigot + screen) | $80–$150 | Everything included, looks nice, fastest setup | Priciest option |
| DIY food-grade 55-gal drum | $15–$40 for drum + $40–$60 parts | Cheapest, fully customizable | You drill every hole; plain looks |
| Wooden-look / decorative barrel | $120–$200 | Attractive, HOA-friendly | Same function, higher price |
| Slimline / space-saver barrel | $100–$160 | Fits tight side yards | Lower capacity (40–50 gal) |
For beginners, a ready-made barrel removes half the failure points. If you enjoy the DIY, a food-grade drum plus a diverter kit is the best value.
Choosing the Right Spot
Under a downspout — obviously — but which one? Pick the downspout closest to the garden beds you’ll water. Hauling watering cans across the yard gets old fast; a short trip doesn’t.
Level ground is mandatory. 55 gallons of water weighs over 450 pounds. A tilted barrel stresses seams and can tip. Use a level on your cinder-block stand and the ground beneath it.
Keep it close to the house but not touching. Leave a few inches of air gap so you can access the back of the barrel and the downspout connection.
Sun vs. shade. Shade slows algae growth inside the barrel. If your only option is full sun, plan on cleaning the barrel annually and consider a darker-colored barrel.
Foundation safety. Your overflow hose must direct excess water at least 3–4 feet from the foundation. This is the single most important placement rule — a barrel that dumps overflow against your house is worse than no barrel.
Before you commit to a downspout location, it’s worth cleaning the gutters feeding it — clogged gutters are the #1 reason barrels underperform. Our fall home maintenance checklist covers gutter cleaning if you’re due.
Step-by-Step Installation
1. Build the stand
Stack cinder blocks in a stable platform 12–24 inches high, at least as wide as the barrel. Check level front-to-back and side-to-side. A full barrel is enormously heavy — this is not the place to eyeball it.
2. Install the spigot
Drill a hole near the bottom of the barrel (2–3 inches up from the base) sized for your spigot’s threads. Wrap the threads with Teflon tape, thread it in from the outside, and tighten the locknut inside. Run a bead of silicone sealant around the penetration inside and out. Let it cure before filling.
3. Add the overflow outlet
Drill a second hole near the top of the barrel (a few inches below the rim). Install a threaded adapter or bulkhead fitting and attach a garden hose or flexible pipe that routes away from the foundation. This is your flood insurance.
4. Cut in the diverter
Mark your downspout at the height where the diverter’s hose will reach the barrel’s inlet (barrel on its stand). Cut out a section of downspout per the kit’s instructions — usually a few inches — and install the diverter housing. The diverter automatically channels water into the barrel and bypasses it to the downspout once full.
5. Connect the fill hose
Run the kit’s flexible hose from the diverter to the barrel’s top inlet. Keep the run as short and downhill as possible. Cover the barrel’s inlet opening with fine mesh screen, secured with a bungee or the barrel’s lid ring.
6. Screen everything
Every opening — inlet, overflow outlet, any vents — gets fine mesh. Mosquitoes can breed in a bottle cap of water; a screened barrel stays a non-issue.
7. Test with a hose
Before the first rain, run a garden hose into the gutter above the diverter (or pour buckets into the barrel) and check: does water flow in? Does the spigot run without leaking? Does overflow route away from the house? Fix drips now with more Teflon tape or sealant.

Using Your Harvested Water
Watering cans are the primary tool. Gravity feed from a raised barrel fills a can in under a minute. It’s simple, precise, and uses every drop well.
Soaker hoses work on gentle slopes. With the barrel elevated 2+ feet, you can run a short soaker hose to nearby beds. Don’t expect sprinkler pressure — gravity systems are low and slow, which is actually ideal for deep watering.
What NOT to water: use rain barrel water for gardens, lawns, and landscaping — not for drinking, cooking, or filling pet bowls without treatment. Roof runoff picks up dust, bird droppings, and roofing residues. It’s great for plants; it’s not potable.
First-flush tip: the first few gallons off a dirty roof carry the most debris. Some gardeners divert the first flush away; at minimum, clean your gutters before the rainy season so what lands in the barrel is reasonably clean.

Maintenance Through the Seasons
Monthly (in use): check screens for debris, make sure the spigot flows freely, glance at the overflow routing.
Annually: empty the barrel completely, scrub the interior with a stiff brush and a mild vinegar solution, rinse well. Check all seals and the diverter for cracks.
Mosquito control: intact screens are 95% of the battle. As backup, mosquito dunks (Bti — a naturally occurring bacterium harmless to plants, pets, and people) can go in the barrel monthly during warm weather.
Winter (freezing climates): this is critical. Drain the barrel completely before the first hard freeze, disconnect the diverter hose, and either store the barrel upside-down or leave the spigot open. Water expands when it freezes — a full barrel will crack, guaranteed. Reconnect in spring. (More cold-weather prep in our fall home maintenance checklist.)
Common Mistakes
Skipping the overflow. A 55-gallon barrel fills in a single moderate storm. Without an overflow routed away from the house, that water sheets down your foundation. The overflow isn’t optional.
Setting the barrel on bare soil. It’ll settle, tilt, and eventually stress-crack. Cinder blocks on compacted gravel or pavers — level, always.
Using a non-food-grade barrel. Industrial drums that held detergents, oils, or chemicals can leach residues into your garden water. If you don’t know what was in it, don’t use it. Food-grade only.
Forgetting mosquitoes. One unscreened opening turns your eco-project into a neighborhood nuisance. Screen every opening on day one.
Placing it too far from the garden. A barrel is only useful if using the water is convenient. Ten steps from the beds beats fifty, every time.
Expecting pressure. Gravity feed won’t run sprinklers or long hose runs. Plan for watering cans and short soaker hoses, and you’ll love it. Expect a pressure washer, and you’ll be disappointed.
FAQs
Is rainwater harvesting legal where I live?
In most US states, yes — it’s actively encouraged. A handful of western states have had restrictions tied to water rights, though several (including Colorado and Utah) have loosened rules for residential collection in recent years. Always verify current law in your state before installing.
How much water will I actually collect?
Roughly 0.6 gallons per square foot of roof per inch of rain — so a 1,000 sq ft roof yields about 600 gallons per inch. Your barrel holds 55, so it refills fast. The real question is how often it rains, not how much falls.
Can I drink rain barrel water?
No — not without proper filtration and treatment. Roof runoff contains bird droppings, dust, pollen, and traces of roofing materials. It’s excellent for plants and lawns but should never be treated as potable without a dedicated purification setup.
Will the water get slimy or smell?
It can, if neglected. Algae and anaerobic bacteria thrive in warm, stagnant, sunlit water. Prevention: shade the barrel, keep it screened, use the water regularly (turnover is the best treatment), and scrub it out once a year. A barrel you draw from weekly stays fresh.
Do I need a pump?
For watering cans and nearby beds, no — gravity does the job if the barrel is elevated. If you want to run longer hoses or reach uphill beds, a small submersible or on-demand pump (typically $50–$100) can be added later. Start without one; add if needed.
What about HOAs?
Some HOAs regulate visible exterior changes. Decorative barrels that look like planters or wooden casks usually pass muster; a blue plastic drum might not. Check your HOA guidelines and consider placement behind fencing or shrubs if needed.
Final Thoughts
A rain barrel is that rare project that’s cheap, easy, genuinely useful, and a little bit delightful. You’ll spend a Saturday installing it and then get free garden water for years — while keeping hundreds of gallons per storm out of the sewer system.
Start simple: one barrel, one downspout, near the garden. Use it for a season. Most people find themselves planning the second barrel by midsummer — and honestly, that’s the best review a project can get.

Welcome to Homeblesh! I'm a professional content writer with over five years of experience creating well-researched, practical, and reader-focused content for clients on Upwork and Fiverr. Now, I've dedicated my expertise to building Homeblesh, where I share helpful guides, honest recommendations, and actionable tips based on careful research and industry knowledge. My goal is to provide accurate, trustworthy information to help you make informed decisions while delivering clear, useful, and easy-to-understand content.
- Muhammad Imran

- Muhammad Imran

- Muhammad Imran

- Muhammad Imran