

If your morning shower has gone from a brisk rinse to a tired drizzle, the fix might be simpler than you think. Swapping a showerhead is one of the quickest, cheapest home upgrades — no plumber, no special skills, no turning off the main water line. You need an adjustable wrench, a few dollars’ worth of plumber’s tape, and about five minutes.
I learned this on a builder-grade showerhead that felt like a watering can — half an hour of research, four minutes of work. Whether your current head is clogged with limescale, dripping all night, or just plain ugly, here’s exactly how to replace it, plus the small mistakes that turn a five-minute job into a Saturday headache.
Table of Contents
- Why Replace Your Showerhead?
- Tools & Materials You’ll Need
- Step-by-Step: How to Replace a Showerhead
- Choosing the Right Showerhead
- Common Mistakes to Avoid
- Frequently Asked Questions
- Conclusion
Why Replace Your Showerhead?
There are three good reasons most people finally pull the trigger on this project, and chances are at least one of them sounds familiar.
Low pressure. Over time, mineral deposits — calcium, lime, the usual suspects in hard-water areas — clog the tiny nozzles. The result is uneven spray, weak streams, and spots where nothing comes out at all. A vinegar soak sometimes restores an old head, but once buildup is bad enough, a replacement performs better and looks a whole lot nicer.
Leaks and drips. A showerhead that keeps dripping after you turn the water off is usually worn out internally, or the connection has loosened and the washer has given up. That steady drip is water you’re paying for every day. If you’ve been chasing down household leaks, a worn showerhead belongs on the same list as a running toilet.
Water (and energy) savings. Older showerheads can flow at 2.5 gallons per minute or more. Showerheads carrying the EPA’s WaterSense label are tested to use 2.0 gallons per minute or less — and still deliver a solid spray. Since your hot water comes from the water heater, trimming hot-water use also trims your energy bills, as discussed in our guide to reducing your electricity bill at home.
And there’s the cosmetic reason: a new showerhead makes a bathroom feel noticeably fresher. For the cost of a pizza, it’s one of the best dollars-per-impact projects in the house.
Tools & Materials You’ll Need
Everything here is inexpensive, and you probably own most of it. Gather it all before you start — the job stalls if you’re padding across the bathroom looking for a wrench mid-step.
- Adjustable wrench (a 10-inch is ideal; a pair of pliers works in a pinch, but a wrench gives you a flatter, kinder grip)
- A soft cloth or rag — wraps around the showerhead so the wrench doesn’t scratch the finish
- PTFE thread-seal tape (also sold as “Teflon tape” or “plumber’s tape”) — usually a few dollars for a roll that will last you years
- White vinegar and an old toothbrush — for scrubbing mineral buildup off the shower arm threads
- A small step stool, if your shower arm is high enough that you can’t comfortably reach it
- Your new showerhead — open the box now and check that the washer/gasket is included
One thing you won’t need: to shut off the water. You’re not opening any pressurized lines, just unscrewing a fixture. Just make sure the shower valve is fully off before you start.
Step-by-Step: How to Replace a Showerhead
Step 1: Remove the Old Showerhead
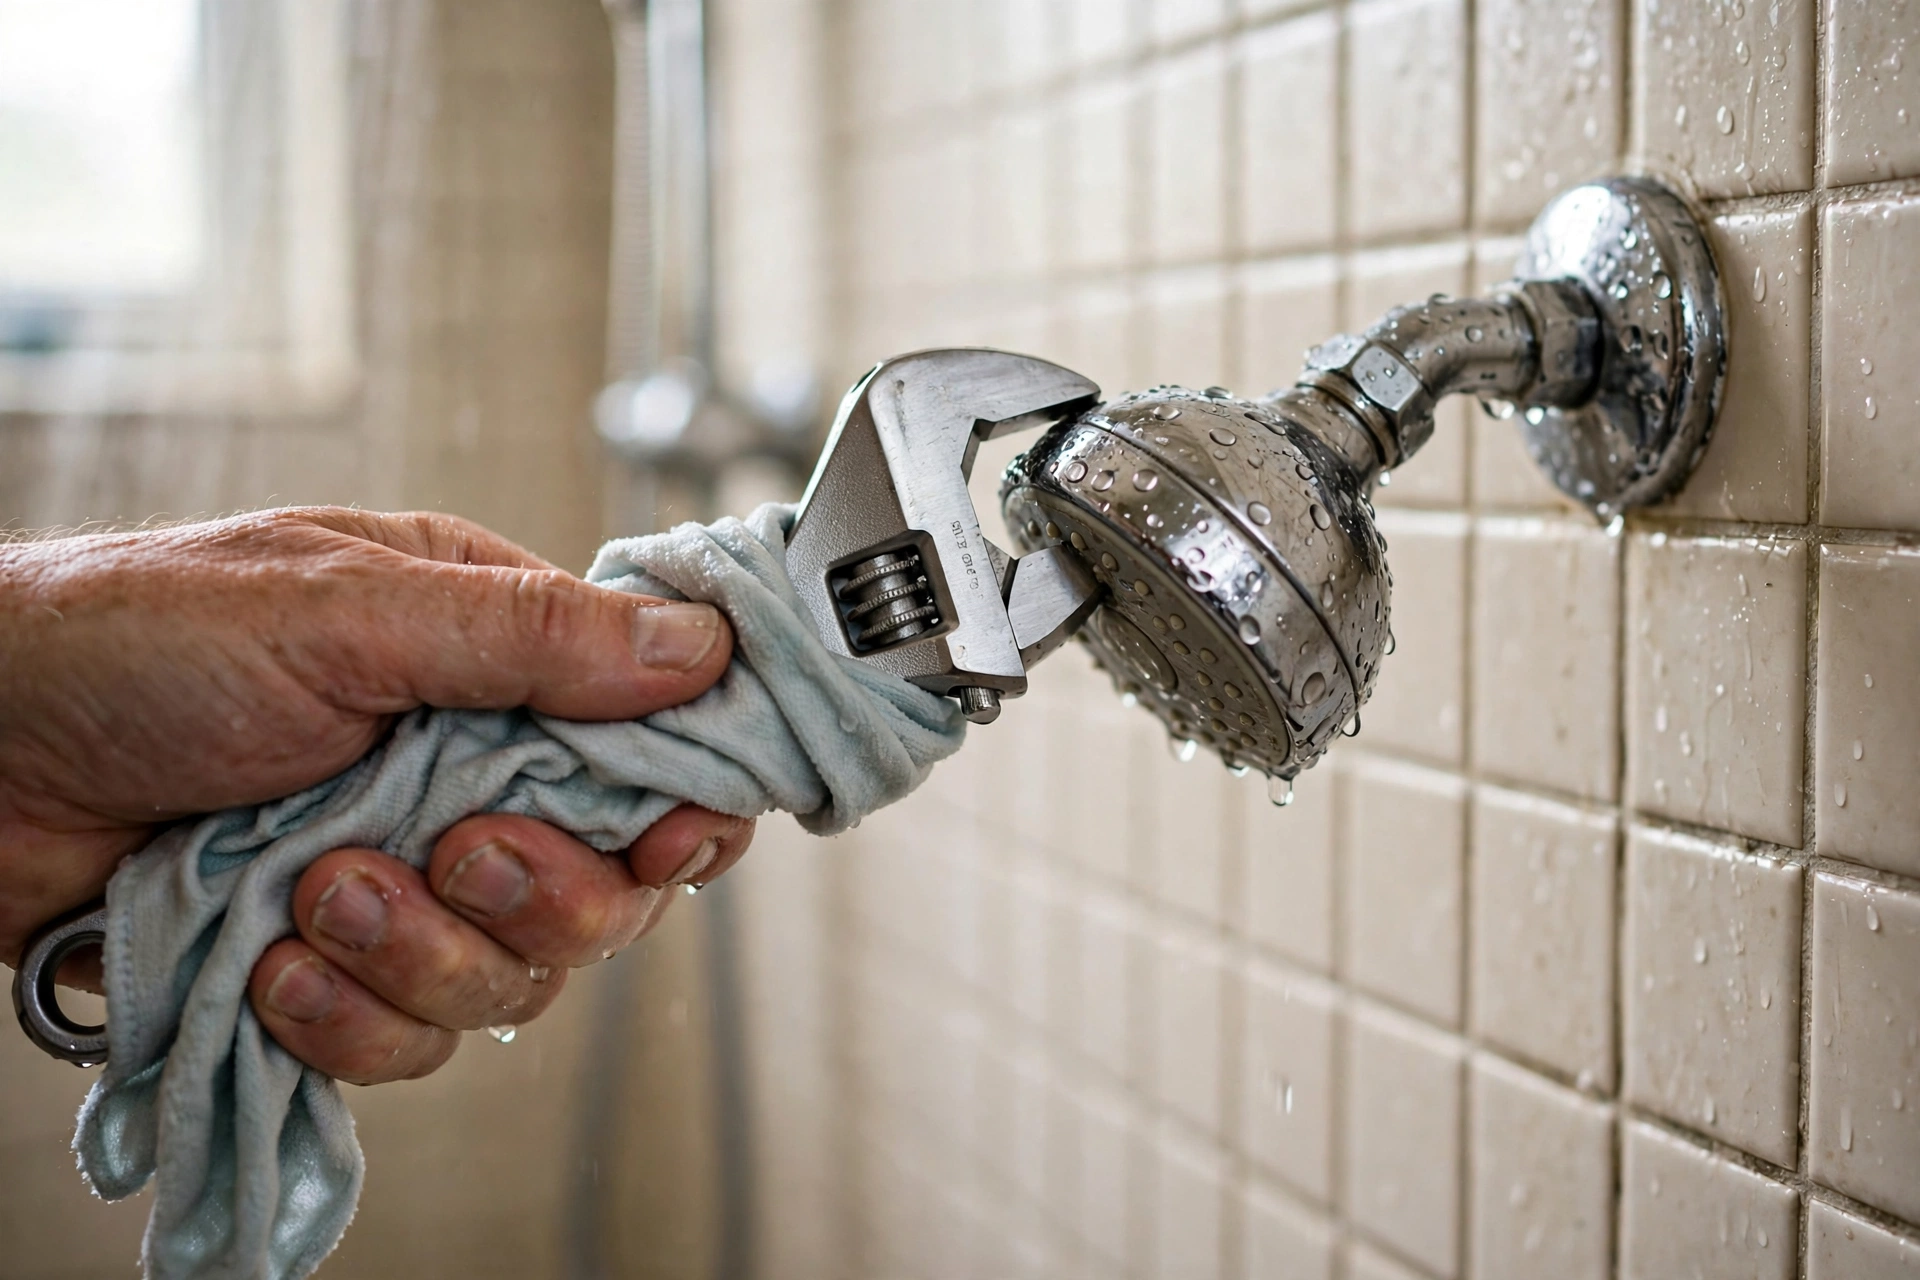
Grab the base of the old showerhead — the round nut where it meets the shower arm — and try turning it counterclockwise by hand. Plenty come off with nothing but a firm grip.
If it won’t budge, don’t muscle it bare-handed. Fold your cloth over the connector nut so the wrench teeth can’t bite into the finish, then grip through the cloth and turn counterclockwise. Hold the shower arm steady with your other hand so you’re not putting torque on the pipe inside the wall — twisting that loose would turn a five-minute job into a repair call.
If the head is truly seized on by years of corrosion, soak a rag in white vinegar, wrap it around the joint, and let it sit for 15–20 minutes — vinegar dissolves a surprising amount of mineral lock. A rubber strap wrench (typically around $10) is also gentler than a toothed wrench on stubborn finishes.
Step 2: Clean the Shower Arm Threads
With the old head off, take a good look at the threads on the shower arm. Peel off any dried chunks of old tape, and scrub the threads with the toothbrush dipped in vinegar. You want bare, clean metal all the way around — leftover tape and grit are the usual suspects behind mystery leaks in an otherwise perfect installation.
While you’re there, glance at the arm itself. If it’s loose in the wall, gently snug it — but don’t wrench it. If the arm looks bent or cracked, or the pipe inside the wall moves freely, that’s the point to call a plumber rather than continuing.
Step 3: Wrap the Threads With PTFE Tape
This is the step that prevents leaks, and it’s where most beginners go wrong — usually by skipping it. Thread-seal tape fills the tiny gaps between the metal threads so water can’t weep through.
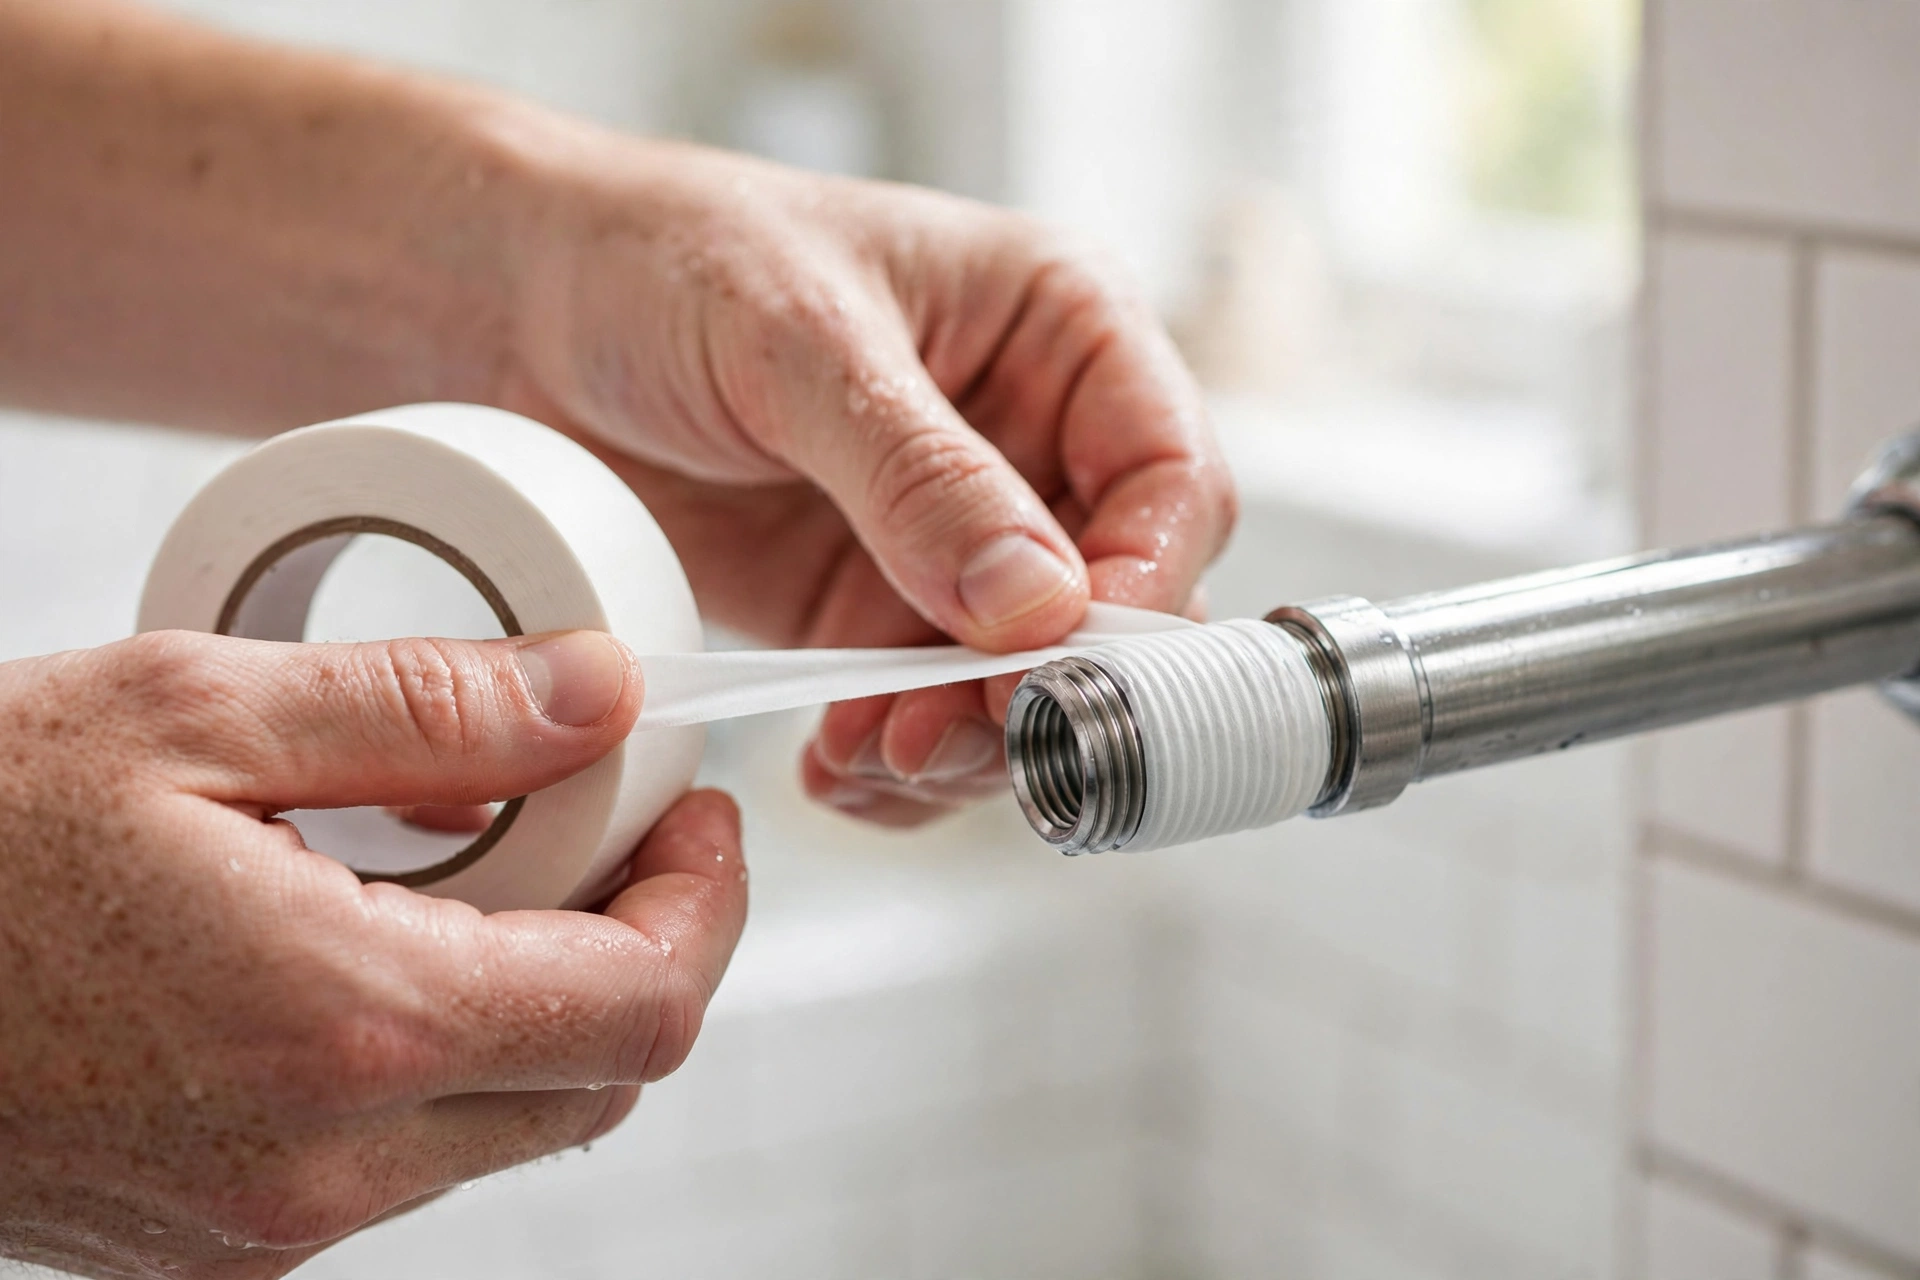
Here’s the technique: hold the end of the tape against the threads and wrap it clockwise (as you look at the end of the pipe), going around 4 to 6 times. Clockwise matters — the showerhead screws on clockwise, so wrapping in the same direction keeps the tape from unwinding and bunching up as you tighten the head. Press the tape into the threads with your thumb as you go, then tear it off and smooth the end down.
Four to six wraps is the sweet spot — one or two won’t seal, and a thick wad will make the head hard to thread.
Step 4: Install the New Showerhead
Check that the rubber washer or gasket is seated inside the new showerhead’s connector — this soft ring does most of the actual sealing. Then thread the new head onto the shower arm by hand, turning clockwise. It should spin on smoothly for the first few turns. If it resists immediately, back it off and start again; forcing a cross-threaded fitting will chew up the threads on both pieces.
Once it’s hand-tight, take the wrench (with the cloth again, to protect the finish) and give it just a quarter turn more. That’s it — a quarter turn. Over-tightening is the number one way beginners crack plastic fittings or strip threads, and a properly taped, hand-tight connection doesn’t need more.
Step 5: Test for Leaks
Turn the shower on and let it run for a full minute, watching the joint where the head meets the arm for any drip, bead, or fine spray seeping out. A dry joint means you’re done.
If you see a leak, turn the water off and snug the connection another eighth of a turn. Still leaking? Take the head off, check that the washer is seated flat (not folded or pinched), re-wrap the tape, and try again. Nearly every time, a small leak at this stage comes down to a missing washer, a pinched washer, or tape wrapped the wrong way.
Choosing the Right Showerhead
If you haven’t bought the new head yet, here’s a quick lay of the land. All four common types use the same standard 1/2-inch fitting, so any of them will thread onto your shower arm. The real differences are spray experience, price, and water use.
| Type | Typical flow rate (gpm) | Best for | Typical price range* |
|---|---|---|---|
| Fixed-mount | 1.75–2.5 | A simple, reliable upgrade; spray patterns from mist to massage | ~$15–$40 |
| Handheld | 1.8–2.5 | Rinsing kids and pets, cleaning the shower, reaching mobility needs | ~$25–$60 |
| Rain | 2.0–2.5 | A wide, gentle “rainfall” feel; works best with good household water pressure | ~$40–$120 |
| Dual / combo | 2.0–2.5 (per head; higher with both running) | Two heads at once — usually a fixed head plus a handheld wand | ~$50–$120 |
*Price ranges are estimates based on typical big-box and online retail pricing in 2026; actual prices vary by brand, finish, and features.
A few things worth knowing before you buy:
- Look for the WaterSense label. The EPA’s WaterSense program certifies showerheads that use 2.0 gpm or less while still meeting performance requirements — it saves a meaningful amount of water per year versus older 2.5 gpm heads, without the sad-drizzle feeling of the old “low-flow” heads from the 90s. The EPA’s WaterSense site maintains a product list if you want to verify a model.
- Rain heads need pressure. A rainfall head on a standard-height arm can feel underwhelming if your home’s water pressure is low. If your shower already feels weak, a fixed or handheld model with adjustable spray settings is usually the better bet.
- Handhelds are the most versatile. If you can only buy one upgrade, a handheld on a slide bar or hose does the most jobs: daily showering, rinsing the tub, washing the dog, cleaning the walls.
- Finish matters for maintenance. Chrome wipes clean easily; brushed nickel and matte black hide water spots better but can scratch if you scrub them with abrasives. Match the finish to the rest of your bathroom hardware for the most polished look.
Common Mistakes to Avoid
The same five mistakes trip people up on this job, over and over:
1. Over-tightening. The classic. Cranking the wrench “to be safe” can crack plastic nuts, strip threads, or pinch the washer so it leaks more. Hand-tight plus a quarter turn is the rule — if it doesn’t leak, it’s tight enough.
2. Skipping the PTFE tape. Even with a perfect washer, dry metal-on-metal threads can weep. Tape is cheap insurance — don’t leave it in the drawer.
3. Wrapping the tape the wrong direction. Wrap counterclockwise and the tape bunches up and shreds as the head screws on clockwise, which defeats the whole purpose. Always wrap in the direction the head turns when tightening: clockwise, viewed from the pipe end.
4. Forgetting (or doubling up) the washer. A new showerhead ships with a washer seated in its connector — make sure it’s there and sitting flat, not folded. And dig the old washer out of the shower arm threads if the previous head left one behind; two stacked washers seal worse than one.
5. Testing with the water aimed wrong. Before you turn the water on, point the showerhead into the tub or shower — not at the open bathroom door. If the connection sprays instead of drips, you’ll find out the gentle way.
Frequently Asked Questions
Do I need a plumber to replace a showerhead?
No. Replacing a showerhead requires no plumbing license, no permit, and no water shutoff. If you can turn a wrench, you can do this. Call a plumber only if you find a damaged shower arm, a cracked fitting behind the wall, or a head that won’t budge without risking the pipe.
What size fitting do showerheads use?
Virtually all showerheads sold in the US use a standard 1/2-inch NPT (National Pipe Thread) connection, so any new one will thread onto your existing shower arm without adapters. The rare exceptions are some imported designer models and very old fixtures — check the packaging if you’re unsure.
How do I remove a stuck or corroded showerhead?
Start with patience, not force. Soak a cloth in white vinegar, wrap it around the connection, and leave it for 15–20 minutes to dissolve mineral buildup — repeat if needed. Then try again with the wrench, protecting the finish with a cloth and bracing the shower arm with your other hand. A rubber strap wrench grips well without chewing up finishes. If it still won’t move, a small amount of penetrating oil at the joint can help. Never put a cheater bar on the wrench or reef on the arm — breaking the pipe inside the wall costs far more than a service call would have.
Will a new showerhead actually improve my water pressure?
Honest answer: a new showerhead can’t increase your home’s water pressure — that’s set by your plumbing and your water supply. What it can do is restore the flow you should already be getting. A clogged head with half its nozzles blocked feels weak; a clean new one with a well-designed spray pattern feels strong at the same pressure. If the whole house has low pressure, that’s a bigger plumbing question. Note that most heads ship with a flow restrictor — if your household pressure is healthy, the restrictor is what holds a 2.0 gpm head at 2.0 gpm, so don’t remove it just to get more blast.
How often should I replace a showerhead?
There’s no fixed expiration date. Replace it when cleaning no longer restores good flow, when it leaks despite a fresh washer and tape, or when the finish is corroded and flaking. As routine maintenance, unscrew it every year or two and soak it in vinegar to clear mineral buildup — that alone extends its life significantly. A quick once-over of your bathroom fixtures fits nicely into seasonal routines like a fall home maintenance checklist.
Can I install a new showerhead in a rental apartment?
Yes — this is one of the most renter-friendly upgrades there is. You’re not altering the plumbing, just swapping a threaded fixture, and it reverses in five minutes. Keep the original showerhead (and its washer) in a box under the sink so you can put it back when you move out. Just stick to a head that needs no new holes, brackets, or adhesive.
Conclusion
Replacing a showerhead is about as close to a free lunch as home improvement gets: five minutes, cheap supplies, and a better shower every morning. Clean the threads, wrap the tape clockwise, hand-tighten plus a quarter turn, check for leaks. That’s the whole job.
Once you’ve done it, you’ll look at the rest of the bathroom — and then the rest of the house — a little differently. Small, confident fixes add up, from swapping a showerhead to clearing a slow bathroom drain without harsh chemicals. And the next time a friend complains about their sad drizzle of a shower, you’ll know exactly what to tell them.

Welcome to Homeblesh! I'm a professional content writer with over five years of experience creating well-researched, practical, and reader-focused content for clients on Upwork and Fiverr. Now, I've dedicated my expertise to building Homeblesh, where I share helpful guides, honest recommendations, and actionable tips based on careful research and industry knowledge. My goal is to provide accurate, trustworthy information to help you make informed decisions while delivering clear, useful, and easy-to-understand content.
- Muhammad Imran

- Muhammad Imran

- Muhammad Imran

- Muhammad Imran


