

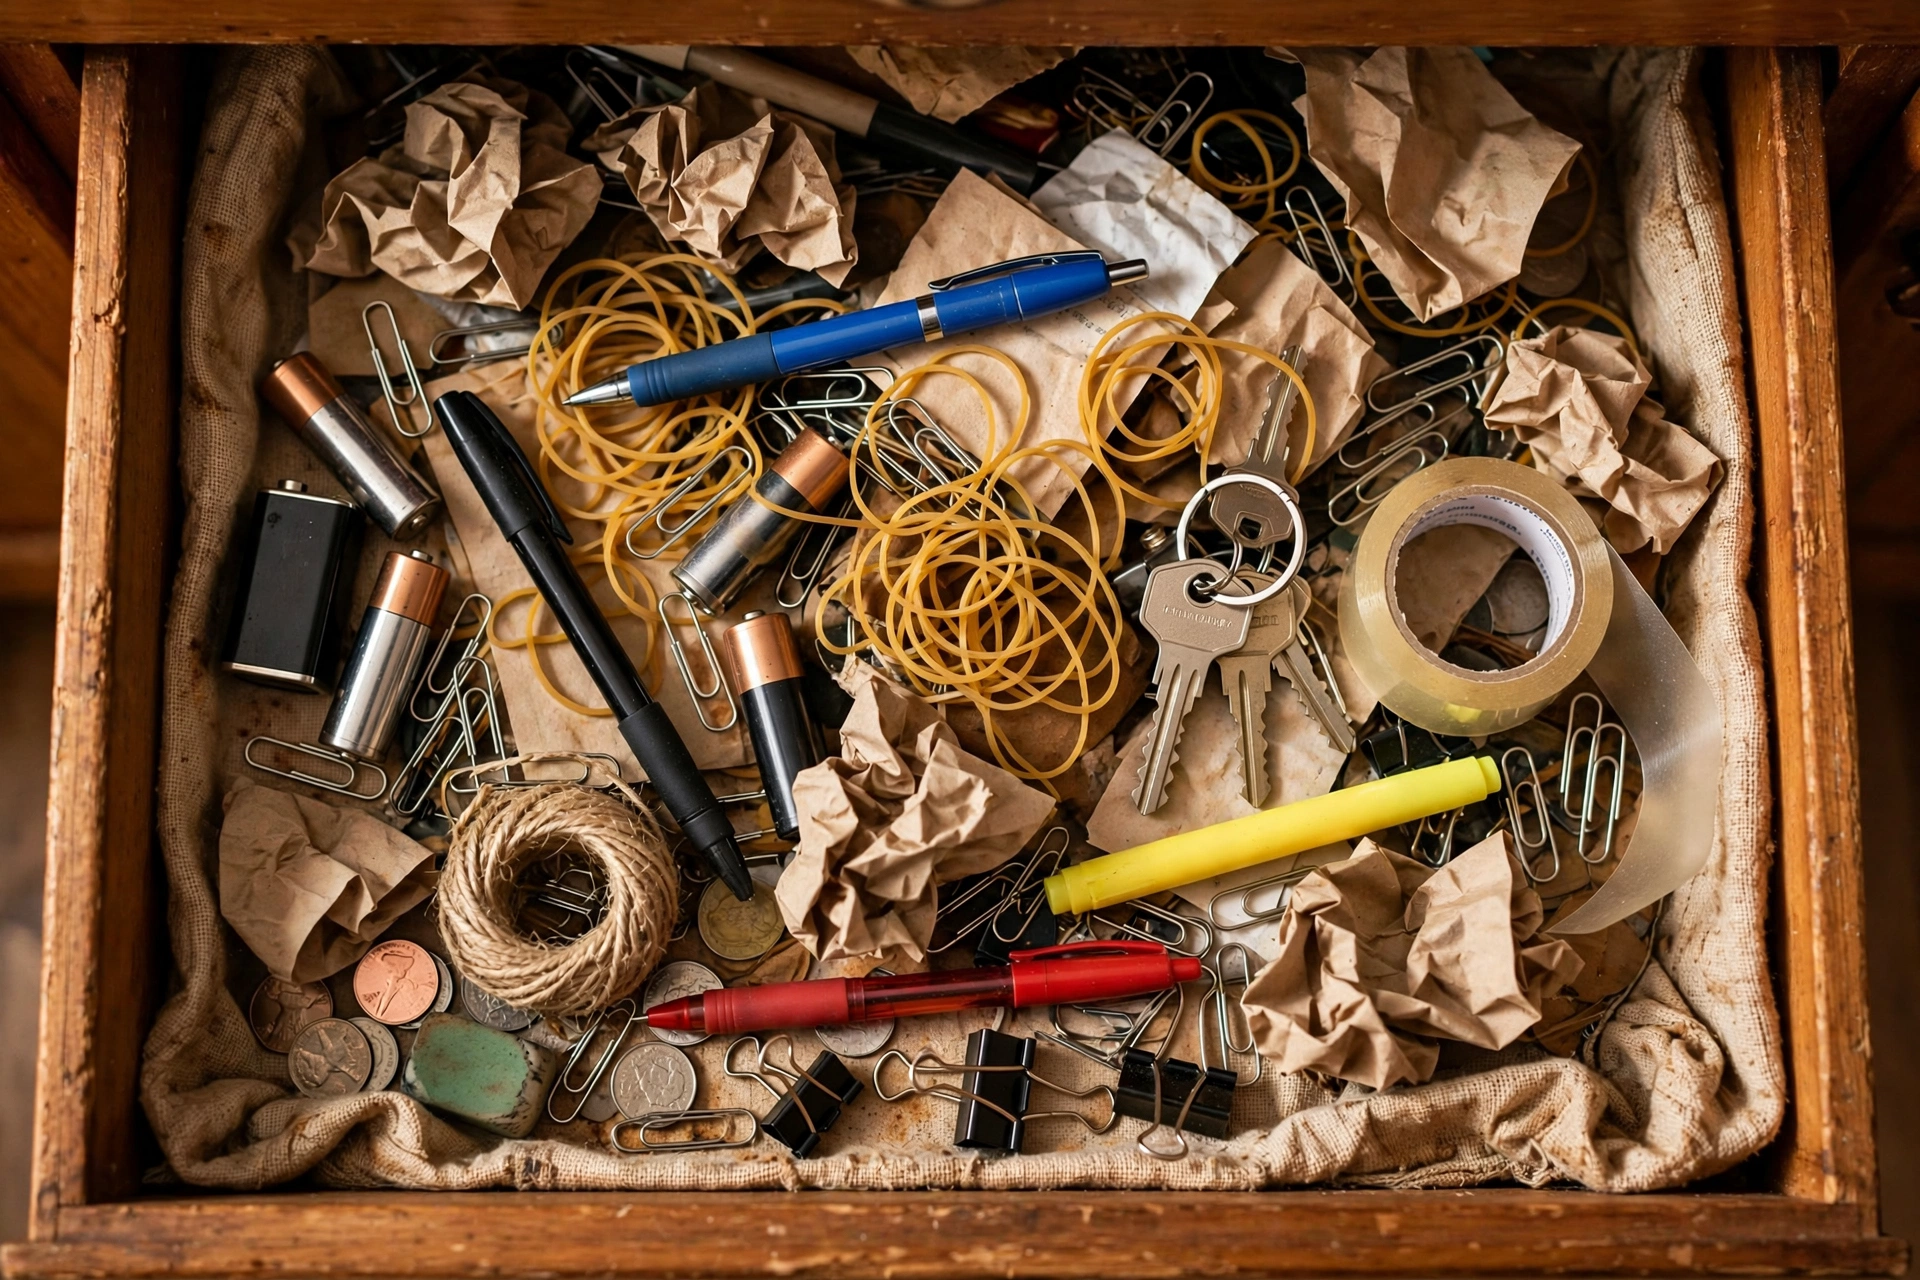
Every house has one. The drawer where batteries mingle with rubber bands, where three pairs of scissors go to hide, where you find the tape only after buying more tape. The junk drawer isn’t a moral failing — it’s what happens when small useful things have nowhere else to live.
The good news: a junk drawer is the perfect starter organization project. It’s small (one drawer, one afternoon), the decisions are easy (nobody has sentimental attachment to a dried-up pen), and the payoff is immediate — you’ll feel the difference the next time you need a battery and actually find one. Think of it as the gateway project to the bigger work in our Room-by-Room Decluttering Checklist.
Here’s the method that actually sticks — not just a tidy drawer for a week, but a system that stays organized.
Table of Contents
- Why Junk Drawers Become Junk Drawers
- What You’ll Need
- Step 1: Empty It Completely
- Step 2: Sort Everything Into Piles
- Step 3: Declutter Ruthlessly
- Step 4: Choose Your Organizers
- Step 5: Assign Every Item a Home
- Step 6: Set the Rules That Keep It Organized
- What Belongs in a Junk Drawer (and What Doesn’t)
- Organizer Options Compared
- Common Mistakes
- Frequently Asked Questions
Why Junk Drawers Become Junk Drawers
A junk drawer isn’t random. It’s the result of a very specific design flaw: it’s the only place in the house for “miscellaneous.” Every home generates a steady stream of small items that don’t have an obvious home — the spare key, the single battery, the twist tie, the tube of super glue. Without a system, they all land in the same drawer, and entropy does the rest.
The fix isn’t willpower. It’s giving every category of small item a defined zone inside the drawer, and — critically — deciding what doesn’t belong there at all. Most junk drawers are half full of things that should live somewhere else entirely.
What You’ll Need
- A trash bag and a recycling bag — you’ll be amazed how much of the drawer is garbage
- A small box for relocations — items that belong in other rooms
- Drawer organizers — a set of small trays, a bamboo divider set, or even repurposed small boxes; more on choosing below
- A tape measure — organizers must fit your drawer’s dimensions
- Cleaning supplies — all-purpose cleaner and a cloth; the drawer bottom is always grosser than expected
- Labels or a label maker (optional but powerful) — labeled zones stay organized far longer
Total cost: typically $10–25 for a decent organizer set. The rest is stuff you already own.
Step 1: Empty It Completely
Pull the drawer out if you can, dump everything onto a table or counter, and wipe the drawer clean. This is non-negotiable. Organizing around the existing mess just rearranges clutter — you need the blank slate to see what you’re actually dealing with.
While it’s empty, measure the drawer’s interior: width, depth, and height. Write the numbers down or snap a photo. You’ll need them when choosing organizers, and drawer depths vary more than you’d think.
Step 2: Sort Everything Into Piles
Group the dumped contents into categories. You’ll start seeing the same piles in almost every junk drawer:
- Writing tools — pens, pencils, markers, highlighters
- Adhesives and tape — tape rolls, super glue, glue sticks
- Batteries and power — loose batteries, chargers, cables
- Tools — screwdrivers, tape measure, box cutter, Allen keys
- Fasteners — rubber bands, paper clips, twist ties, push pins
- Keys — house keys, padlock keys, mystery keys
- Personal care — lip balm, hand lotion, spare reading glasses
- Paper and notes — takeout menus, business cards, random receipts
- Trash — dried-up pens, dead batteries, broken rubber bands, expired coupons, mystery screws
The trash pile is always bigger than people expect. That’s normal — and it’s the fastest win of the whole project.
Step 3: Declutter Ruthlessly
Now make decisions, pile by pile. Junk drawers are ideal for building decluttering confidence because almost nothing in them carries emotional weight:
- Test every pen and marker. Dried-up ones go straight in the trash. Keep only pens that work — and be honest about how many you need. (It’s fewer than twelve.)
- Toss dead batteries. If you’re not sure, test them. Loose batteries of unknown charge are clutter with a leak risk.
- Release the duplicates. Three tape measures? Keep the best one; relocate or donate the rest. Four pairs of scissors? Two is plenty.
- Deal with mystery keys. If you can’t identify a key, put it in a labeled envelope for 30 days. Unclaimed after that, recycle it as scrap metal.
- Purge the paper. Old takeout menus (they’re all online now), expired coupons, business cards for people you’ll never call — recycle the lot.
- Relocate the strays. Items that belong elsewhere — the screwdriver that lives in the toolbox, the charger for the bedroom — go in the relocation box, not back in the drawer.
A good rule of thumb: if the drawer held 100 items and you’re putting back 40, you’re doing it right. The junk drawer works best at about half capacity — it needs breathing room to absorb the inevitable new arrivals.
Step 4: Choose Your Organizers
Here’s where most people go wrong: they buy organizers before decluttering, then try to fit the clutter into the trays. You’ve done it in the right order — now you know exactly what categories survived and how much space each needs.
Measure first, buy second. Your organizer layout should match your surviving piles:
- Modular tray sets — individual small trays you arrange like puzzle pieces. Best for odd-shaped drawers and changing needs.
- Bamboo divider trays — a single unit with fixed compartments. Clean look, sturdy, and bamboo resists moisture.
- Adjustable dividers — spring-loaded dividers that press against the drawer walls. Great if you want fewer, larger zones.
- Repurposed containers — small boxes, ramekins, or sturdy gift boxes. Free, and surprisingly effective for a first pass.
Leave one compartment or zone deliberately empty. That empty space is the drawer’s shock absorber — it’s where new small items land instead of piling on top of everything else. When the empty zone fills up, that’s your signal to do a two-minute purge, not to buy a bigger drawer.

Step 5: Assign Every Item a Home
Place the organizers in the drawer, then assign each surviving category to a specific compartment. The logic:
- Most-used items front and center. The pens, the tape, the scissors you grab weekly go in the easiest-to-reach spots.
- Rarely-used items to the back. The spare batteries, the super glue, the Allen keys live in the back compartments.
- Group by task, not by type. If you always reach for tape and scissors together, they can share a zone. Think about how you actually use the drawer.
- Corral the tiny things. Paper clips, push pins, and rubber bands each get their own small compartment — loose tiny items are what make a drawer feel chaotic even when it’s technically organized.
Once everything has a home, take a photo of the finished drawer. It sounds silly, but that photo becomes your reset reference — when the drawer drifts (and it will), one glance shows you exactly what “right” looks like.
Step 6: Set the Rules That Keep It Organized
An organized junk drawer decays without rules. These three keep it alive:
- One in, one out. A new item enters the drawer only when something leaves it. This is the same rule that keeps a whole house decluttered — it works at drawer scale too.
- The two-minute monthly reset. Once a month, pull the drawer open, toss the obvious trash (dead pens accumulate like dust), and return strays to their compartments. Two minutes, once a month, forever.
- Nothing without a zone. If a new item doesn’t fit an existing compartment, it doesn’t go in the drawer — it either earns a new zone (by displacing something) or lives somewhere else. The drawer is not a waiting room.
It helps to tie the reset to a seasonal rhythm — many people do a quick drawer reset each October alongside their fall home maintenance checklist.
What Belongs in a Junk Drawer (and What Doesn’t)
The junk drawer works when it’s a utility drawer, not a storage drawer. Here’s the line:
Belongs: pens and pencils, tape, scissors, small screwdriver set, tape measure, batteries (in a case, not loose), super glue, rubber bands and clips, flashlight, spare keys (labeled), notepad, box cutter, twist ties, reading glasses.
Doesn’t belong: old phones and chargers for devices you no longer own, expired coupons, dried-up anything, tools that belong in the toolbox, paperwork that belongs in a file, medications (heat and humidity degrade them — and drawers aren’t child-safe), random hardware with no project attached, anything you haven’t touched in a year.
When in doubt, ask: “Would I look for this here?” If the answer is no, it lives somewhere else.
Organizer Options Compared
| Option | Typical cost | Best for | Watch out for |
|---|---|---|---|
| Modular tray set | $10–20 | Odd-shaped drawers; flexible layouts | Trays can slide — get ones with non-slip bases |
| Bamboo divider tray | $15–30 | Clean, sturdy, uniform look | Fixed compartments; measure carefully |
| Adjustable spring dividers | $10–15 | Fewer, larger zones | Less containment for tiny items |
| Repurposed small boxes | Free | First pass; testing a layout | Sizes rarely match perfectly; can look messy |
Prices are typical ranges at major retailers and vary by brand and region. Start simple — you can always upgrade once you know your long-term layout.

Common Mistakes
- Buying organizers first. Declutter, measure, then buy. The number of people with beautiful organizers full of junk is staggering.
- Keeping every pen. Test them. Half are dead. You need maybe five working pens, not twenty-five hopeful ones.
- No empty zone. A drawer packed to 100% capacity has nowhere to absorb new items — so they pile on top and the system collapses within weeks.
- Storing medications or perishables. Junk drawers get warm, aren’t childproof, and get forgotten. Medications belong in a proper cabinet.
- Loose batteries. They can short against each other or against metal objects (keys, paper clips) and leak. Keep batteries in their packaging or a dedicated case.
- Organizing someone else’s drawer. If the drawer is shared, agree on the zones together — a system only one person understands is a system that fails.
Frequently Asked Questions
How long does it take to organize a junk drawer?
About 45–90 minutes for a typical drawer: 15 minutes to empty and sort, 20 minutes to declutter and decide, and 15–30 minutes to set up organizers and assign homes. The monthly reset takes about two minutes.
What should I do with old batteries from the drawer?
Tape the terminals of 9-volt batteries (they can short and spark), bag them, and take them to a battery recycling drop-off — most hardware stores and many municipalities accept them. Never put batteries in regular trash if your area offers recycling; lithium and 9-volt batteries in particular shouldn’t go in household trash. Small energy habits like this add up — our guide to reducing your electricity bill at home covers the bigger wins.
How do I keep the drawer from getting messy again?
Three rules: one in, one out; a two-minute monthly reset; and nothing enters without an assigned zone. The monthly reset is the load-bearing habit — skip it for three months and you’re back where you started.
Should every room have a junk drawer?
No — one per household is plenty, ideally in the kitchen or wherever the family naturally lands. Multiple junk drawers just multiply the problem. Other rooms’ small items should have their own proper homes.
What’s the best drawer organizer for a junk drawer?
Modular tray sets are the most forgiving choice: they adapt to odd drawer shapes, let you rearrange zones as your needs change, and cost very little. Measure your drawer first and choose a set with non-slip bases so trays don’t migrate.
Can I organize a junk drawer without buying anything?
Absolutely. Small boxes, ramekins, sturdy gift boxes, and even cut-down cereal boxes work as drawer dividers for a first pass. The system matters more than the containers — many people organize with repurposed boxes for months before deciding whether to buy proper trays.
The Gateway Project
A junk drawer takes an afternoon. But it teaches the whole method — empty, sort, decide, assign, maintain — in miniature, with zero emotional stakes. Once you’ve felt the small daily pleasure of opening a drawer and finding exactly what you need, the bigger projects stop feeling so big.
So start here. Then take the method room by room through the whole house — our Room-by-Room Decluttering Checklist is the natural next step, and your newly organized drawer is proof you can do it.

Welcome to Homeblesh! I'm a professional content writer with over five years of experience creating well-researched, practical, and reader-focused content for clients on Upwork and Fiverr. Now, I've dedicated my expertise to building Homeblesh, where I share helpful guides, honest recommendations, and actionable tips based on careful research and industry knowledge. My goal is to provide accurate, trustworthy information to help you make informed decisions while delivering clear, useful, and easy-to-understand content.
- Muhammad Imran

- Muhammad Imran

- Muhammad Imran

- Muhammad Imran


