

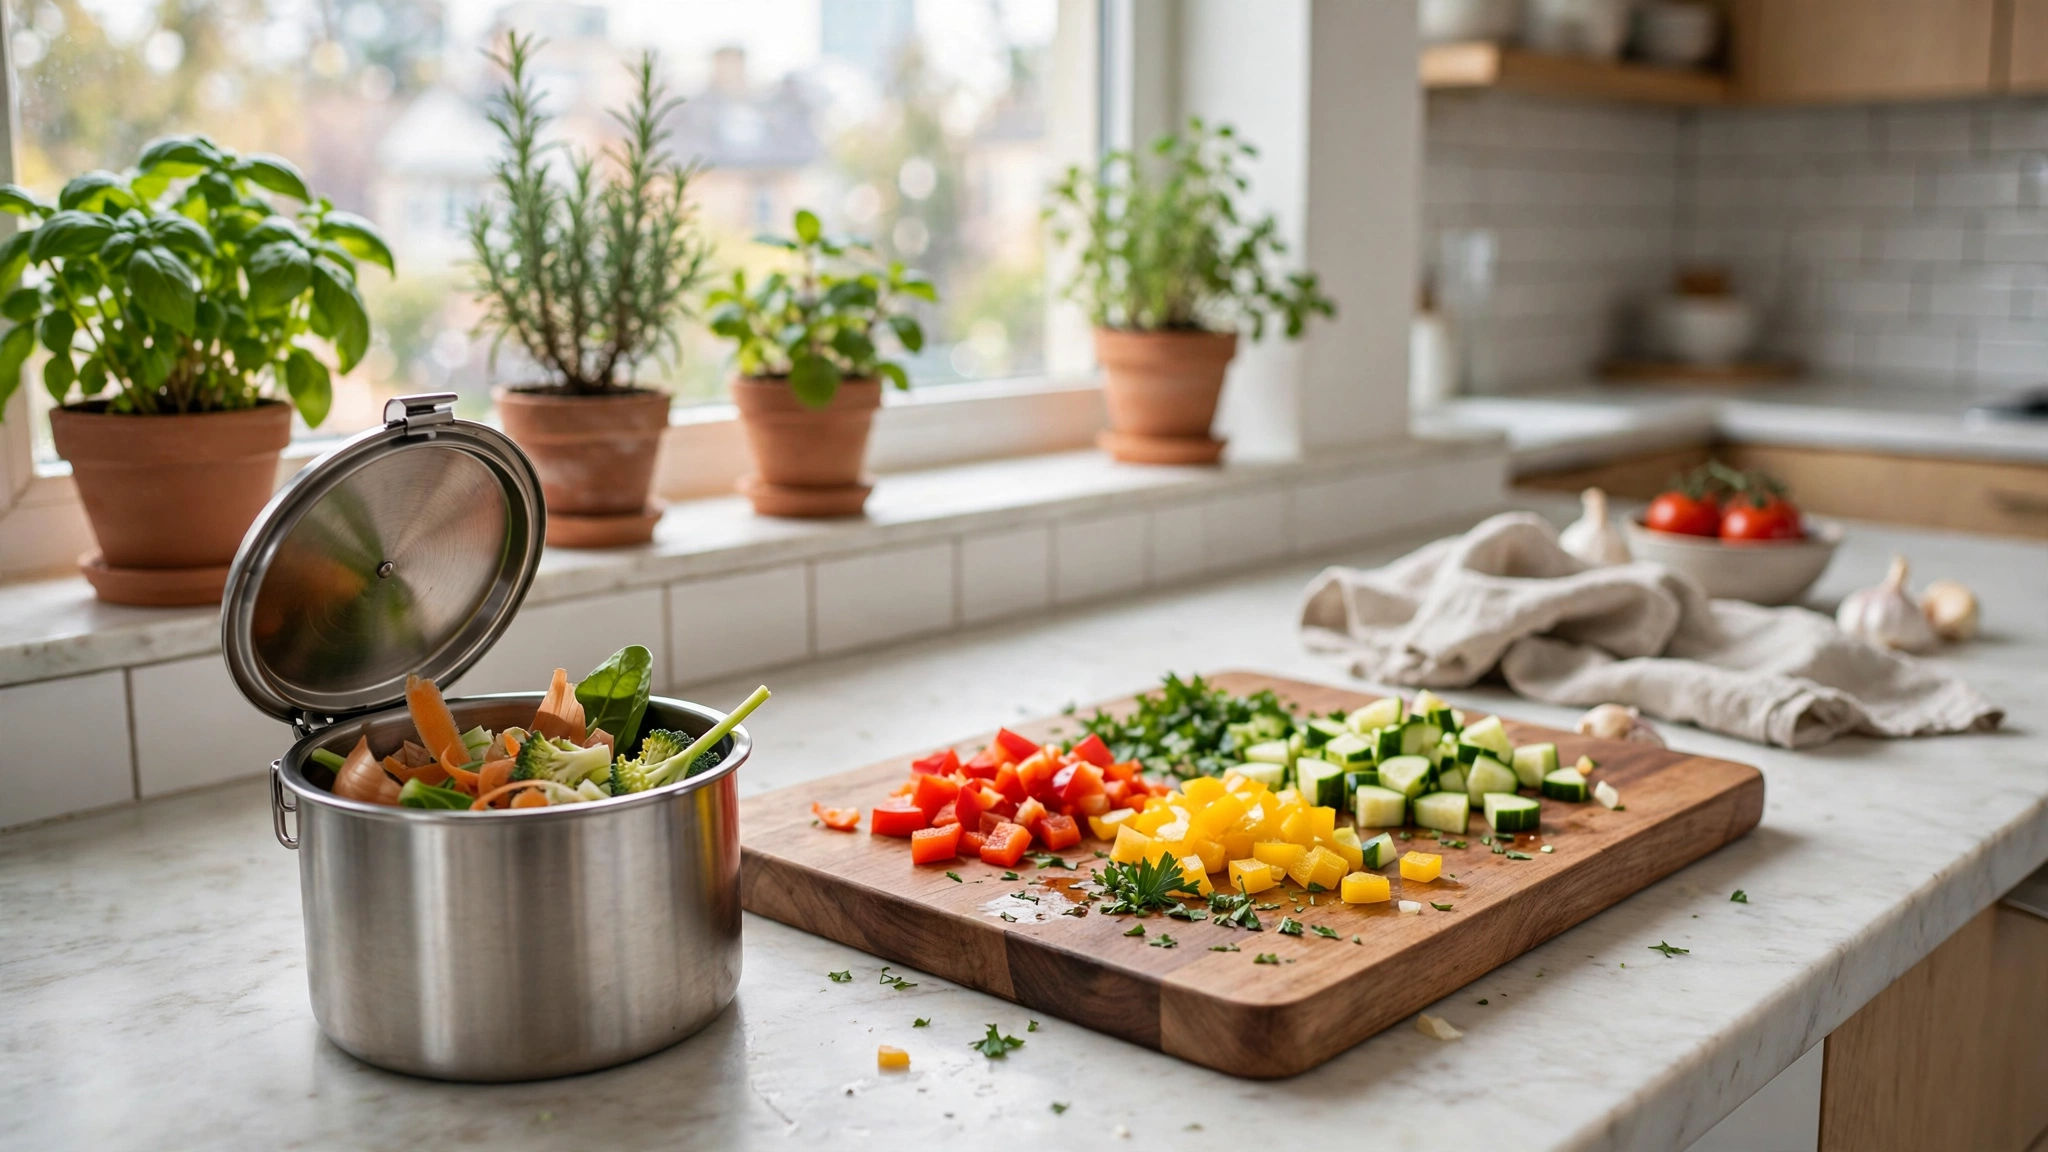
You don’t need a backyard to compost. You don’t even need a balcony. All you need is a corner of your kitchen and one of four methods that were basically designed for small spaces — and within a couple of months, your food scraps become something genuinely useful instead of landfill methane.
Here’s the motivation in one fact: the EPA consistently finds that food is the single largest category of material thrown away and sent to landfills in the US, where it decomposes without oxygen and releases methane — a potent greenhouse gas. Composting short-circuits that entirely. This guide covers the four apartment-friendly methods, honest pros and cons, and exactly how to start this weekend.
Table of Contents
- Why Compost Without a Yard?
- The 4 Apartment Composting Methods
- Comparison Table
- What to Compost (and What Never To)
- Step-by-Step: Starting a Worm Bin
- Smell, Flies & Troubleshooting
- What to Do With Finished Compost
- Common Mistakes
- FAQs
- Final Thoughts
Why Compost Without a Yard?
Your trash gets lighter and less gross. Food scraps are heavy and they’re what makes kitchen trash smell. Divert them and your garbage becomes mostly dry packaging — you’ll take it out less often and hold your nose less.
It’s the highest-impact kitchen habit. Recycling gets the glory, but keeping organics out of landfill avoids methane emissions directly. It’s one of the few climate actions that’s also immediately, tangibly satisfying.
Your houseplants will thank you. Even without a garden, finished compost (or bokashi pre-compost, or worm castings) is rocket fuel for indoor plants. Apartment gardeners consistently report the difference.
It changes how you see “waste.” This sounds lofty until you’ve done it for a month — then the onion peels stop looking like garbage and start looking like ingredients. That’s the mindset shift the whole sustainable-living project is built on.
The 4 Apartment Composting Methods
Electric Countertop Composter
What it is: A small appliance (well-known brands include Lomi, Vitamix FoodCycler, and Mill) that sits on your counter, takes food scraps, and over several hours dehydrates and grinds them into a dry, soil-like material.
Honest pros: Nearly effortless — add scraps, press a button. No smell, no flies, no learning curve. Handles things worms can’t (small bones, for instance, depending on model).
Honest cons: It’s the priciest option (typically $300–$500+), it uses electricity (modest — roughly comparable to a small appliance cycle), and here’s the important part: the output is dehydrated food grounds, not finished compost. It’s a great volume-reducer and soil amendment, but it still needs to cure in soil or be added to a real compost process to become true compost.
Best for: People who want zero-fuss and zero-ick, and don’t mind the price. Great gateway into the habit.
Bokashi Fermentation
What it is: Not composting exactly — it’s fermentation. You layer food scraps in an airtight bucket with bokashi bran (inoculated with beneficial microbes), press it down, seal it, and let it ferment for about two weeks. The fermented pre-compost then needs to be buried in soil or a planter for another couple of weeks to finish.
Honest pros: Tiny footprint (a 5-gallon bucket under the sink), handles meat and dairy scraps that other methods can’t, no smell when sealed properly (it smells faintly pickly when opened), cheap to start (bucket kit typically $40–$60, bran refills around $15–$20).
Honest cons: It’s a two-stage process — the bucket alone doesn’t produce finished compost. You need somewhere to bury the fermented scraps: a large planter, a community garden plot, or a friend’s yard. The liquid “bokashi tea” drained from the spigot is a potent fertilizer but must be diluted (roughly 1:100) or it’ll burn plants.
Best for: Apartment dwellers with access to some soil — a balcony planter, a community garden, or a generous friend with a yard.
Worm Bin (Vermicomposting)
What it is: A ventilated bin of damp bedding (shredded cardboard, coconut coir) stocked with red wiggler worms (Eisenia fetida — the composting species, not garden earthworms). You bury food scraps in the bedding; the worms eat them and excrete castings — one of the best natural fertilizers on earth.
Honest pros: Produces genuine finished compost (castings) continuously, handles a steady stream of scraps, fascinating rather than gross once you start, and cheap — a DIY bin costs $30–$50 plus worms (a pound of red wigglers typically runs $30–$50 online).
Honest cons: There’s a learning curve (moisture, feeding rate, temperature), and it can smell or attract fruit flies if mismanaged — though a well-run bin smells like forest soil. Worms are living creatures: they need feeding even when you travel, and they prefer 55–77°F, so no unheated balconies in winter.
Best for: The committed beginner who wants real compost and doesn’t mind tending a tiny ecosystem. This is the method I’d recommend to most apartment dwellers — full setup walkthrough below.
Community Drop-Off & Share Programs
What it is: You collect scraps in a countertop caddy or freezer bag; someone else composts them. Options include municipal curbside organics programs (check your city), farmers market drop-off sites, community garden programs, and apps that match scrap-producers with composters.
Honest pros: Zero equipment, zero learning curve, zero risk of smells in your home beyond the sealed caddy. Often free or a few dollars a month.
Honest cons: You’re dependent on the program’s schedule and rules (many don’t take meat/dairy), and you don’t get finished compost back (though some programs share it seasonally).
Best for: Anyone who wants the environmental win with minimum commitment — or as a complement to one of the home methods for overflow.
Comparison Table
| Method | Startup Cost | Space Needed | Smell Risk | Finished Compost? | Effort Level |
|---|---|---|---|---|---|
| Electric composter | $300–$500+ | Countertop | None | No (grounds, needs curing) | Minimal |
| Bokashi | $40–$60 | Under sink | Low (if sealed) | No (needs soil burial) | Low–medium |
| Worm bin | $60–$100 | Closet/under sink | Low (if balanced) | Yes — castings | Medium |
| Community drop-off | $0–$10/mo | Countertop caddy | None | Sometimes shared back | Minimal |
Costs are typical US ranges as of late 2026.
What to Compost (and What Never To)
Yes — all methods: fruit and vegetable scraps, coffee grounds and paper filters, tea bags (remove staples; check the bag isn’t plastic), eggshells (crushed), plain bread and grains, shredded newspaper and cardboard (no glossy coatings).
Yes — bokashi and electric only: meat, fish, dairy, cooked foods with oils, small bones (electric models vary — check yours).
Never — any home method: pet waste from cats/dogs (parasite risk), charcoal ash, glossy/metallic paper, “compostable” plastics (most need industrial facilities — check local rules), diseased plant material.
The golden rule for worms specifically: when in doubt, leave it out. Worms thrive on fruit and veggie scraps, coffee grounds, and bedding. Oily, salty, or spicy foods and citrus in large quantities make them unhappy — and unhappy worms try to leave.
Side benefit worth mentioning: every scrap you compost is a scrap not going down the garbage disposal or drain. If your sink has ever staged a revolt, our guide to unclogging a bathroom sink drain without chemicals covers the rescue — but composting prevents the kitchen version of the problem entirely.
Step-by-Step: Starting a Worm Bin
The worm bin is the most rewarding method, so here’s the complete setup. Budget an hour on a Saturday.
1. Get the bin. A 10–18 gallon opaque plastic tote with a lid works perfectly. Drill ventilation: rows of 1/4-inch holes around the upper sides (not the lid — light keeps worms down, and lid holes dry the bin out). Elevate it slightly or add a drainage spigot; a healthy bin shouldn’t produce leachate, but insurance is nice.
2. Prepare the bedding. Fill the bin 2/3 with damp bedding: shredded corrugated cardboard, newspaper, or coconut coir. “Damp” means like a wrung-out sponge — moist, not dripping. Fluff it up; worms need air pockets.
3. Add the worms. One pound of red wigglers (Eisenia fetida) for a standard tote — order from a reputable worm farm online. Gently spread them on the bedding, cover with a damp sheet of newspaper, close the lid, and leave them alone for 2–3 days to settle. Keep the bin somewhere 55–77°F: under the kitchen sink, in a closet, or in the laundry area.
4. Start feeding — lightly. For the first two weeks, feed sparingly: a handful of chopped veggie scraps buried under the bedding in one corner, once or twice a week. Chopping scraps speeds everything up. Always bury food under bedding — exposed food is what attracts fruit flies.
5. Establish the rotation. Feed in a different corner each time, working around the bin. A pound of worms processes roughly half a pound of scraps per day once established — but start at half that rate and increase only when food consistently disappears within a week.
6. Maintain moisture and bedding. Add a handful of fresh shredded cardboard with each feeding (worms need carbon to balance nitrogen-rich scraps). If the bin smells sour or looks soggy, add dry bedding and skip a feeding. If it’s dusty-dry, mist it.
7. Harvest castings (month 3–4). Push finished dark, crumbly castings to one side, add fresh bedding and food to the other; over 1–2 weeks the worms migrate to the food side, and you scoop out the finished compost. Expect your first real harvest around month 3–4.

Smell, Flies & Troubleshooting
A healthy worm bin or bokashi bucket smells like earth, not garbage. If something’s off, it’s almost always one of these:
Sour/rotten smell → too much food, not enough bedding. Stop feeding for a week, add generous dry shredded cardboard, and fluff the bedding for airflow. The bin should recover in days.
Fruit flies → exposed food. Bury every scrap under at least 2 inches of bedding, keep a damp newspaper “blanket” on top, and consider a DIY apple-cider-vinegar trap nearby for the stragglers. Never leave fruit sitting on the surface.
Worms climbing the walls → they’re unhappy. Usual causes: too wet, too acidic (too much citrus), too hot, or the bin is brand new and they’re exploring (normal for the first 48 hours). Check moisture first — it’s the culprit 80% of the time.
Bokashi smells bad when opened → air got in. The process is anaerobic; the bucket must stay sealed and the bran pressed down to squeeze out air pockets. A healthy bokashi bucket smells faintly of pickles, never putrid.
Everything is too wet → add dry bedding, leave the lid ajar for a day (worms only), and cut back on watery scraps like melon for a bit.
What to Do With Finished Compost
No yard? No problem. Finished castings and cured compost have plenty of takers:
- Houseplants: top-dress pots with a half-inch of castings every couple of months. This alone justifies the whole project.
- Balcony containers: mix castings into potting soil at roughly 1:4.
- Bokashi tea: dilute 1:100 with water for a potent liquid fertilizer for indoor plants.
- Give it away: community gardens, neighbors with yards, and local gardening groups will happily take finished compost — some cities even have compost swap programs.
- Electric composter grounds: mix into potting soil and let cure a few weeks before planting into it, or add to a worm bin or bokashi system as a supplement.

Common Mistakes
Starting with too many scraps. The #1 worm-bin killer is enthusiasm: a new bin can’t handle a family’s full scrap output on day one. Start at half-rations for the first month and ramp up only as food disappears.
Using garden earthworms. The big worms from your yard aren’t composting worms — they need deep soil and will die in a bin. You need red wigglers (Eisenia fetida), full stop.
Forgetting the carbon. Every feeding should include bedding (shredded cardboard, paper). Scraps are nitrogen-heavy; without carbon balance you get slime and smell. When in doubt, add more cardboard.
Putting the bin somewhere extreme. Next to the oven, on a freezing balcony, in direct sun — worms are comfortable where you’re comfortable. Room temperature, out of direct light.
Expecting bokashi to finish in the bucket. Bokashi’s second stage — burying the fermented scraps in soil — is part of the method, not optional. Plan for it before you start, or choose a different method.
Buying the electric composter for “compost.” It’s a fantastic appliance, but know what you’re buying: volume reduction and soil amendment, not finished compost. If your goal is real compost for plants, pair it with a worm bin or soil curing.
FAQs
Will composting make my apartment smell?
Not if done right. A worm bin smells like damp earth; a sealed bokashi bucket smells faintly pickly when opened; an electric composter has a charcoal filter and smells like nothing. Bad smells mean something’s wrong (usually overfeeding or exposed food) and are fixable in days. The countertop scrap caddy is the smelliest part — empty it every 2–3 days or keep scraps in the freezer until bin day.
How much time does it take per week?
About 10–15 minutes: chopping scraps, burying them, checking moisture. Less than brewing a pot of coffee. The worms do the actual work.
Can I compost if I travel frequently?
Bokashi and electric composters don’t care if you’re gone — sealed buckets just wait. Worms can go 2–3 weeks unfed if you give them extra bedding before you leave (they’ll munch the cardboard). For longer trips, community drop-off is the zero-maintenance answer.
Is it cheaper than just throwing scraps away?
The environmental math is strongly yes. The financial math: a DIY worm bin pays for itself in under a year if it replaces even a couple of bags of potting soil and fertilizer — and many cities charge for trash by volume, so lighter bins can mean smaller bills. Electric composters are harder to justify purely on savings; buy those for convenience.
What about rats or pests?
Indoor systems don’t attract rats — there’s no outdoor pile and everything is contained. Fruit flies are the realistic pest, and they’re prevented by burying food under bedding and keeping the bin balanced (see troubleshooting).
Do I need to buy anything special to start?
For a worm bin: a tote, bedding (shredded cardboard is free), and red wigglers. That’s genuinely it. Drill, newspaper, and kitchen scraps complete the kit. Start DIY before buying any fancy branded bin — you’ll know within two months whether you want to upgrade.
Final Thoughts
Apartment composting has a reputation for being crunchy and complicated. It isn’t. Pick the method that matches your tolerance for involvement — electric composter for zero effort, bokashi for tiny spaces with soil access, worm bin for the full experience, drop-off for the pure environmental win — and start this weekend.
Six months from now, you’ll be the person giving away bags of worm castings to wide-eyed neighbors. And your trash? Noticeably lighter, noticeably less smelly, and missing the one thing that made it gross in the first place.

Welcome to Homeblesh! I'm a professional content writer with over five years of experience creating well-researched, practical, and reader-focused content for clients on Upwork and Fiverr. Now, I've dedicated my expertise to building Homeblesh, where I share helpful guides, honest recommendations, and actionable tips based on careful research and industry knowledge. My goal is to provide accurate, trustworthy information to help you make informed decisions while delivering clear, useful, and easy-to-understand content.
- Muhammad Imran

- Muhammad Imran

- Muhammad Imran

- Muhammad Imran


