
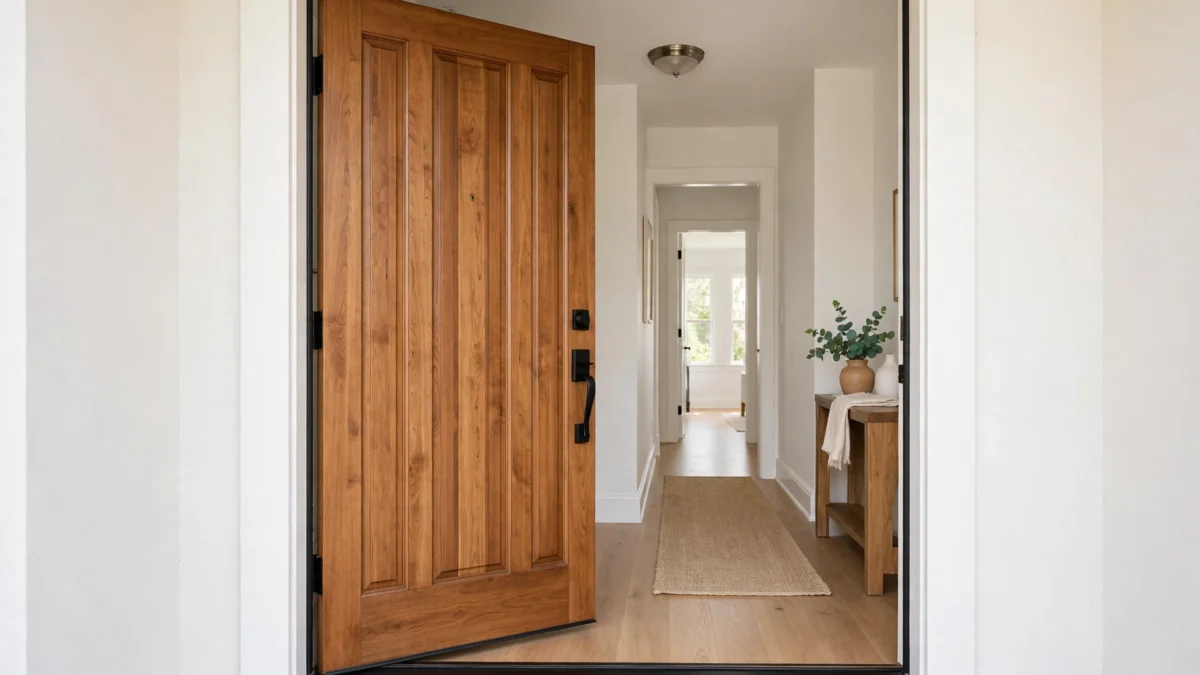
A cold draught around your front door rarely means the whole door needs replacing. In most cases the seal has worn, shrunk, or never matched the gap it was meant to close. The fix is often low cost and can be done in an afternoon with basic tools.
Choosing the wrong seal wastes money and can stop the door latching, while the right seal closes the gap without forcing the door. This article shows you how to find exactly where air is leaking, measure the gap at the top, sides, and bottom, and choose a seal that fits that gap. You will also learn fitting steps, renter friendly options, and the signs that point to a hinge or frame problem instead.
How to Find Where Air Is Leaking
Start on a windy day if you can, since a still day can hide a small leak. Stand inside with the door closed and latched, then move your hand slowly around the edges. Check the top corners, latch side, hinge side, and bottom for a steady cool stream.
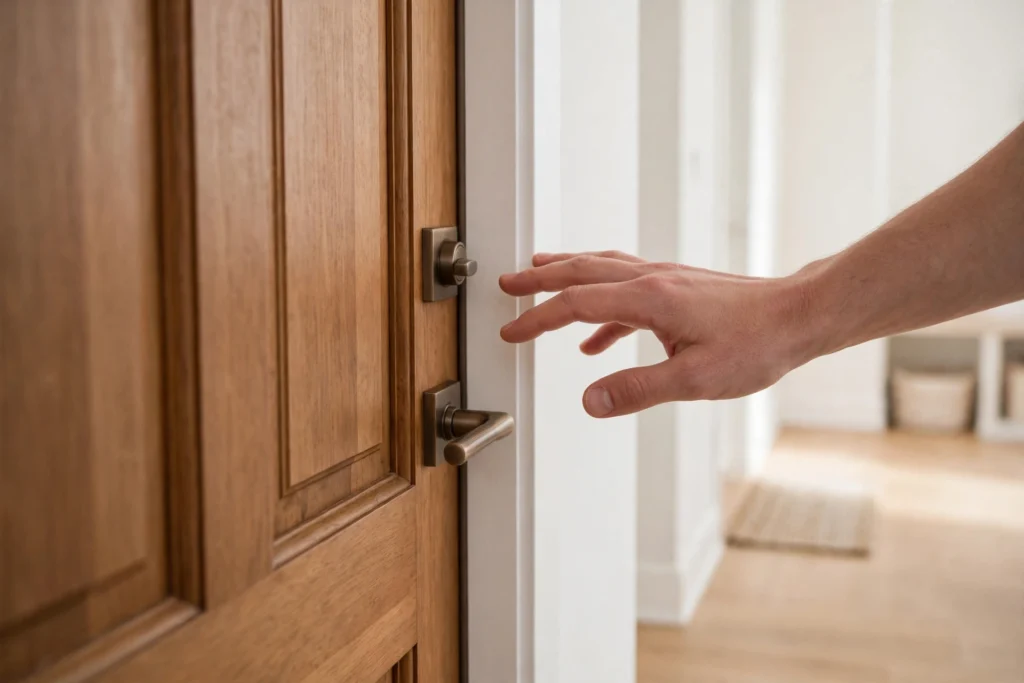
With the door closed, look for thin lines of light around the frame from inside. A visible line helps narrow down where to check next. Do not use an open flame test near curtains or furnishings, since that creates a fire risk.
Close the door on paper or a banknote at several points, then pull gently. A good seal grips firmly, while a loose pull suggests a gap or flattened seal. Repeat at the top, middle, and bottom of each side.
Check hinges for loose screws or sagging, and ensure the latch clicks without pushing the door. Look for cracks, rot, swelling, or a loose threshold. A seal cannot fix a hanging fault, so note alignment first.
How to Measure the Gap
Gaps are rarely even around a door, so measure in several places rather than guessing one size. With the door closed, check the top, both sides, and bottom, and record the largest and smallest gap for each edge.

The top and sides usually need a frame seal, while the bottom needs a sweep or threshold seal. A small even gap calls for a thinner seal, while a changing gap calls for a seal that compresses and springs back. Measure again after any hinge adjustment, since tightening a hinge can change the gap.
Match the Seal to the Gap
Choose by gap size and position, not by the strongest looking product. A seal too thick stops latching, while one too thin leaves the draught. Follow the manufacturer instructions for the product you buy.
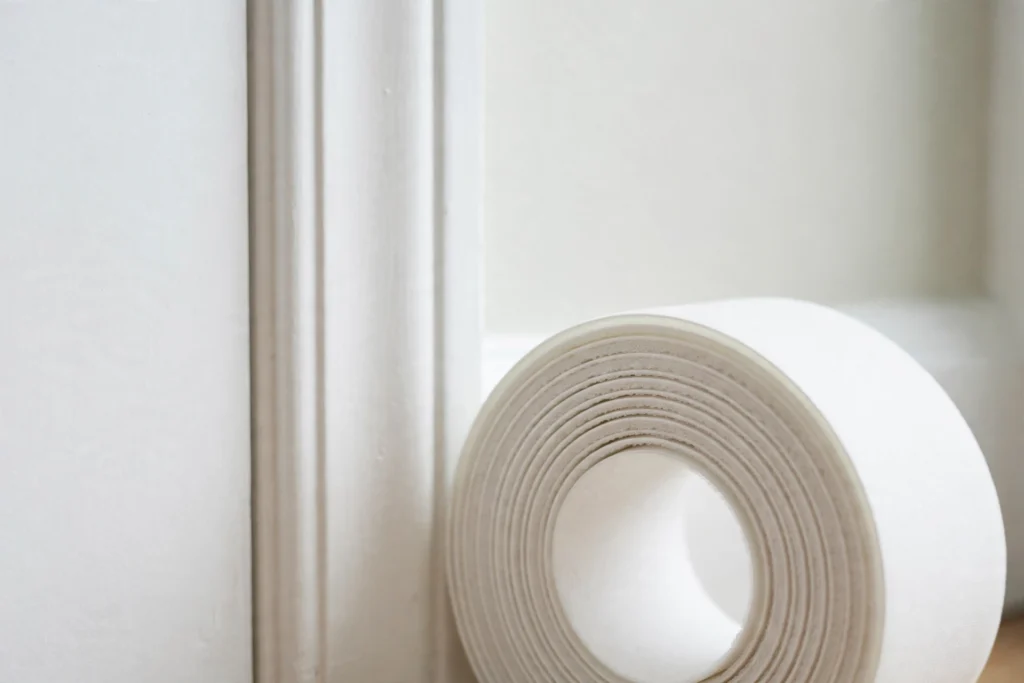
- Foam tape: best for small, even top and side gaps. Cheap, but flattens with heavy use.
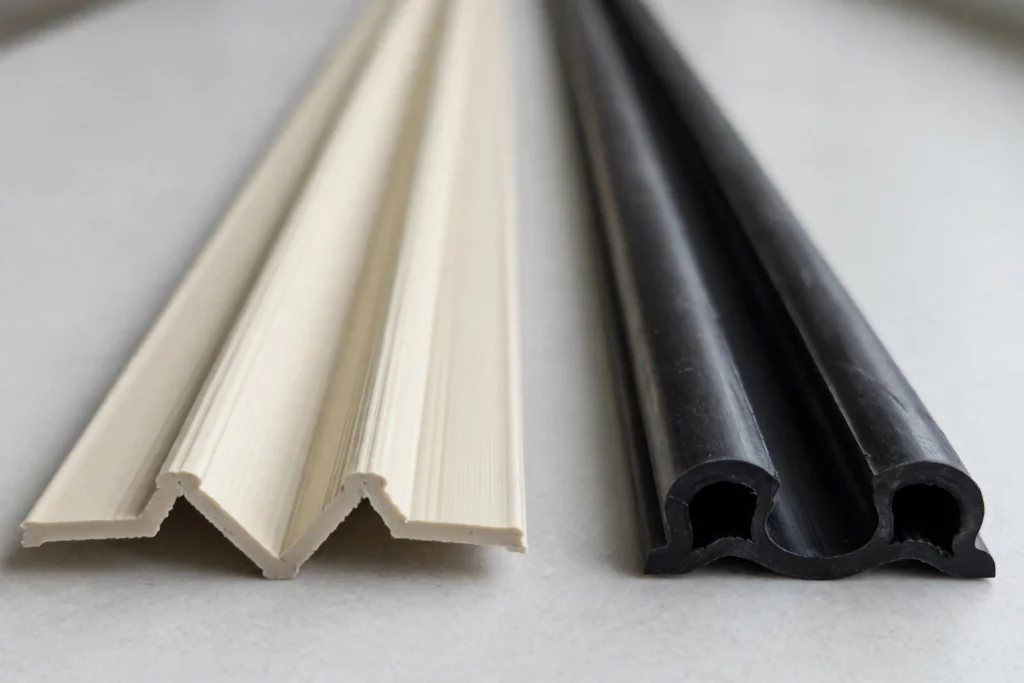
- V strip: best for sides. It springs open as the door closes, filling slightly uneven gaps.
- Silicone or rubber bulb seal: best for larger, uneven top and side gaps. It compresses to fill them.
- Door sweep: best for the bottom gap. It fixes to the door and presses the threshold.
- Threshold seal: best for an uneven or worn threshold. It sits beside the threshold, with a sweep if needed.
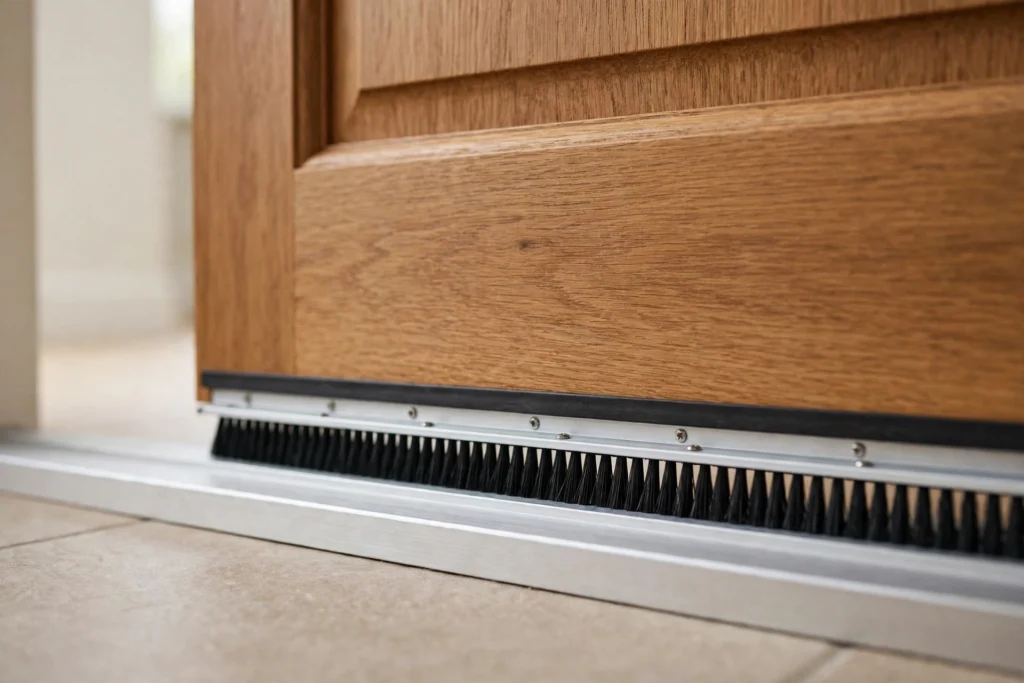
- Brush strip: best where a sweep would drag on rugs or uneven floors. Bristles block air while moving freely.
Check the floor at the bottom first. A dragging sweep wears quickly, so use a brush strip or lower profile sweep instead.
Fitting Steps
Work one edge at a time, testing as you go. Clean each surface first, and remove old, cracked seals.
- Close the door, remeasure each edge, and note the widest gap.
- Cut the seal slightly long, then trim it neatly at corners.
- Fit top first, then latch side, then hinge side, keeping pieces straight.
- Close the door and test the latch, grip, and opening force.
- Fit the bottom sweep last, checking it does not drag.
- Repeat hand and paper tests, trimming any section still leaking.
Keep corners neat, not overlapped. If latching fails, try a thinner seal.
Common Mistakes to Avoid
A seal too thick is the most common problem. It forces a hard push to latch, strains hinges, and can open a gap elsewhere. Choose thinner when between sizes, and test each edge.
Fix sagging hinges before sealing, or the gap stays uneven. Tighten loose screws and check alignment first. Never seal a door shut or block needed ventilation. Keep escape routes clear, and ensure the door opens easily from inside.
Renter Friendly Removable Options
Renters can reduce drafts without drilling. Self adhesive foam tape and V strip usually remove later, though adhesive may mark paint, so test a hidden spot first. A slide under sweep helps the bottom with no fixing. Check your agreement before drilling, and keep old seals to refit when moving out.
When Replacement or Professional Adjustment Makes More Sense
A seal cannot fix a cracked, rotted, or warped frame or door. If hinges are worn, screws will not hold, or latch and lock misalign after tightening, professional adjustment may be cheaper than repeated seals. Get professional help for fire doors, security doors, or shared escape routes. There, replacing door or frame often gives a tighter, longer lasting result.
FAQ
How do I know if the draught is from the door or a nearby window?
Check the door with hand and paper tests, then check the window separately. A leak that stops with a towel against the door edge is likely from the door.
Can I use the same seal all the way around the door?
You can, but matching each edge works better. The bottom usually needs a sweep or brush strip, while top and sides need a frame seal.
Why will my door not latch after fitting a new seal?
The seal is probably too thick, or bunched at a corner. Remove the thickest section, try a thinner seal, and retest the latch.
How often should weatherstrip be replaced?
That varies by product, use, and exposure to sun and rain. Check seals once a year, and replace any section that is cracked or flattened.
Conclusion
Simple checks come first, not a new door. Hand, daylight, and paper tests show where air enters and whether gaps are even. Measuring each edge then matches the seal: foam or V strip for smaller side gaps, bulb for larger uneven gaps, and a sweep, threshold seal, or brush strip below.
Fit one edge at a time and test the latch after each step. Avoid seals too thick and hinge faults left unaddressed. Renters can use removable options, while damaged frames, warped doors, or misaligned latches call for professional adjustment or replacement.
In that order, a well matched seal warms the hallway and leaves the door closing smoothly. That careful match saves wasted heat without forcing the door. It is a small job with a clear payoff.
Sponsored · RecommendedSomething worth a look before you goHandpicked for HomeBlesh readers. Tap to explore it.Explore Now