
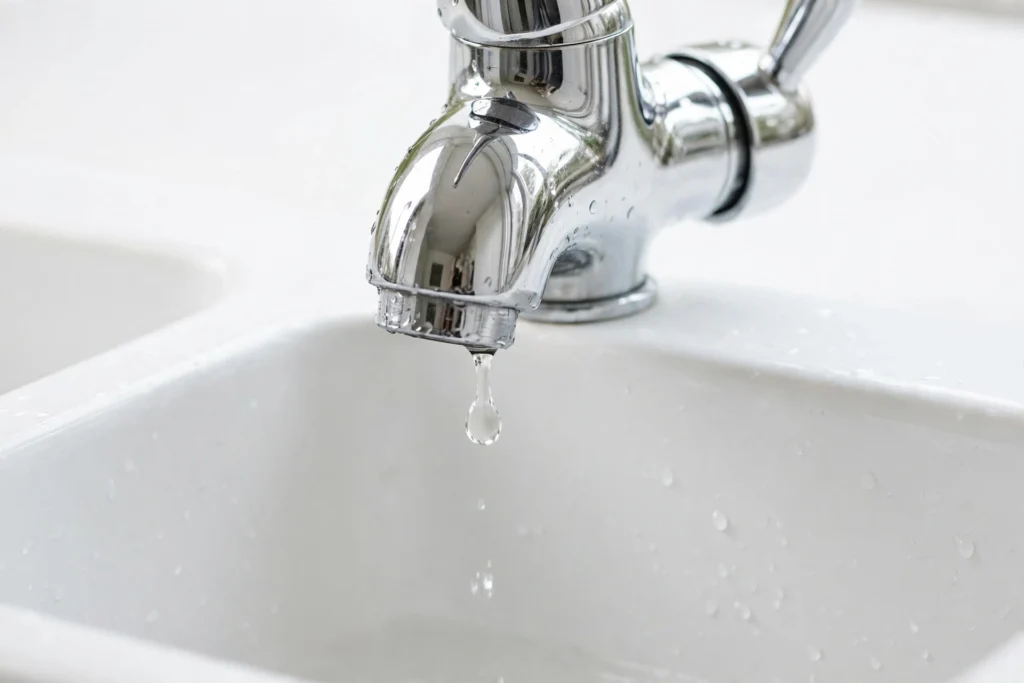
A tap that keeps dripping after you turn it off is annoying and wasteful, and it is easy to misdiagnose. Many people assume the washer has worn out, buy a replacement, take the tap apart, and then find the real fault was somewhere else. A short diagnosis first can save a second trip to the store and a second dismantling job.
This article shows how to tell a worn washer from other common tap faults. You will learn how a washer tap works in plain terms, which signs point to the washer, and which signs point to a cartridge, an O ring, a damaged seat, or a supply problem. You will also learn the safe checks to make before you open anything, and when to stop and call a plumber instead.
How a Washer Tap Works
A traditional washer tap, often called a compression tap, controls water with a simple seal. Turning the handle lowers a stem, and a small rubber washer at the end of that stem presses against a metal surface called the seat. Closed, that contact blocks water from the spout. Open, the washer lifts and water flows through.
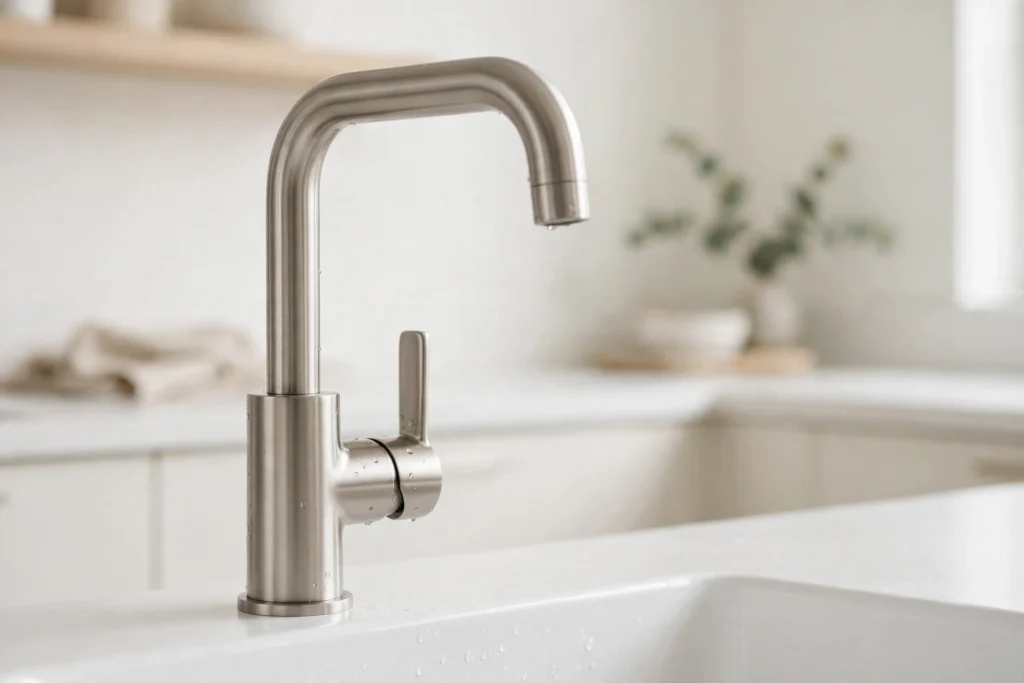
Rubber wears with age and pressure, and hot water speeds that wear. Once it hardens, flattens, or splits, water finds a path past it. Many modern taps use a ceramic disc cartridge instead, with a single lever or quarter turn handle.
Signs That Point to a Worn Washer
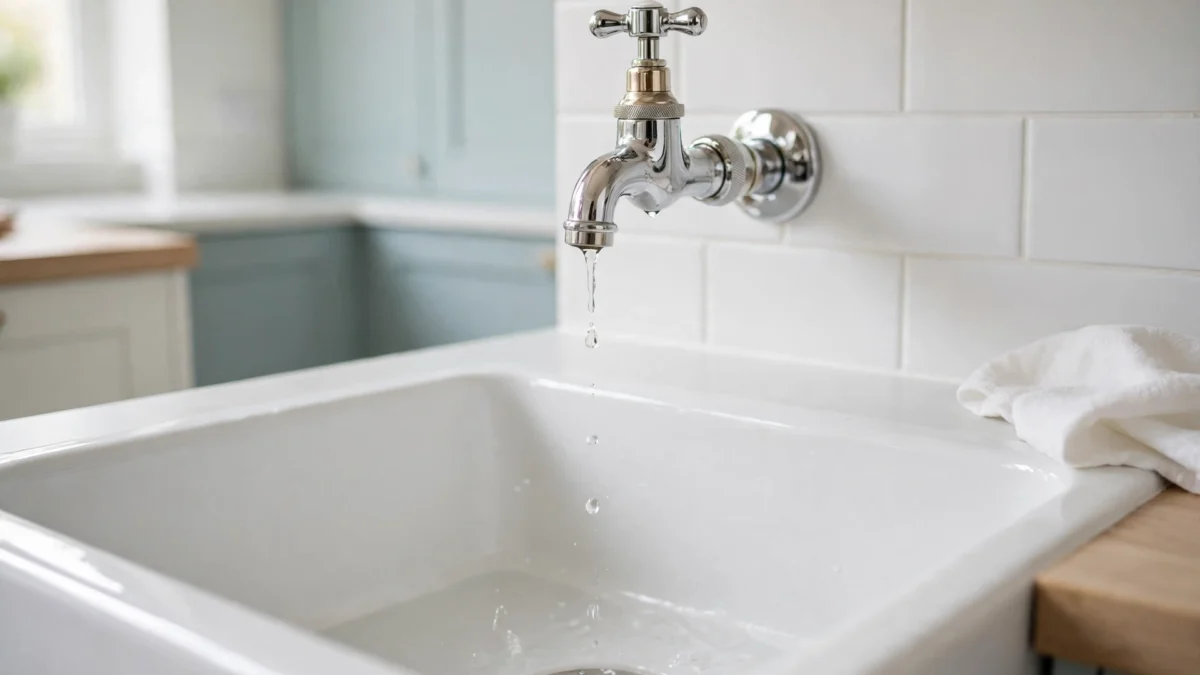
A worn washer usually gives a consistent pattern. The drip comes from the spout, not the handle, and continues after the tap is firmly closed. It often worsens over weeks.
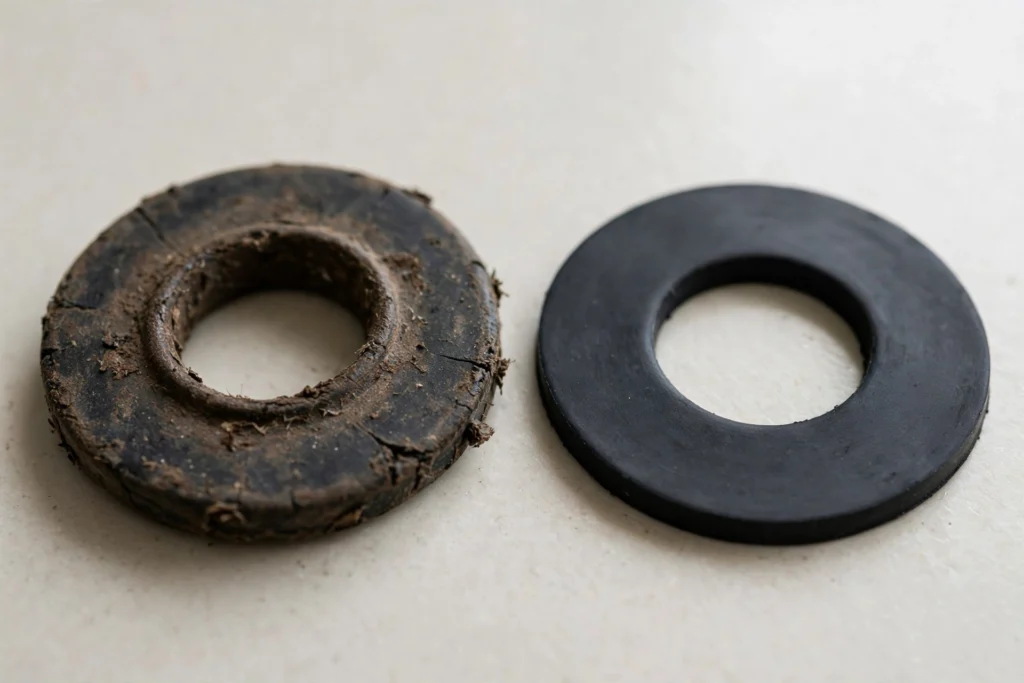
- Steady spout drip: water falls from the spout after the tap is off
- Extra force needed: you must turn the handle tighter than before to stop the drip
- Gradual worsening: an occasional drop becomes more frequent over time
- Hot tap affected first: the hot side often wears faster
- Older compression tap: separate handles that wind several turns
One sign alone does not prove washer fault. Together, they make it more likely.
Signs That Point to a Different Fault
A drip is a symptom, not a diagnosis. Where the water appears, and how the handle feels, often tells you more than the drip itself.
Drip from the handle or base
Water around the handle, under the spout base, or where the tap meets the sink usually points away from the main washer. A worn O ring or loose packing seal is a common cause there.
Stiff, loose, or grinding handle
A hard, wobbling, or grinding handle may mean a worn spindle, damaged threads, or mineral buildup. Forcing it can break parts, so note this before dismantling.
Low pressure or uneven flow
Low pressure at one tap can point to a blocked aerator, clogged cartridge, or debris. Low pressure at every tap points to a wider supply issue, not a washer.
Noise or vibration
Squealing, rattling, or a thud can come from a loose washer, worn cartridge, high pressure, or loose pipe. Noise alone does not confirm the cause.
Ceramic disc or cartridge taps
A drip from a cartridge tap often means the cartridge is worn, cracked, or scaled up. Identify the tap first, since a generic washer will not seal it.
Damaged valve seat
The seat is the surface the washer presses against. If it is pitted or corroded, a new washer may not seal well, and the drip may return.
Safe Checks Before You Dismantle Anything
Do not open a tap under pressure. Work through these checks in order.
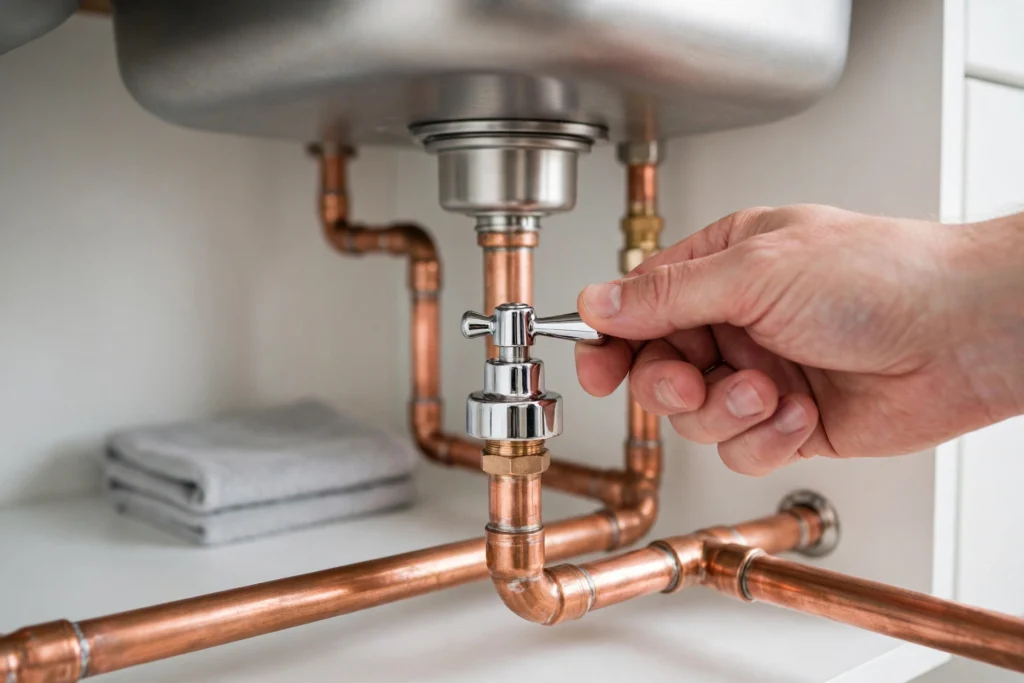
- Identify the tap type: check handle style and look for a brand mark
- Find the supply controls: locate isolation valves under the sink and check they turn freely
- Turn off the supply and test: close the valves, open the tap, and confirm flow stops
- Drain residual water: keep a towel and small container nearby for water left in the spout
- Photograph parts as you go: record each part removed, so reassembly follows the same order
- Note make, model, and washer size: write down markings and take the old washer when buying
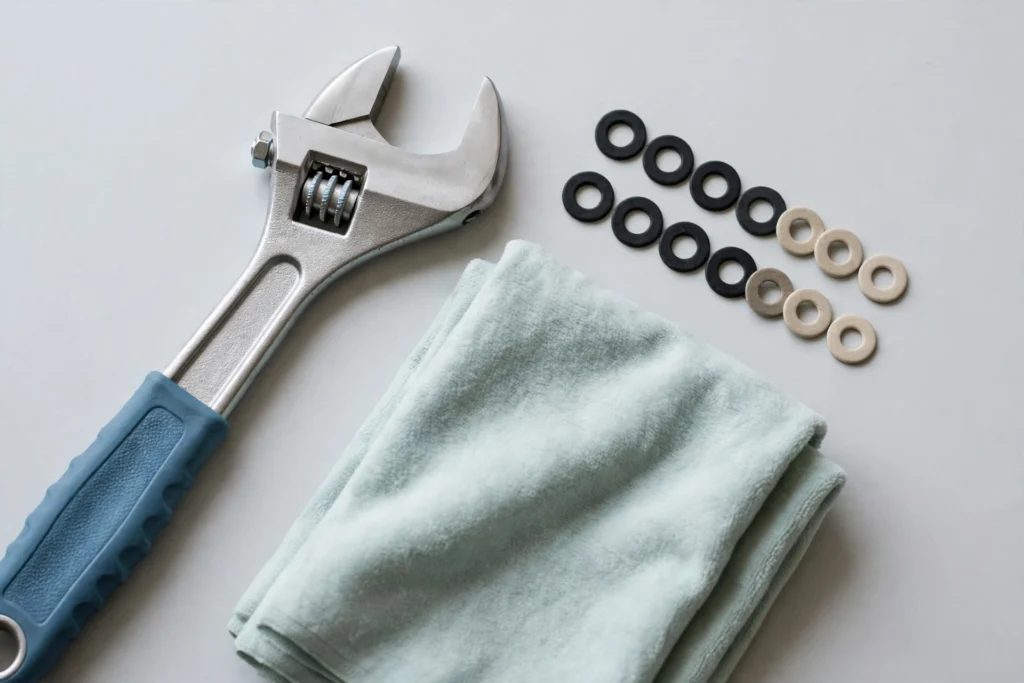
- Gather tools and parts first: have the replacement part, a spanner, and cloth to protect chrome
- Check for seized parts: if a nut will not move with steady pressure, stop rather than forcing it
Costs vary, so check a local store. Bringing the old part helps staff match size and style.
When to Stop and Call a Plumber
Stop if there is no isolation valve, if that valve leaks or will not close, or if pipework looks corroded or cracked. Stop too if parts are seized or the tap body cracks. Forcing a seized part can snap a pipe, turning a small drip into a larger repair.
A plumber can also help when the tap make is unknown, the seat is damaged, or the drip returns after a correct washer change. Renters should check landlord or tenancy rules first, since some agreements require permission. Always follow manufacturer instructions and local codes.
FAQ
How can I tell if my tap uses a washer?
Separate handles that wind several turns often indicate a compression tap with a washer. A single lever or quarter turn handle often indicates a cartridge tap.
My tap drips only at night. Does that mean the washer is worn?
Not necessarily. Supply pressure can vary during the day, so a small seal fault may show more clearly when pressure is higher. Check where the drip comes from.
Should I replace both hot and cold washers at the same time?
It can make sense if both taps are the same age and style, and the water is already off. It is not required when only one side drips.
Why does the drip return after I fit a new washer?
The new washer may be the wrong size, may not sit flat, or may seal against a damaged seat. Check the fit first, and seek advice if the seat looks pitted.
Can sealant or tape stop a dripping tap?
No, not as a lasting fix. Sealant and tape may slow a joint leak briefly, but they will not restore an internal seal. A correct replacement part is the reliable fix.
Conclusion
A dripping tap does not always mean a worn washer, but a careful look at the symptoms can narrow the cause before you dismantle anything. A steady drip from the spout, a need for extra handle force, and gradual worsening over time all point toward washer wear. A leak at the handle, a stiff or loose handle, low pressure, noise, or a cartridge style tap points somewhere else.
Safe preparation matters as much as the repair itself. Identify the tap type, turn off the supply and test it, photograph parts as you go, and match the replacement to the old part. Stop when parts are seized, when there is no working isolation valve, or when pipework looks damaged. Fix the fault you actually have, and your tap has a much better chance of staying dry.
Sponsored · RecommendedSomething worth a look before you goHandpicked for HomeBlesh readers. Tap to explore it.Explore Now